Customize Ticket Document Templates
Altru provides a default ticket template that you can download to customize in a vector graphics software program. For example, you can edit the layout of the default template and remove details you don't need. You can also use the provided merge fields to design a new ticket template.
After you create a new template, you can assign it to specific programs. When you print a ticket from your workstation, the system uses the ticket template assigned to the program record to determine the layout and design of the ticket.
Note: Custom ticket templates only apply to tickets printed from a workstation. For information on customizing the eTickets page, see Design eTickets Page.
To design a custom ticket template, you must know:
-
Scalable Vector Graphics (SVG)1.1 standards
-
How to use a vector graphics software program
-
Your printer's resolution (width and height in pixels)
Tip: To avoid formatting issues, we recommend that you use Inkscape vector graphics software.
 Edit the default ticket template
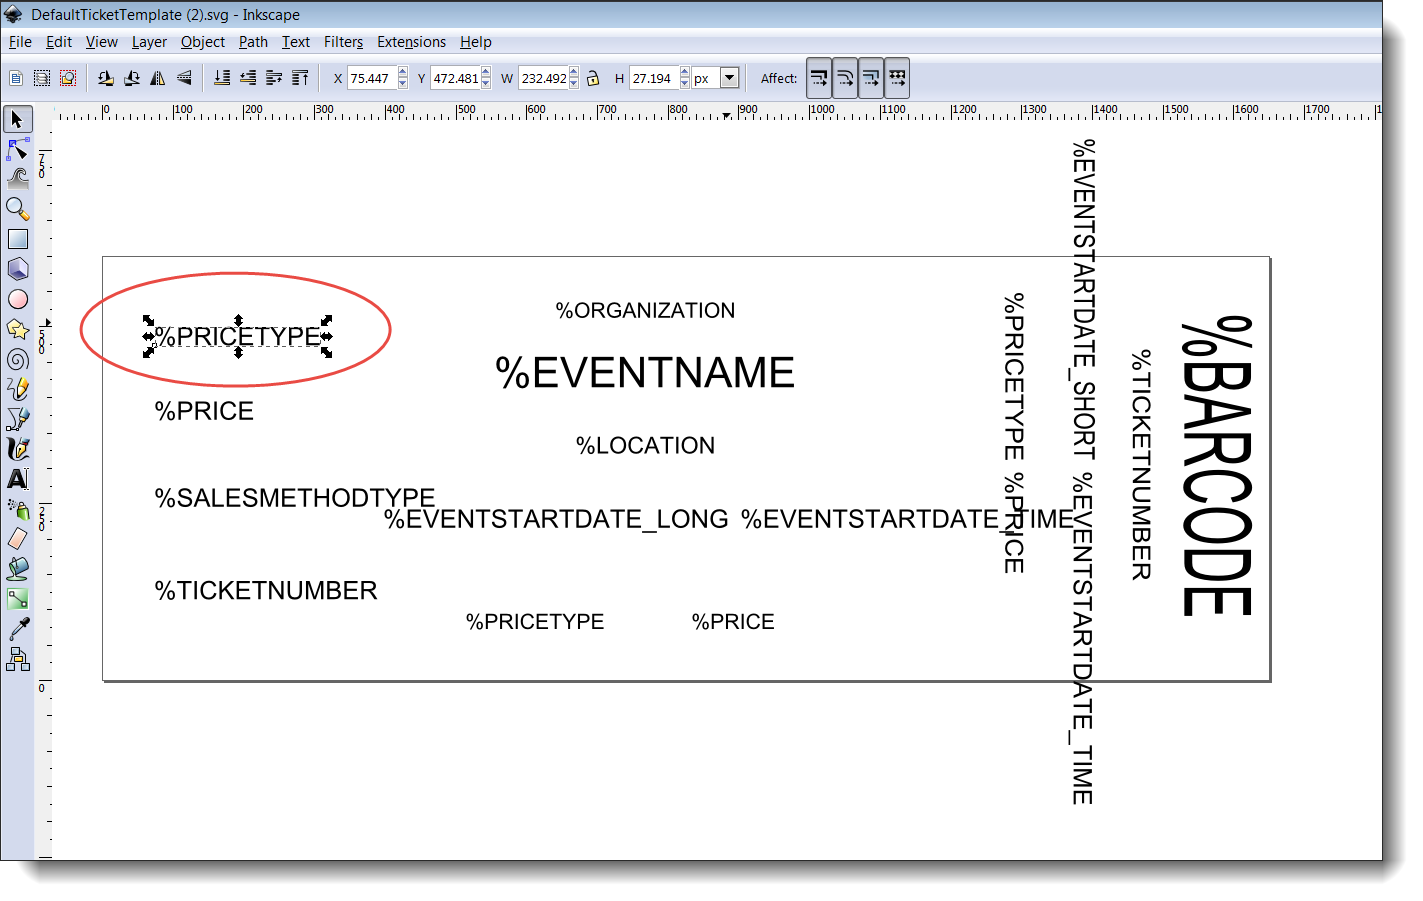
You can download and edit the default template provided in the program to change the layout of merge fields or remove fields you do not need.
-
From the Sales Document Templates page in Tickets, expand the Default Ticket Template row select Edit.
-
On the Edit template screen, select DefaultTicketTemplate.svg to download the default template file.
Tip: Save an unedited copy of DefaultTicketTemplate.svg to your local machine as a backup in case you need the original version.
-
Open the downloaded DefaultTicketTemplate.svg file in your vector graphics software program.
-
Using the editor, you can move or remove merge fields, change the font and font size, add images, etc. Save your changes.
-
Return to the Edit template screen.
-
Select the green arrow button to upload the updated .svg file and then save the template.
Create a ticket template
-
From the Sales Document Templates page in Tickets, select Ticket merge fields under Setup.
-
Use your cursor to select the list of merge fields and right-click to copy.
-
In your vector graphics software program, create a new template in landscape format. Use these dimensions based on the resolution of your printer:
-
200 DPI printers - 1100px width and 400px height
-
300 DPI printers - 1650px width and 600px height
-
-
Paste the merge field names into the template and use the editor to design the layout and appearance of the ticket. Save the template to your local machine.
-
Return to the Sales Document Templates page and select Add.
-
In the Type field, select "Ticket" and select the green arrow button to upload the custom template. Save the template.
-
The new sales document record opens automatically. Add printing rules that specify how to print tickets for each sales method and delivery method selected during the sales process.
-
After you define the printing rules, you must assign the ticket template to the programs that will use it. From a program record, select the Tickets tab and select Add to select the template.
Available merge fields
Add the following merge fields to ticket templates when applicable:
-
%ORGANIZATION
-
%PROGRAMNAME
Note: This field is not included in the default template since it often has the same value as the event name. You may want to include it when the program name is different than the event name.
-
%EVENTNAME
-
%LOCATION
-
%EVENTSTARTDATE_SHORT — Short date format (04/01/2024)
-
%EVENTSTARTDATE_LONG — Long date format (Wednesday, April 01, 2024)
-
%EVENTSTARTDATE_TIME — Event start time (3:00 PM)
-
%TICKETNUMBER
-
%BARCODE
Note: If you plan to use a scanner, always include this field and format it using a barcode font.
-
%PRICETYPE
-
%PRICE
-
%SALESMETHODTYPE
Tips for using Inkscape:
-
Save all ticket documents as "Plain SVG (*.svg)"
-
Always use Landscape format or tickets will appear rotated and stretched
-
When printing tickets, if a black rectangle appears instead of text, open the template, select the merge field and select Text, Convert to Text
-
When creating a textbox, do not click and drag before typing