Sponsorship Operations
The Sponsorship Operations report provides details about sponsorship transactions, such as new assignments, transfers, cancellations, and terminations.
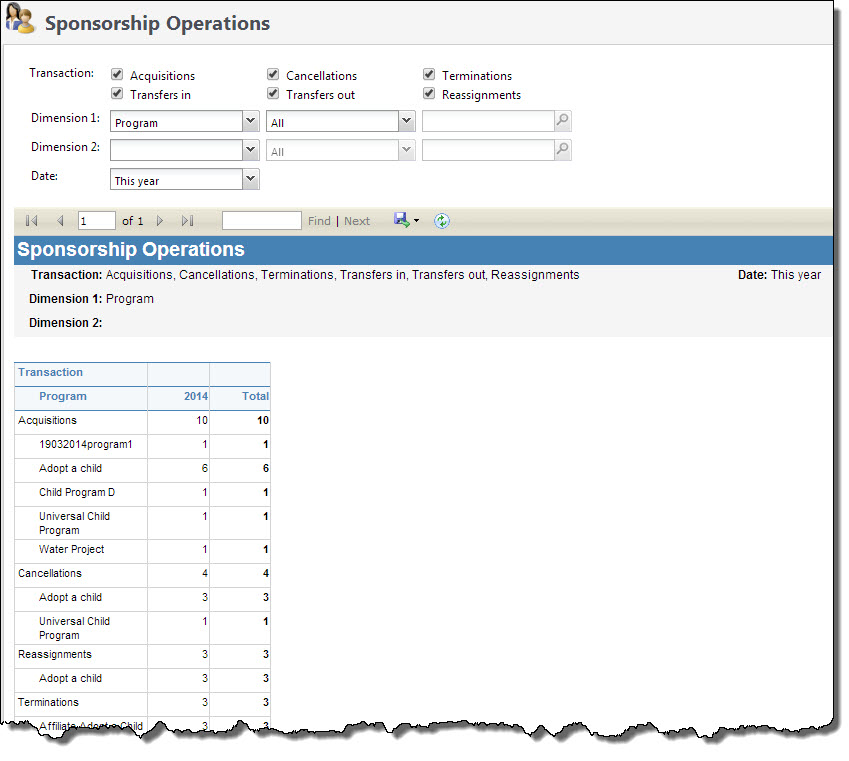
Additionally, you can base the report on two different dimensions, which are used to filter and group the report data. Your dimension selections are hierarchical and place restrictions on your selected transactions. For example, if you select “Program” as your Dimension 1 any remaining dimension selections are restricted to the program you select in Dimension 1. So if you select “Location types” in Dimension 2, only location types for the program you selected in Dimension 1 are included in the report and if you selected the “Transfer in” Transaction, only transfer in operations included in the selected program and location types are included in the report.
You can also further restrict information included in your report based on Date.
Generate a Sponsorship operations report
-
From the Sponsorship page, under Reports, select Sponsorship operations. The Sponsorship Operations page appears.
-
In the Transactions section, select the transaction operations for which you want to view information. You must select at least one Transaction option.
-
In the Dimension 1 field, select the top level dimension you want used to define your report. Transaction information included in the report is restricted to your dimension selections. For example, if you select a specific program in Dimension 1 and a specific location in Dimension 2, transaction information is provided for the selected program in the selected location only. To view all selected transaction information, leave the Dimension fields blank.
-
In the Dimension 2 field, select the nesting dimension you want included in your report. For example, if you selected “Program” and “All” for your Dimension 1, and you want to see all transaction information for programs for a specific location type, in Dimension 2 select “Location types” and then select the type of location in the corresponding fields.
-
In the Date field, select the date range on which you want to base your report.
-
Select View Report to generate your report.