Downloads
Use the downloads content type to post downloadable files to the website. Review the supported file types.
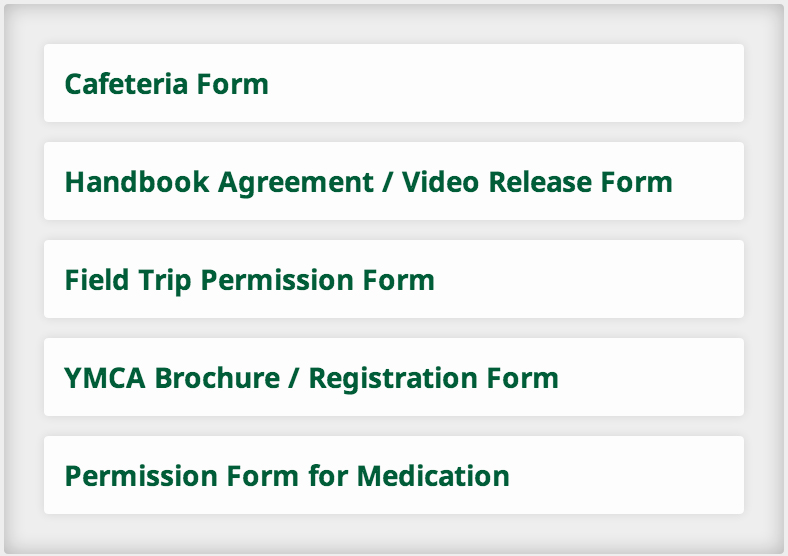
Downloads can be grouped into sub-categories to help organize them on a page (for example, the admissions downloads could be grouped into financial aid downloads and application downloads). Page managers can also edit the appropriate block styles to establish the download appearance.
The downloads content type supports duplicate file names, however each file will receive a unique URL.
When a user adds a file to the downloads content type, the file will have a file name
-
that is assigned by the user (e.g. School_Handbook.pdf),
-
as well as a URL that is assigned by Blackbaud (e.g. http://www.school.org/ftpimages/123/download/download_12345.pdf).
Some users may see the Blackbaud-assigned URL in their browser when they view a file. However, if a user downloads a file from the website, the file is saved with the name (even if a user links to a file using the Blackbaud-assigned URL, the file will still save with that file name).
If a user edits an existing file in a download category and uploads a revised version of the file, the file’s original Blackbaud-assigned URL will be preserved.
We recommend that your school names and organizes the files in a way that makes sense to all managers and constituents using the system.

-
Select Core or School website.
-
Select Content.
-
Choose the content type you want to work with.
Downloads are an "additional content type."
-
Select Add new category.
-
Enter a description (name) for the category (e.g. Admissions Downloads).
-
Enter a long description (optional) for the category. The category description can be used to provide an introduction message or explanation of the downloads; it will appear above the list of downloads on the page.
-
Under Roles with access to view content, select Public if the category will appear on a public page. Select Secure, and then select the appropriate roles, if only certain users should be able to view the content in the category.
-
Select Save & add download or Save.
-
To edit the category settings, select Settings (the gear icon).
-
Select Core or School website.
-
Select Content.
-
Choose the content type you want to work with.
Downloads are an "additional content type."
-
Select + next to the appropriate category.
-
Drag and drop the appropriate file to to the designated spot, or select a file from your computer.
-
Enter the download title (this is the text that will be clickable).
-
Enter a description (optional) for the download. The download description can be used to provide additional details about the file; it will appear below the file.
-
Enter the publish date and expire date (optional).
-
If the content should appear in additional categories, select Add more to select the categories with which the content should be shared.
-
Select Save & add another or Save.
-
Select Core or School website.
-
Select Content.
-
Choose the content type you want to work with.
Downloads are an "additional content type."
-
Select the name of the appropriate download category.
-
Select the pencil icon next to the appropriate file.
-
Make the appropriate changes and select Save.
-
Select Core or School website.
-
Select Content.
-
Choose the content type you want to work with.
Downloads are an "additional content type."
-
Select the name of the appropriate download category.
-
Select Organize.
-
Drag and drop the files into the appropriate order.
-
Select Save.
-
Select Core or School website.
-
Select Content.
-
Choose the content type you want to work with.
Downloads are an "additional content type."
-
Select the name of the appropriate download category.
-
Select on the name of the appropriate download category.
-
Select Organize.
-
Select Add sub-category.
-
Enter the sub-category name and select Save & add another or Save.
-
Drag and drop the files into the appropriate sub-categories and into the correct display order.
-
Select Save.