Links
Use the links content type to connect users to other pages within the website or to external websites.
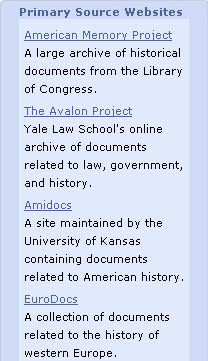
Links can appear as text or as a button (if an image is associated with the link). Links can also be grouped into sub-categories to help organize them on a page (for example, the admissions links could be grouped into financial aid links and application links). Page managers can edit the appropriate block style to establish the link appearance.
Certain integrations use single sign-on (SSO) which allows users to click on a link and automatically be logged into an external website or service. SSO links can be added by using the Authentication Resource option.

-
Select Core or School website.
-
Select Content.
-
Choose the content type you want to work with.
Links are an "additional content type."
-
Select Add new category.
-
Enter a name for the category (e.g. Admissions Links).
-
Enter a description (optional) for the category. The category description can be used to provide an introduction message or explanation of the links; it will appear above the list of links on the page.
-
Under Roles with access to view content, select Public if the category will appear on a public page. Select Secure, and then select the appropriate roles, if only certain users should be able to view the content in the category.
-
Under Standard image, enter a maximum width and height for images that will be uploaded for the links.
-
Select Save.
-
To edit the category settings, select Settings (the gear icon).
-
Select Core or School website.
-
Select Content.
-
Choose the content type you want to work with.
Links are an "additional content type."
-
Select + next to the appropriate category.
-
Enter the link title (this is the text that will be clickable).
-
Select URL and enter the full URL of the link (including http(s)://). Or select Authentication resource and choose the appropriate SSO link.
-
Select Open in new window if a new browser window should open when the link is selected.
-
Enter a description (optional) for the link. The link description can be used to provide additional details about the link; it will appear below the link.
-
Select Add photo and select an image to associate one with the link.
-
Enter the publish date and expire date (optional).
-
If the content should appear in additional categories, select Add more to select the categories with which the content should be shared.
-
Select Save.
-
Select Core or School website.
-
Select Content.
-
Choose the content type you want to work with.
Links are an "additional content type."
-
Select the name of the appropriate link category.
-
Select Edit next to the appropriate link.
-
Make the appropriate changes.
-
Select Save.
-
Select Core or School website.
-
Select Content.
-
Choose the content type you want to work with.
Links are an "additional content type."
-
Select the name of the appropriate link category.
-
Select Organize.
-
Drag and drop the links into the appropriate order.
-
Select Save.
-
Select Core or School website.
-
Select Content.
-
Choose the content type you want to work with.
Links are an "additional content type."
-
Select the name of the appropriate link category.
-
Select Organize.
-
Select Add sub-category.
-
Enter the sub-category name and select Save.
-
Drag and drop the links into the appropriate sub-categories and into the correct display order.
-
Select Save.