Update anticipated or awarded aid in bulk
Billing management supports the bulk import of anticipated and awarded aid from 3rd party (e.g., PowerFAIDS) software solutions to enrollment candidates. Billing clerks can then modify imported financial aid data before finally approving and thus disbursing it to accounts as credit.
Note: This documentation references files exported from PowerFAIDS. Other 3rd party solutions are applicable but might require some changes to the data import file.
Initial Prerequisites
Before beginning, acquire the anticipated aid file from PowerFAIDS (or a similar service); the file is a 'comma-separated value' (i.e., csv) file.
The process to import anticipated aid from PowerFAIDS has three main parts:
Acquire the necessary listsThe PowerFAIDS export, the list of students, and the data import help file. |
Merge the lists togetherMerge the PowerFAIDS export and list of students into the data import help file. |
Import the merged fileUpload the newly merged help file to update financial aid for all recorded students. |
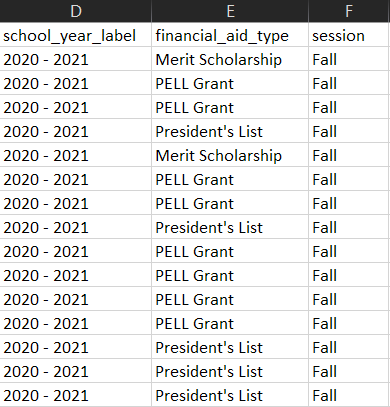
Additionally, several spreadsheet cells require precise data entries matching system-defined settings. Please familiarize yourself with the settings so that their entries align with the desired outcome. The column names and their corresponding setting locations include:
-
Session
Core > Settings > School information > Years & terms
-
school_year_label
Core > Settings > School information > Years & terms
-
financial_aid_type
Enrollment management > Admission > Admission Setup > Candidate Profile Settings > Financial Aid
-
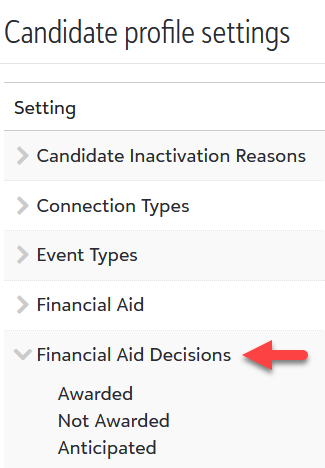
financial_aid_decision
Enrollment Management > Admission > Admission Setup > Candidate Profile Settings > Financial Aid Decisions
-
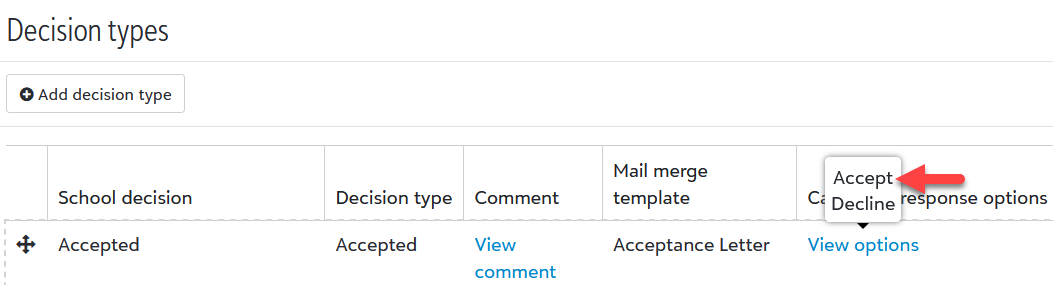
candidate_decision
Enrollment management > Admission > Admission Setup > Decision types > Candidate response options
Create the list of students
To begin, first, create the list of students and enrollment candidates that need aid recorded.
To get started, navigate to Enrollment management, hover over Financial aid in the navigation, and select User export.
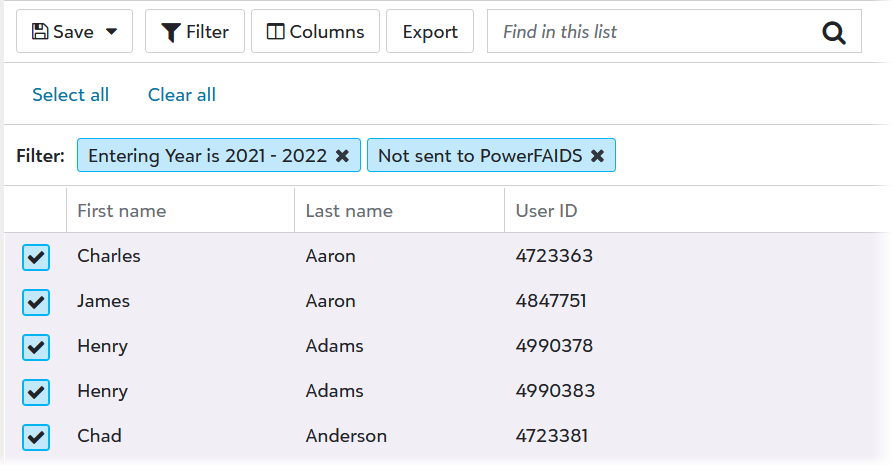
If a list is not currently available, select Build a new list.
|
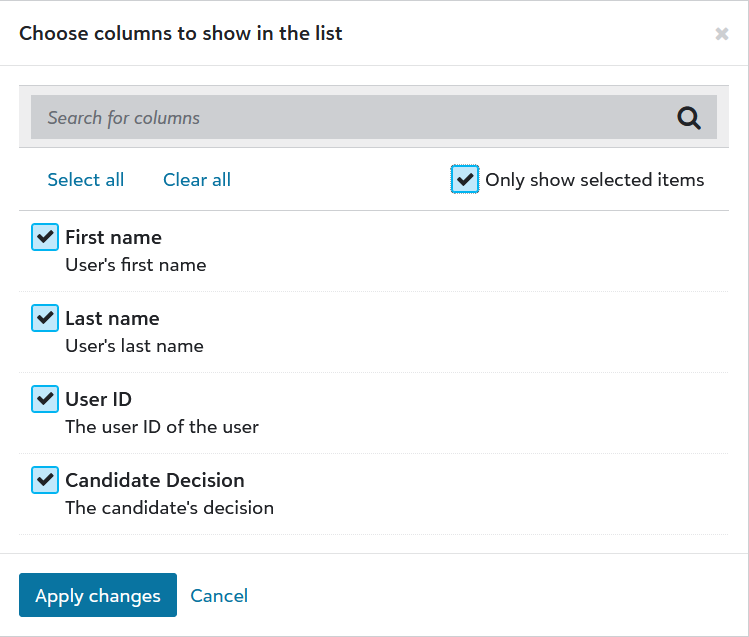
Select Columns and ensure the following are marked:
Deselect any preselected columns and select Apply changes. |
|
Select Export and keep the .csv file in a memorable location for use in an upcoming step.
Create a sample Data import file
The Data import tool requires a specific format is maintained to ensure financial aid is updated for the appropriate students and enrollment candidates. To better understand those requirements, create a Sample file which exemplifies the required column layout.
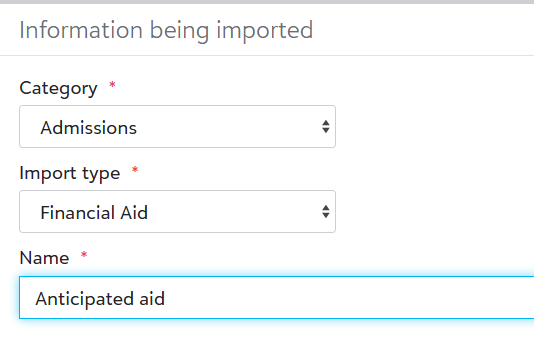
To get started, navigate to Core, hover over System tools in the navigation, and select Data import.
|
|
|

|

Save the Sample file to memorable location for use in an upcoming step. Review the column and data layout to understand what is required to process the import.
Keep the Billing management window open as you will return to this screen with the appropriate data import file. If you are timed out while working on preparing the data import file, simply sign in again and repeat the steps when prepared.
Merge the Sample File, Powerfaids, and Financial aid list
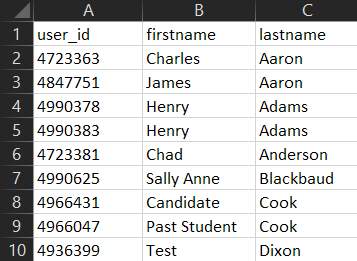
With all the files now acquired, merge specific columns from the PowerFAIDS anticipated aid or awarded aid export file and the list of students list into the Sample file. Open each of the three files to proceed.
|
|
-
Sort the PowerFAIDS aid export by Last name so that the listed students mirror the arrangement in the Sample file. If these two lists do not align, manually enter the following data for each row.
-
Copy the Disbursement Amount column from the PowerFAIDS export into the amount_granted column in the Sample file; ensure you do not change the column header in the Sample file.
|
|
-
If awarding aid (credit disbursement):
-
Cell entries under candidate_decision must coincide with the system-defined financial aid decision for accepted found in Enrollment management > Admission > Admission Setup > Decision types > Candidate response options.
-
Cell entries under financial_aid_decision must coincide with the system-defined financial aid decision for awarded found in Enrollment Management > Admission > Admission Setup > Candidate Profile Settings.
-
|
|
Import the Sample file to update aid
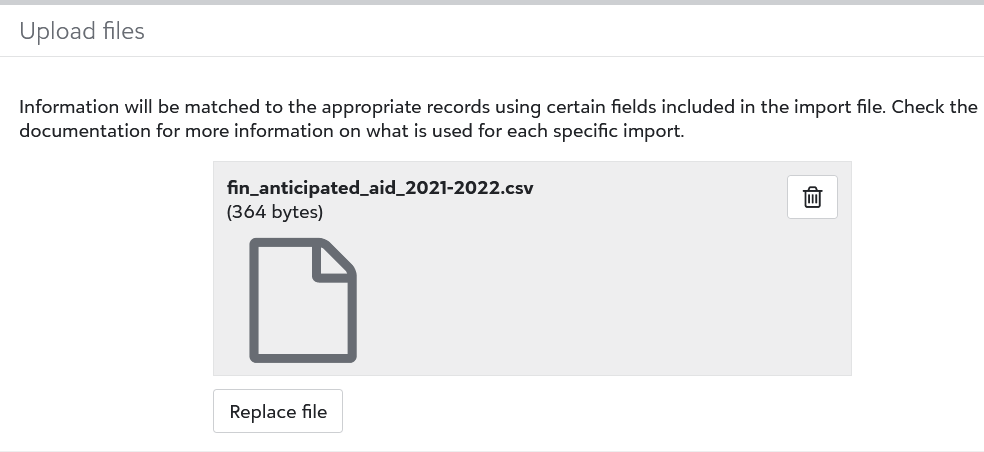
With the Sample file outfitted with data from several sources, return to the previous step and upload the Sample file.
The Sample file then queues in the build process; return to the Data Import page after a short while to review the Data Import result.
If successful, the imported aid appears under Financial aid for the appropriate School year in each student and enrollment candidate profile.
Note: The time it takes to process the data import depends on both system-load and the size of the import job; ensure you do not repeat the import until the Status results in either Completed or Failed.
Troubleshooting Issues
If the data import Status results in  Failed , complete the following steps:
|
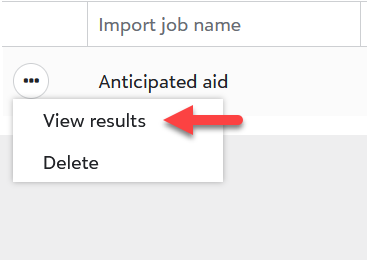
Select the context menu ( Select View Processed File and download the .csv to your computer. |
|
 ) and then select
 Open the .csv file and review the entry under column 'B'. The error_msg shows what data produced an error. Semi-colons separate multiple errors.
Possible errors status codes include
-
Invalid User_ID
-
The User_ID does not match the adjacent First name and Last name.
-
The Financial aid type does not exist.
-
The provided Session does not exist.
Once the errors are corrected, repeat the upload process until the build Status is  Completed.