Wrap Text Around Photos
Having text wrap around photos can be done whenever a photo is used within a style. Photos can be placed to the left of text, to the right of text, or above text.
-
From School website, select Website management, edit an existing website, and then select Styles.
-
Edit the style you are wishing to apply to your content category.
-
Change the dropdown from “Default” to the category to which you are applying the style.
-
From the gray icons, choose the respective icon for the content you wish to edit.
-
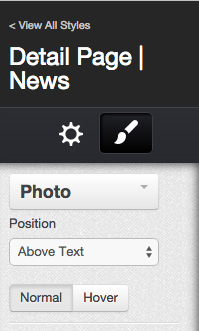
Select on the placeholder for the photo. On the left hand side column, the dropdown should say “Photo”. If it does not, select on the dropdown and choose Photo from the list of options.
-
After Photo is chosen, a basic option should appear to choose the location of your photo.

When moving photos to be on either the right or left side of text, it is typically a good idea to then use the basic option for margins, so that your photo and text have some spacing between them.