Lists and Reports
Through Enrollment management lists, users can find data and information through customized filter criteria and output options. The data can also be saved or exported through Microsoft Excel comma-separated value files, and the user has the option of completely customizing the look of the list through which columns appear, how the data is sorted and in what order it is listed.
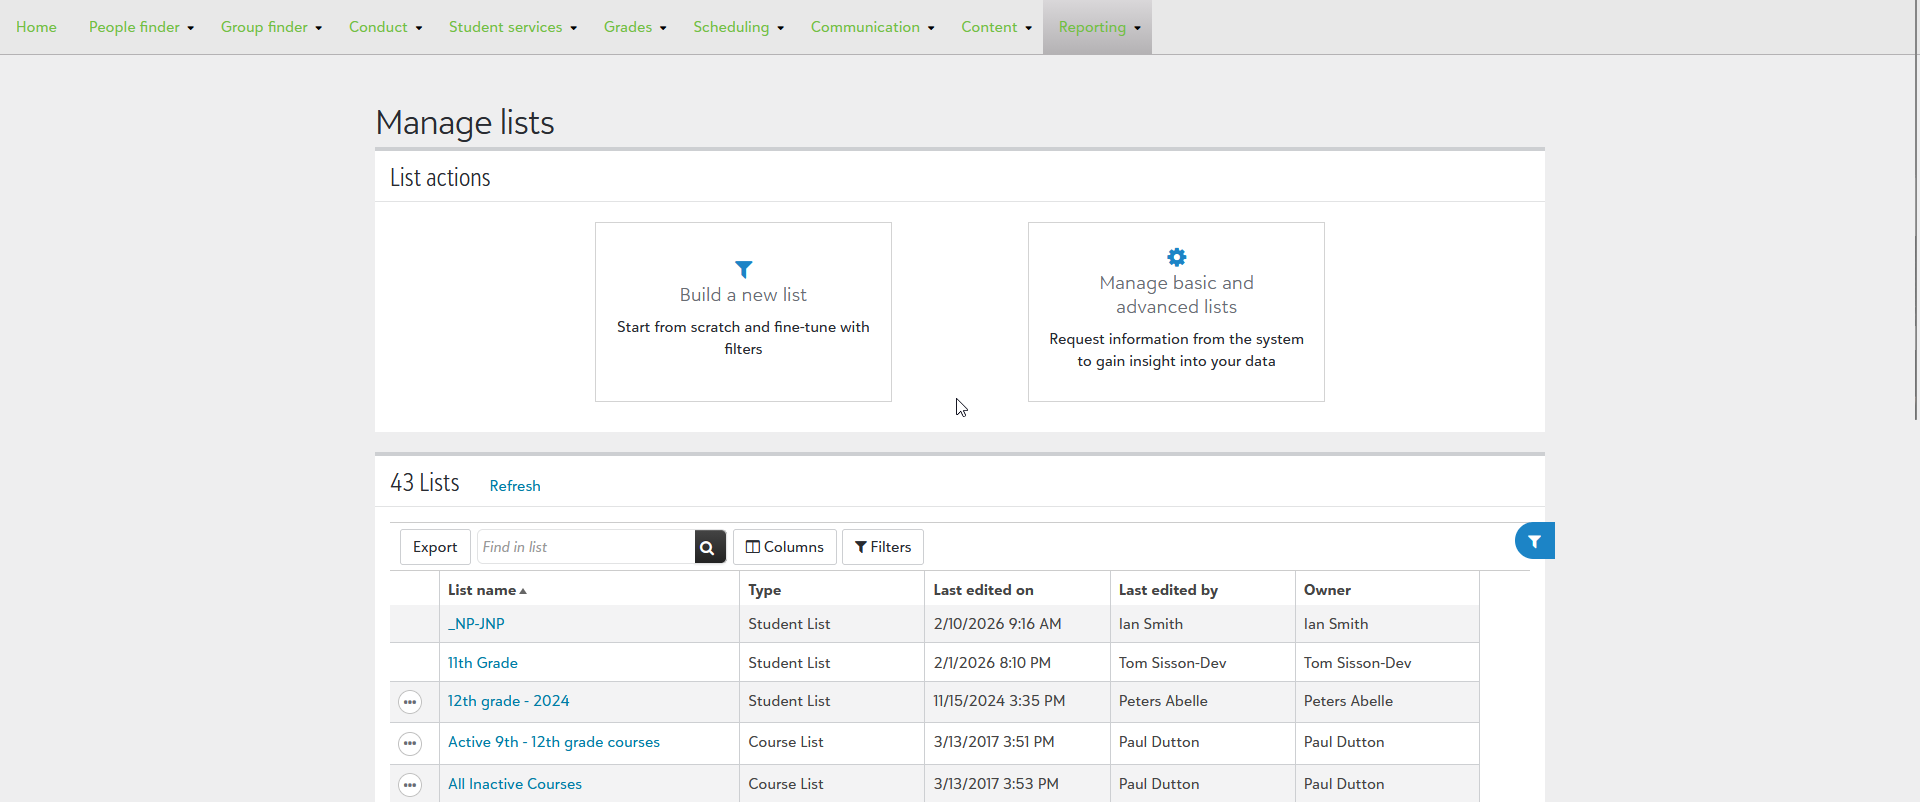
From Reporting, Manage lists, all previously created lists appear in alphabetical order. These can be Exported, Deleted, or have its access permission changed through the ellipsis.
 Create a new list
-
Select Build a new list, which then opens a new modal enabling you to select the type of Enrollment management list you want to build. Currently, the choices are:
-
Candidate List - Shows each candidate in its own row.
-
Contract List - Shows all contracts on its own row.
-
Visit & Interview Openings List - Shows all visit & interview openings on their own row.
-
Visits & Interviews List - Shows all visits and interviews on their own rows.
-
-
Once an option is selected, the new list appears. Keep in mind that this starter list can be further modified to fine tune the data that is being returned.
-
From here you can:
-
Choose columns - Change the columns that display in this list.
-
Filters - Refine and change the data that returns through tweaking numerous customizable settings.
-
-
When finished, select Save to add this list to your Manage lists section or Export to download it as a csv file.
Create and Work with Reports
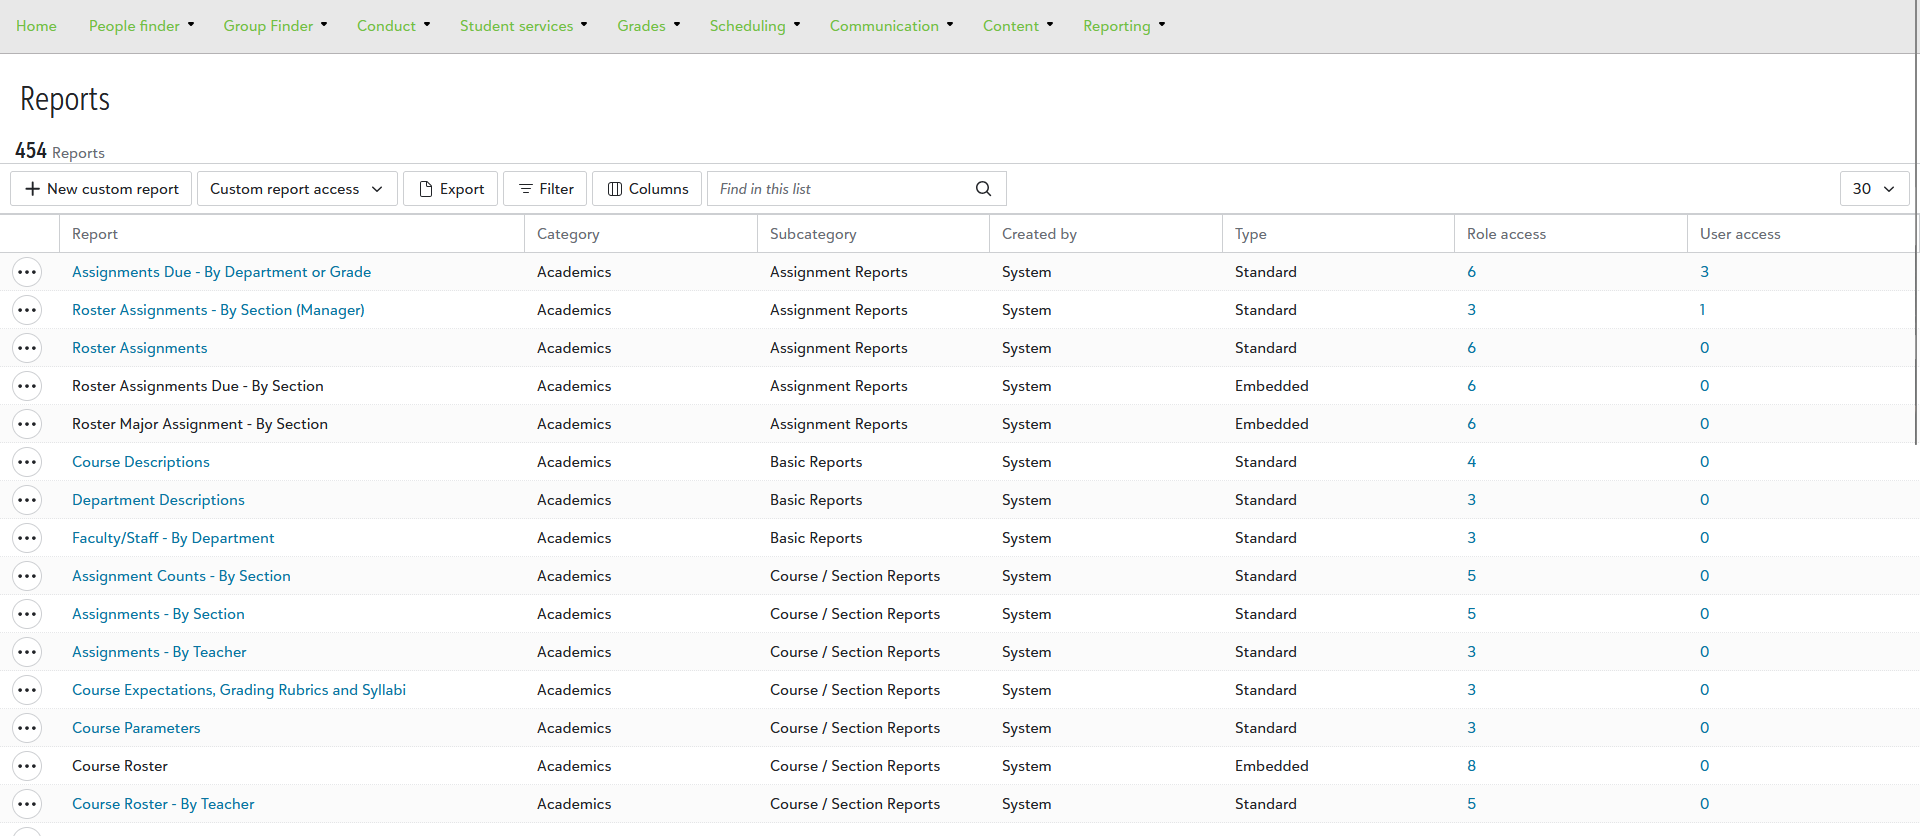
In addition to lists, you can use reports by going to Reporting and then Reports. You’ll see a list of all system generated reports, such as Course Descriptions or Assignmnets Due – By Department or Grade, as well as any custom-built reports.
Use the context menu option next to an existing report to change user or role access, who can access the report, or select Run report to generate it. You can also view or export the data to any option that was selected when it was created.
Custom report access is a global setting that can be modified to allow or restrict specific users or roles. Use the Filter or Column options to further refine the reports being shown in the list.
Export will create an Excel spreadsheet containing the reports being displayed.
Create Custom-Reports
-
Select +New custom report, which then opens a new modal to let you upload a new report.
Note: If you’re uploading a report, it must have been created within Crystal Reports and have the “.rpt” file extension.
-
Set the Report name. This required field is what you’ll see from the Reports list.
-
Select a category for this report from a dropdown of options like Academics, Dorms, and many others. This is basically what your report is in reference to.
-
Next up is Sub-category, helping you further define the topic the report is part of. It will only populate potential options once a main category has been selected first.
-
Use File to upload your report and then select available View/Export options that will be available once it is run. Your options here are PDF, Word, or Excel file.
-
Select Save to add the report or Cancel to go back.