Drag-n-Drop Templates
Note: This option is only available through the Advanced Mass Email module.
From Communications, click Manage Communications. The Communication Categories page appears. Click the category name.
When you are on a category page, under Tasks, click New Drag-n-Drop Email Template. The Template Wizard appears. For more information on your drag-n-drop template's layouts and content editor, see here.
Tip: To create a new drag-n-drop template based on a existing one, under the template you wish to copy, select Copy. From the Copy screen, you can edit the category and name. Select Copy to create a duplicate template.
 Step 1: Settings
On this step, enter a name and description for your email template. Under Email Options, the template name automatically defaults in the Subject field, but you can change it. When you change the template name, it does not automatically appear in the Subject field; you must manually update it if necessary.
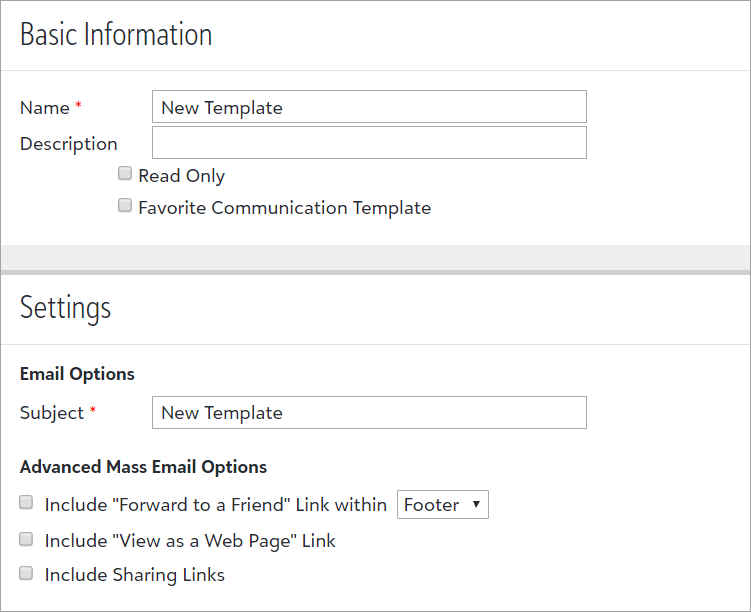
Options are available for you to include Forward to a Friend, View as a Web Page, and sharing links in your email template.
Step 2: Layouts
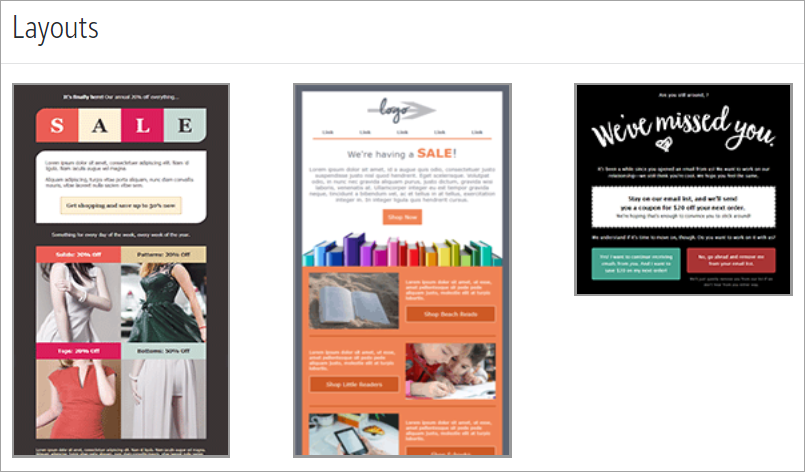
On Step 2, select the template layout you wish to use.
Warning: If you change the layout on an existing template, it will overwrite all of its content.
Step 3: Edit
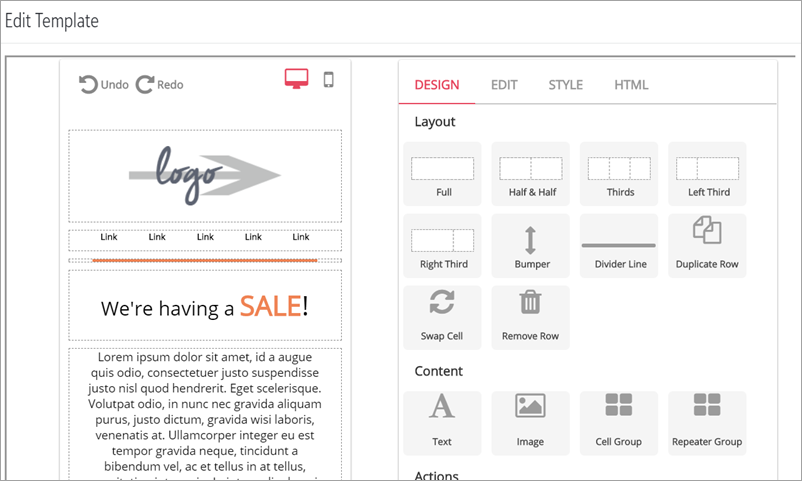
On Step 3, you can use the template editor to drag and drop layout, content, and action design elements to your desired location. To add design elements, from the Design tab, drag the element you wish to add to your template over to where you want it to display.
Note: You can use Cell Group and Repeater Group interchangeably as they perform the same action.
You can click on a design element to edit its content.
Warning: The Insert RSS Content functionality is not available.
To change the appearance of a design element, select it and choose the Style tab. If you would like to view the source code, you can select the HTML tab.
To insert data merge tags into a text content area, from the Edit tab, select the Insert merge tag icon. Data merge tags enable you to merge data from some account fields into emails. When you generate emails, the tag is replaced with the specific data from each account in your query.
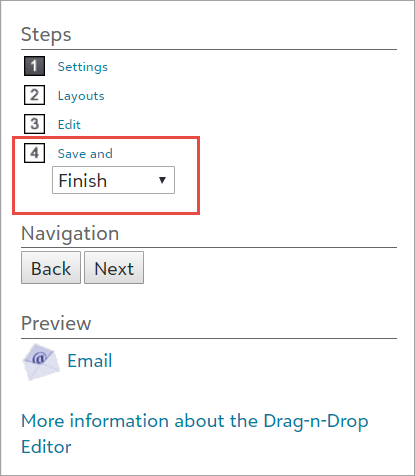
Step 4: Save
Once you have finished editing your template, select an option in the drop down menu and select Save.