Manage Your Client Account
Your organization can brand your account by selecting the color scheme, international settings, and logo to use across the Grant Manager Portal and specific locations in the Applicant Portal.
Tip: Specific permissions are required to access this functionality. For more information, see What permissions are required to access the Client Settings area?.
-
Navigate to the Grant Manager Portal by going to yourcausegrants.com or your custom client URL. Sign in using your Blackbaud ID (BBID) or Single Sign-On (SSO) credentials.
-
In the Settings > Client Settings area, take any of the following actions.
 Choose the color scheme for the portal, emails, dashboards, and more
-
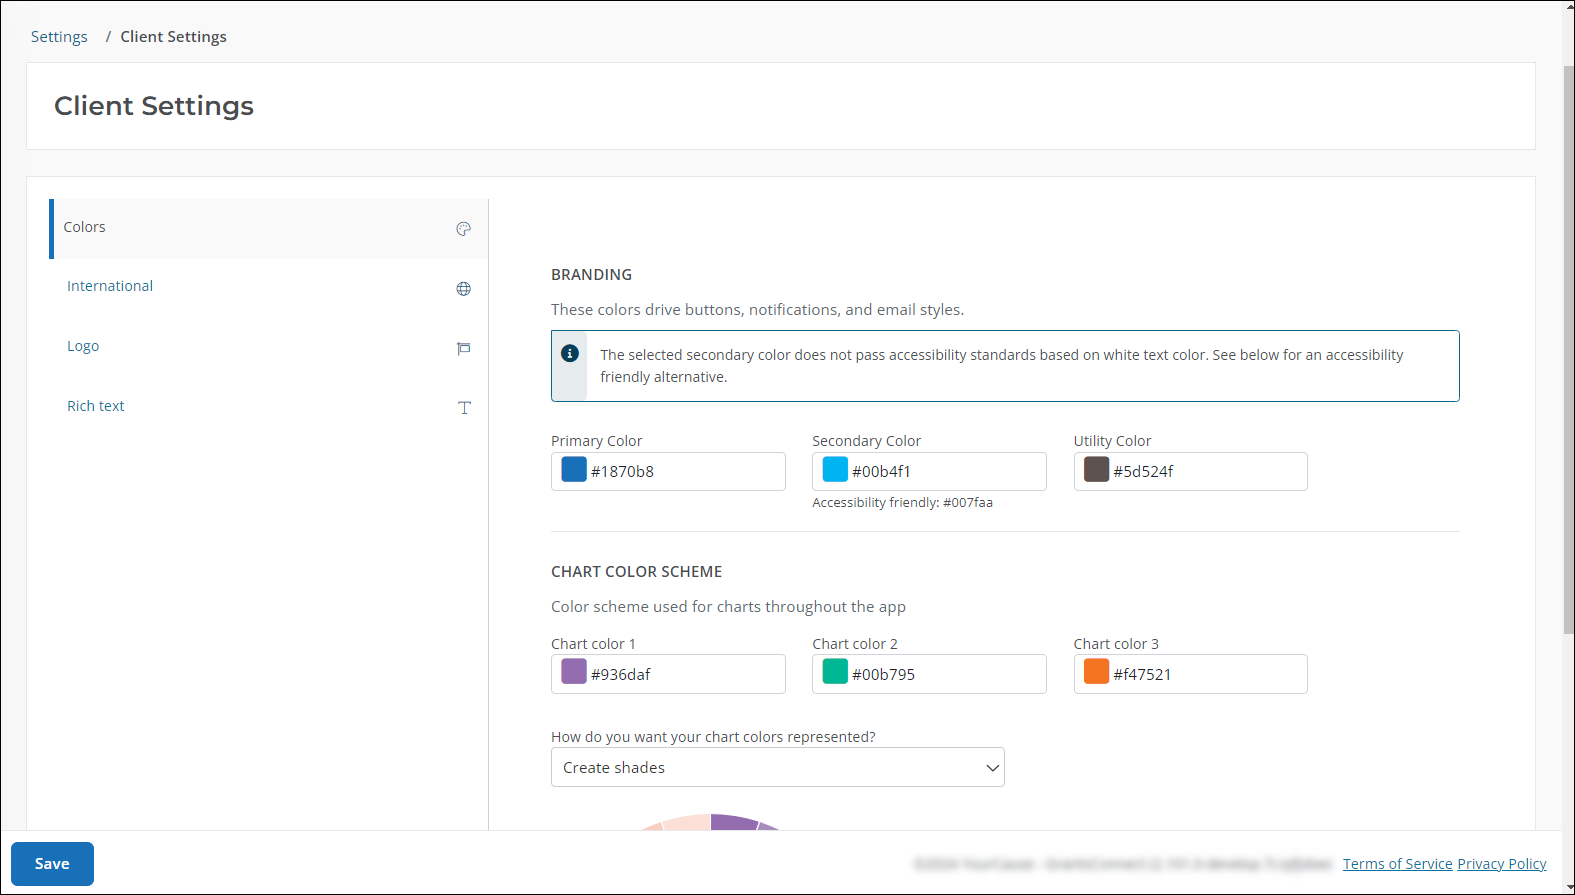
In the Colors tab, select the colors you want to use for branding and color schemes.

-
Branding - Specify the colors to use across the product, including:
Note: Colors are automatically checked against accessibility standards. If the color does not pass these standards, then an alternate color will be suggested.
-
Primary Color - Examples of where this will be applied include emails, buttons, and icons.
-
Secondary Color - Examples of where this will be applied include notifications, secondary action buttons, stepped processes (like program creation), Radio button fields in forms, and links.
-
Utility Color - An example of where this will be applied include the side bar (does not include the navigation itself).
Tip: A combination of the three colors is also used for styling records in the Insights dashboards.
-
-
Chart Color Scheme - Specify the color scheme to apply to dashboard charts. You can choose from shades, standard palettes, and alternate palettes.
-
 Select the languages and currencies your organization supports
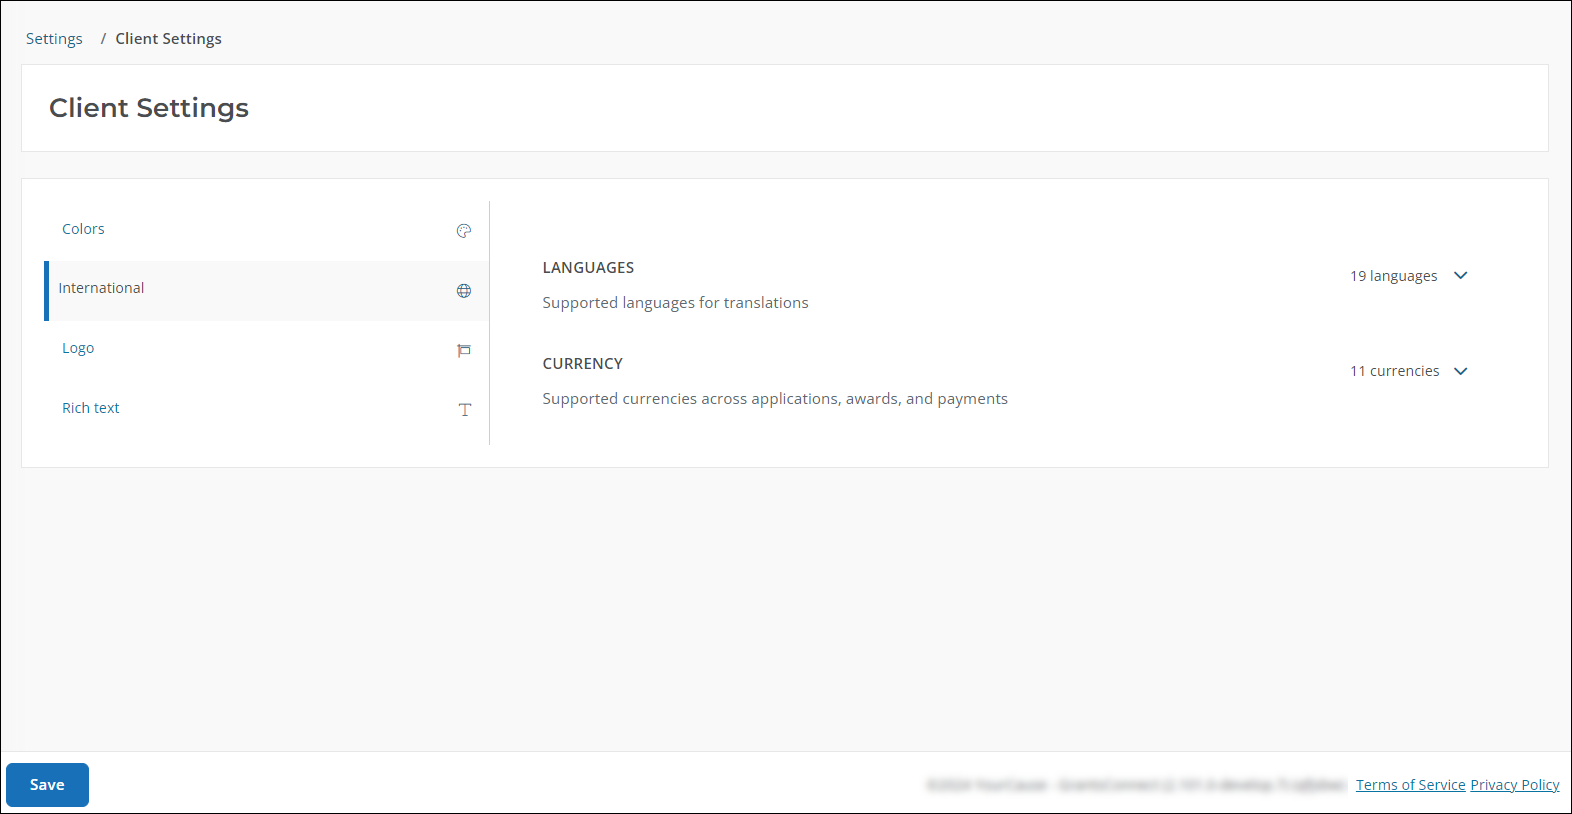
You can set your preferred languages and currencies, allowing you to better support global users.
-
In the Internationaltab, select the languages and currencies you want to make available to applicants and Grant Managers.
Note: A full list of languages and currencies can be found in the FAQ > International resources. For a list of languages, see Supported Languages in GrantsConnect.

 Upload your logo
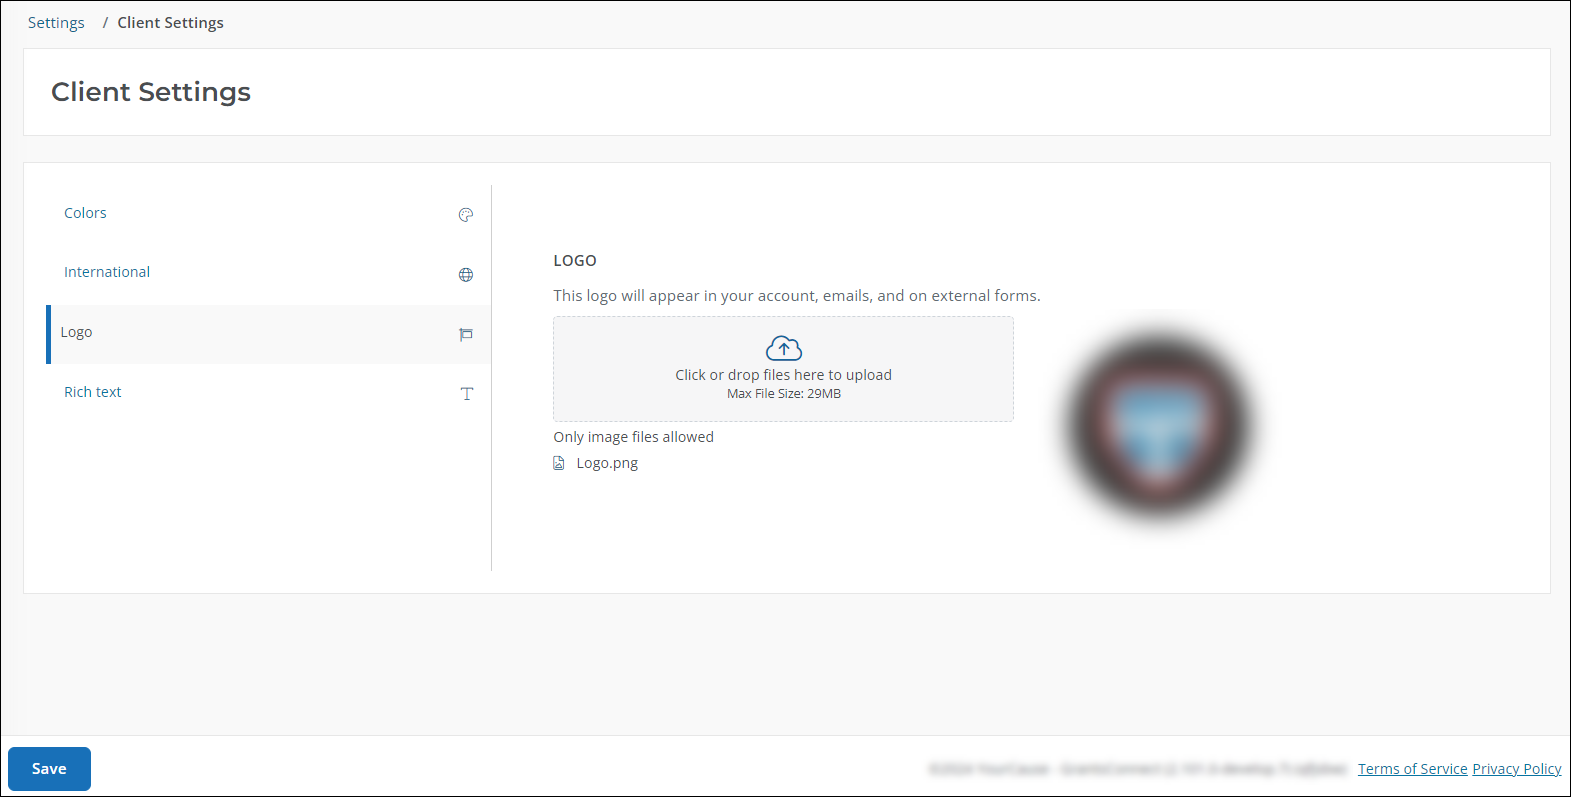
You can upload your organization's logo, allowing you to further customize branding for the Grant Manager Portal, emails, and external forms.
-
In the Logo tab, click on the file upload fields to find and upload your logo. A preview will be shown next to the field.
Note: The following file types are accepted:
WEBP,TIF,TIFF,SVG,BMP,GIF,JPG,JPEG, andPNG.
 Set default formats for rich text content
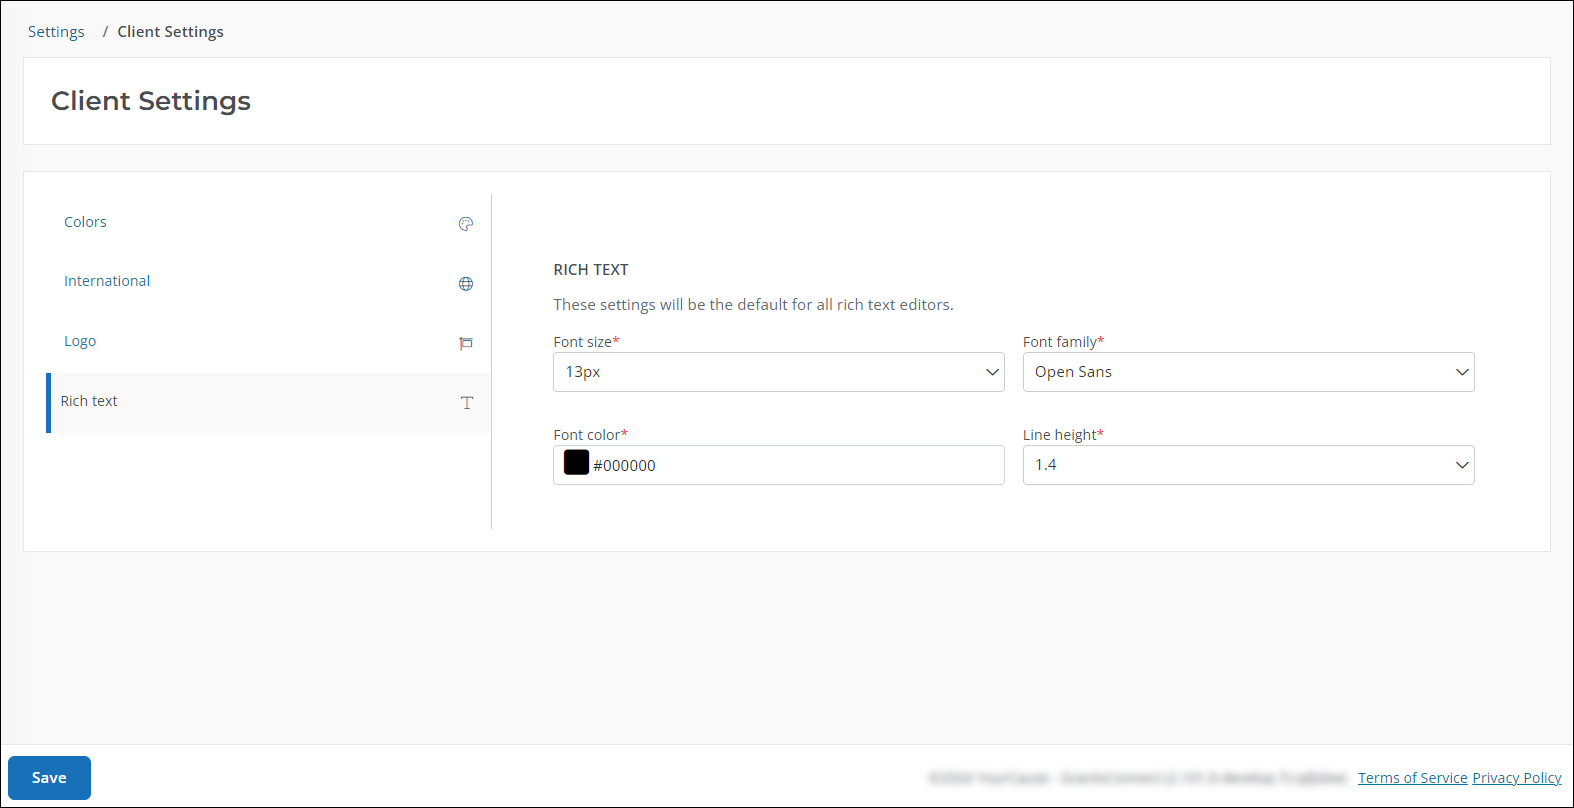
You can customize the default font styling used for rich text content, allowing you to keep components like document templates and custom emails consistent.
-
In the Rich Text tab, update the following settings:
-
Font size
-
Font family
-
Font color
-
Line height

-
The formatting set will be applied when using the rich text editor for the following components:
-
Custom emails
-
Document templates
-
Content component in custom forms
-
Text area fields in custom forms
-
Program description
-
Master eligibility responses (e.g., success, failed) for Eligibility Forms
-
Email comments that support rich text
Note: This formatting only applies to components that support rich text. It does not apply to the rest of GrantsConnect, including form previews and user interface fonts.
-
-
Save your updates.
Frequently asked questions (FAQs)
 What permissions are required to access the Client Settings area?
You must have either the System - Can Manage Client Settings or System - All permission to update your organization's account settings.
 What languages are supported?
Supported languages and locales include:
-
Catalan
-
Chinese (Simplified)
-
Chinese (Traditional)
-
Czech
-
Danish
-
Dutch (Netherlands)
-
English (American)
-
English (British)
-
English (Canadian)
-
French (Canada)
-
French (France)
-
German
-
Greek
-
Hindi
-
Hungarian
-
Italian
-
Japanese
-
Korean
-
Malay (Malaysia)
-
Polish
-
Portuguese (Brazil)
-
Portuguese (Portugal)
-
Romanian (Romania)
-
Russian
-
Slovak
-
Spanish (Mexico)
-
Spanish (Spain)
-
Swedish (Sweden)
-
Turkish
-
Ukrainian
-
Welsh (United Kingdom)
 What currencies are supported?
Supported currencies include:
-
AED (UAE Dirham)
-
AFN (Afghani)
-
ALL (Lek)
-
AMD (Armenian Dram)
-
ARS (Argentine Peso)
-
AUD (Australian Dollar)
-
AZN (Azerbaijanian Manat)
-
BAM (Convertible Mark)
-
BDT (Taka)
-
BGN (Bulgarian Lev)
-
BHD (Bahraini Dinar)
-
BND (Brunei Dollar)
-
BOB (Boliviano)
-
BRL (Brazilian Real)
-
BWP (Pula)
-
BZD (Belize Dollar)
-
CAD (Canadian Dollar)
-
CDF (Congolese Franc)
-
CHF (Swiss Franc)
-
CLP (Chilean Peso)
-
CNY (Yuan Renminbi)
-
COP (Colombian Peso)
-
CRC (Costa Rican Colon)
-
CZK (Czech Koruna)
-
DKK (Danish Krone)
-
DOP (Dominican Peso)
-
DZD (Algerian Dinar)
-
EGP (Egyptian Pound)
-
ERN (Nakfa)
-
ETB (Ethiopian Birr)
-
EUR (Euro)
-
GBP (Pound Sterling)
-
GEL (Lari)
-
GTQ (Quetzal)
-
HKD (Hong Kong Dollar)
-
HNL (Lempira)
-
HRK (Kuna)
-
HUF (Forint)
-
IDR (Rupiah)
-
ILS (New Israeli Sheqel)
-
INR (Indian Rupee)
-
IQD (Iraqi Dinar)
-
IRR (Iranian Rial)
-
ISK (Iceland Krona)
-
JMD (Jamaican Dollar)
-
JOD (Jordanian Dinar)
-
JPY (Yen)
-
KES (Kenyan Shilling)
-
KHR (Riel)
-
KRW (Won)
-
KWD (Kuwaiti Dinar)
-
KZT (Tenge)
-
LBP (Lebanese Pound)
-
LKR (Sri Lanka Rupee)
-
LYD (Libyan Dinar)
-
MAD (Moroccan Dirham)
-
MDL (Moldovan Leu)
-
MKD (Denar)
-
MMK (Kyat)
-
MOP (Pataca)
-
MXN (Mexican Peso)
-
MYR (Malaysian Ringgit)
-
NGN (Naira)
-
NIO (Cordoba Oro)
-
NOK (Norwegian Krone)
-
NPR (Nepalese Rupee)
-
NZD (New Zealand Dollar)
-
OMR (Rial Omani)
-
PAB (Balboa)
-
PEN (Nuevo Sol)
-
PHP (Philippine Peso)
-
PKR (Pakistan Rupee)
-
PLN (Zloty)
-
PYG (Guarani)
-
QAR (Qatari Rial)
-
RON (Romanian Leu)
-
RSD (Serbian Dinar)
-
RUB (Russian Ruble)
-
RWF (Rwanda Franc)
-
SAR (Saudi Riyal)
-
SEK (Swedish Krona)
-
SGD (Singapore Dollar)
-
SOS (Somali Shilling)
-
SYP (Syrian Pound)
-
THB (Baht)
-
TND (Tunisian Dinar)
-
TRY (Turkish Lira)
-
TTD (Trinidad and Tobago Dollar)
-
TWD (New Taiwan Dollar)
-
UAH (Hryvnia)
-
USD (US Dollar)
-
UYU (Peso Uruguayo)
-
UZS (Uzbekistan Sum)
-
VES (Sovereign Bolivar)
-
VND (Dong)
-
XAF (CFA Franc BEAC)
-
XOF (CFA Franc BCEAO)
-
YER (Yemeni Rial)
-
ZAR (Rand)
 What rich text settings are applied if I don't select my own?
If the settings in the Rich Text tab are not configured, they will default to:
-
Font size: 13px
-
Font family: Open Sans
-
Font color: Black
-
Line height: 1.4