Configure Employee SSO Fields
You can choose which HR file columns to pull into GrantsConnect as Employee SSO fields in the Settings > Employee SSO Field Configuration area. When doing so, you also have the option to provide custom field names to make them more meaningful in the application.
Tip: For a complete list of fields, see Available Employee SSO Fields.
What to expect
-
Only fields with Column in use selected will be pulled into GrantsConnect.
-
Custom field names will be shown anywhere Employee SSO fields are used. If a custom name isn't provided, the original column name will be used instead.
-
You must have the System - Can Manage Client Settings or System - All permission to manage these fields.
How to configure fields
-
Navigate to the Grant Manager Portal by going to yourcausegrants.com or your client URL. Sign in with your Blackbaud ID (BBID) or Single Sign-On (SSO) credentials.
-
After signing in, select Settings in the side navigation and then Employee SSO Field Configuration.
-
Select the Update configuration button.
-
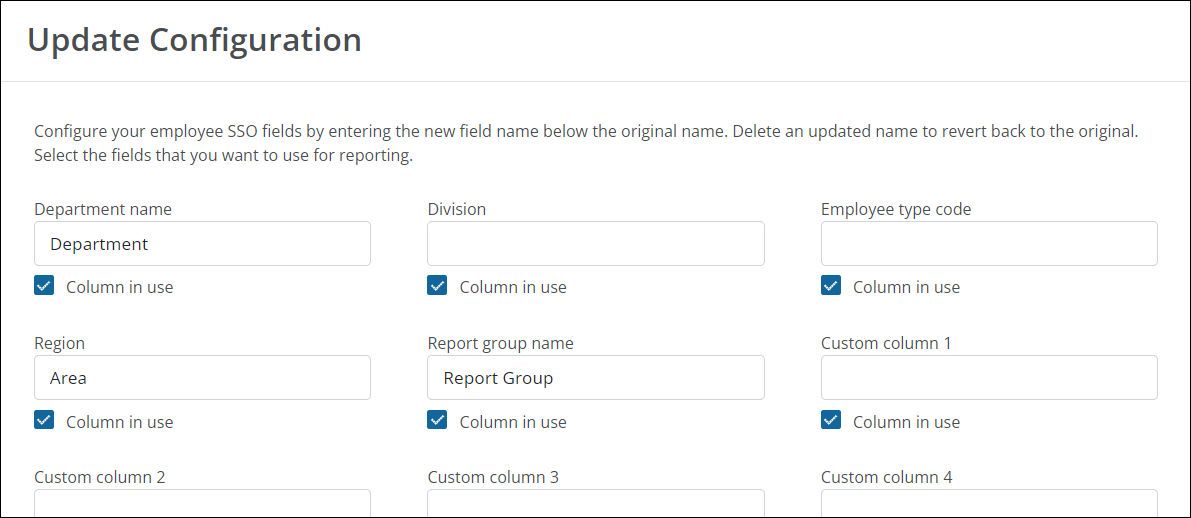
In Update Configuration, configure the following settings:
-
Select the fields to use - Select the Column in use checkbox next to all fields you want to make available in forms, reports, etc. Unselected fields will not appear in GrantsConnect.
-
Add custom field names (Optional) - Enter a custom name for fields in the appropriate text boxes. If the text box is left blank, the field will appear with the original column name like Region, Custom column 1, etc.
Tip: Renaming the Employee SSO fields allows you to map HR file columns to more meaningful names. Your original HR file will not be impacted.
-
-
Select Update to save your changes.