Import Fields in Bulk
You can create multiple fields at once by import them from a spreadsheet. To do so, you must first build a Form Field Input File and then upload it into the system using the Bulk create tool in the Program Setup > Custom Forms area.
Tip: Before creating a new field, it's recommended to check the available standard product fields for any that can be used instead. These fields are preconfigured and integrate with other standard product templates like forms and reports.
Step 1 - Create the Form Field Input File from the template
-
Navigate to the Grant Manager Portal by going to yourcausegrants.com or your client URL. Sign in with your Blackbaud ID (BBID) or Single Sign-On (SSO) credentials.
-
After signing in, select Program Setup in the side navigation and then Custom Forms. Select the Form Fields tab.
-
Select the Manage form fields button and then Bulk create.
-
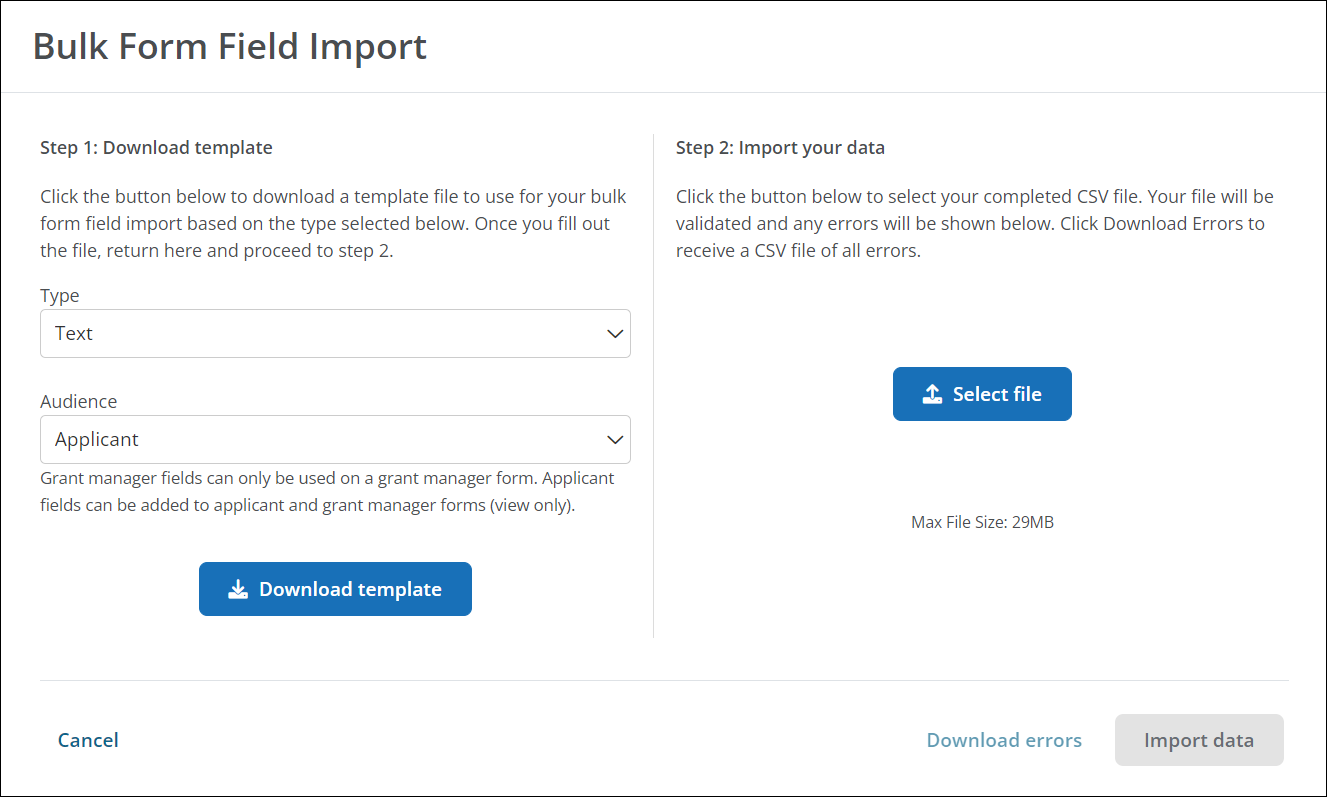
In the Bulk Form Field Input screen, follow the steps to download your template in Step 1: Download template.
-
Choose the field type and audience - Applicant or Grant Manager - for the fields you'll be importing.
Tip: The field type and audience determine which columns are required in this file. Because of this, only include information for the specified field type and audience. Do not mix field types or audiences within the spreadsheet.
-
Select Download template to export a .csv file with the required columns and formatting for the field type and audience specified.
-
-
Fill out the template with details for each field to import.
Tip: To learn more about formatting, view the import rules in the Bulk Form Field Input screen.
Step 2 - Upload the Form Field Input File into GrantsConnect
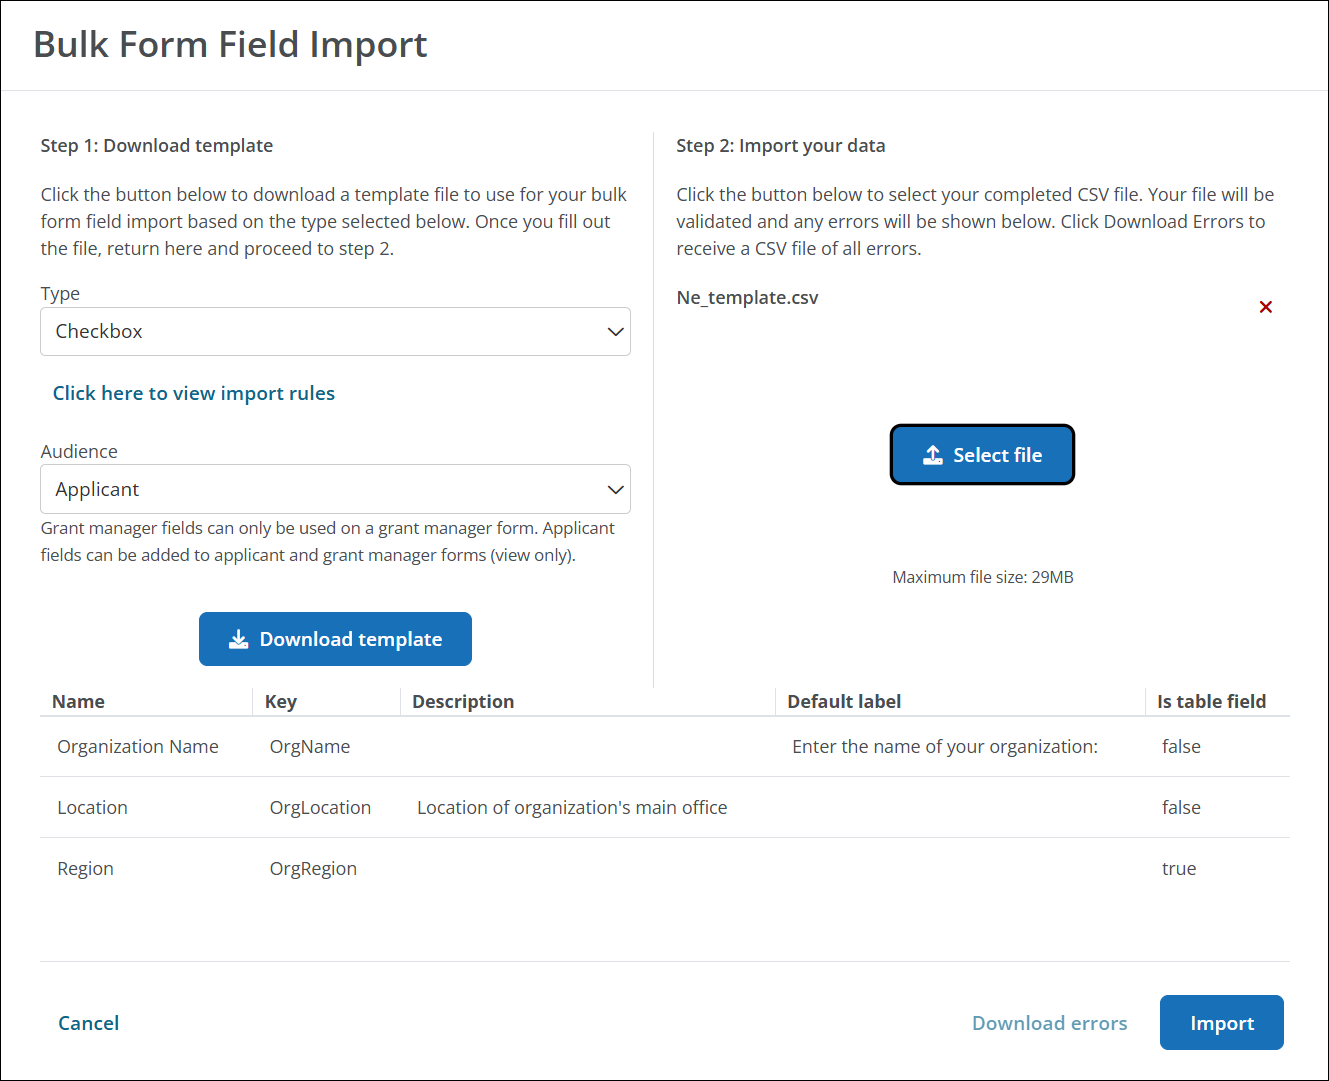
After creating or updating the Form Field Import File, it should be loaded into the system.
-
Return to the Bulk Form Field Input screen.
-
Using Select file in Step 2: Import your data, find and upload your finished .csv file.
-
The file is automatically validated for proper formatting and required fields. Correct any errors that appear in the screen and reupload the updated file.
Tip: Errors can be exported to a spreadsheet by selecting Download errors.
-
Select Import to upload and create your form fields.
Once uploaded, all new fields will be available in the Form Fields tab in the Program Setup > Custom Forms area.