Exercise: Build a Feature Group
Let's create a FeatureGroupSpec to organize and manage the authorization of individual Infinity features, such as data forms, data lists, record operations, etc. into a larger logical feature. We will create a new FeatureGroupSpec that groups together the necessary features used to view addresses. We will configure a new system role used to allow the viewing of a constituent's addresses and assign the new Feature Group to the system role.
Prerequisites and Assumptions
This exercise assumes:
- You are logged into Blackbaud CRM as an Application User with system administrator rights.
- You have access to a second test user account with system administrator rights.
- You are using Blackbaud CRM version 2.93 or higher and the corresponding version of the SDK.
- You have access to the Infinity database associated with Blackbaud CRM via SQL Server Management Studio
- You know how to search for Application Features and view the meta data for a feature.
The FeatureGroupSpec catalog item template was first made available in version 2.93 of Blackbaud CRM. To attempt this exercise, you should be using a version of 2.93 or higher of the SDK. Beyond that the version of the SDK will dictate the version of Visual Studio and .NET Framework. For example. SDK version 2.91 and higher have dependencies on .NET 4.0 and therefore will require Visual Studio 2010 or higher. I will be using Microsoft Visual Studio 2010 and developing against a local install of Blackbaud CRM version 3.0 and the corresponding 3.0 version of the SDK. I am using a local install of SQL Server 2008 and SQL Server Management Studio .
Tip: The Infinity platform employs caching at multiple levels to reduce spec retrieval times (since specs are not expected to change very often). However, during spec development, the XML will be reloaded often as changes are made and assessed. In order to avoid pulling cached copies of the spec after loading changes, changes should be made in the web.config file and you will probably find it convenient to recycle the Application Pool. For additional information see Step 10 within Blackbaud CRM SDK Developer Environment Setup.
Step 1 - Create Catalog Project
- If you need to create a new project your can do so now with Microsoft Visual Studio by selecting File\New\Project… from the main menu. Within the New Project dialog box, select Blackbaud AppFx as the project type, and select Catalog Project from the list of templates.
Step 2 - Create an additional test application user with System Administrator rights/privileges
- Give the test application user system administrative rights.
- Ensure the test application user is not associated with any system roles other than the system role that will be created later in this exercise.
- Be sure to use a test user account which is different than your own system admin account.
Step 3 - Create a system role
We will need to create a system role to test our feature group. We will place the test application user into this role and eventually configure the role to use our new feature group.
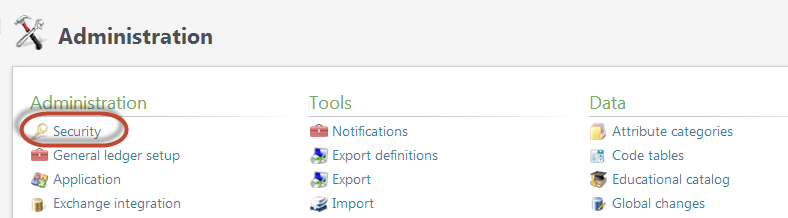
- Navigate to the Administration functional area.
- Selecting the Security task.
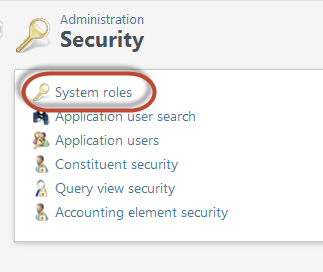
- Select the System roles task.
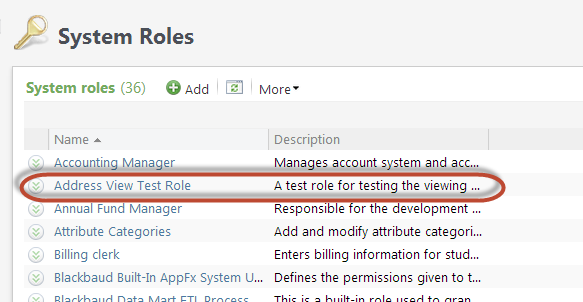
- Add a new system role named Address View Test Role.
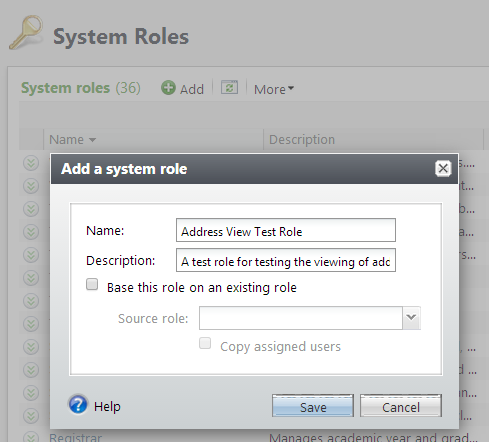
- After saving the system role, you should have a new system role that looks like this:

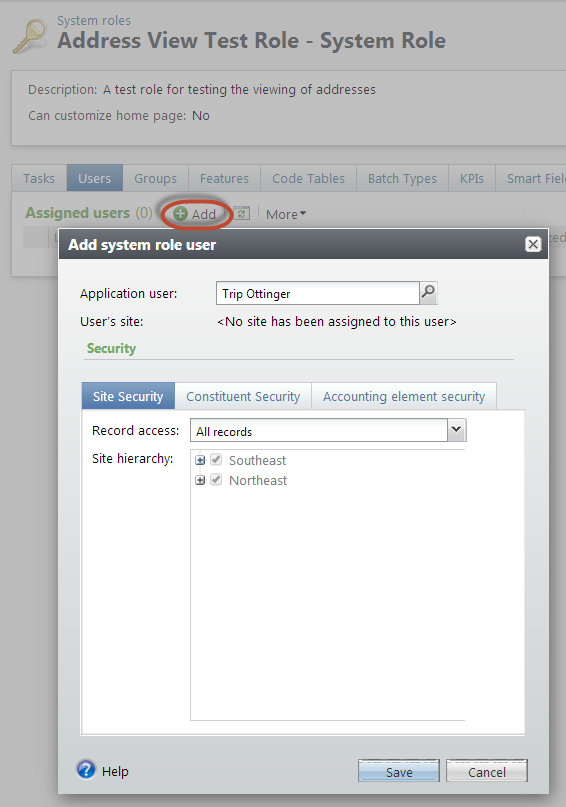
Next you should place the test application user created earlier into theAddress View Test Role test role:
- On the system role, select the Users tab followed by clicking the Add action button to assign a user into the system role. The Add system role user dialog screen will appear. See figure below.
- Search for the test application user that was created in an earlier step. Obviously, your test user will vary from the user depicted in the screen shot below.
- Click the Save button to add the user to the system role.
Step 4 - Add a new FeatureGroupSpec Catalog item into the project.
- Ensure Visual Studio is open along with your catalog project.
- Right-click the catalog project within the Solution Explorer in Visual Studio and select Add\New Item… from the pop-up menu.
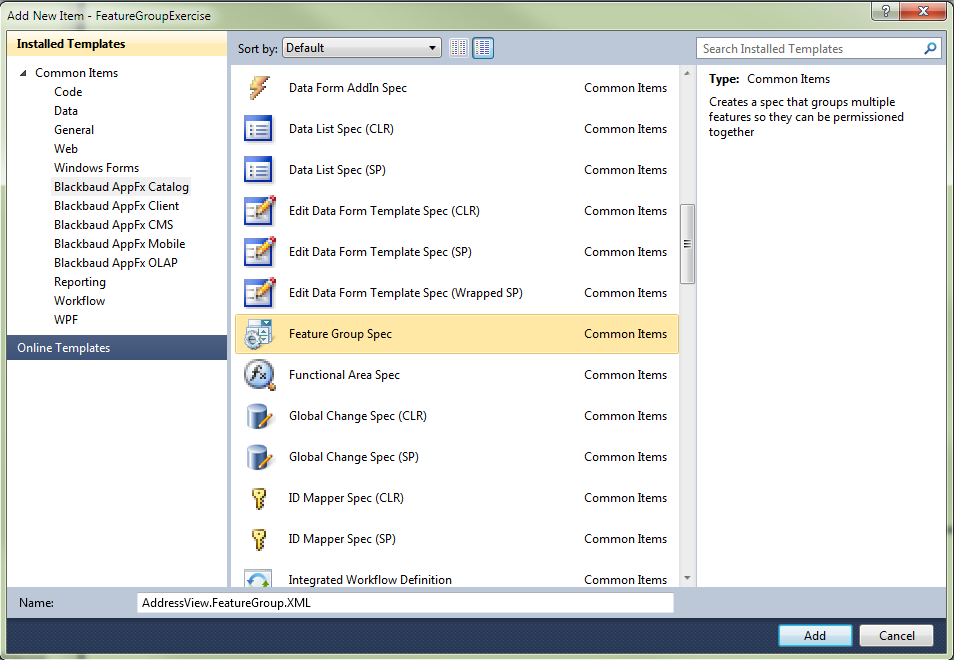
- Select Blackbaud AppFx Catalog as the category on the Add New Item dialog window and select Feature Group Spec as the catalog item template.
- Enter AddressView.FeatureGroup.XML as the XML file name. See figure below.
- On the Add New Item dialog screen, click the Add button to add the spec into the project.
Looking below, the template for the spec will stub out some basic XML including some identifying information in the root level element (FeatureGroupSpec), a Folders element, and a Feature element. Note the template that creates the spec will generate a new GUID value for the ID attribute. The value of the ID attribute in your spec will be different than the value presented in the figure below.

Step 5 - Complete the FeatureGroupSpec root level element.
Provide the following values for the attributes in the FeatureGroupSpec root level element:
-
Name: Constituent Address View (Custom)
-
Description: Search Constituents and View addresses
-
Author: Technical Training
-
NameUIOverride: Constituent Address View
Add an attribute for the common types xml namespace.
-
xmlns:common: bb_appfx_commontypes
At this point the FeatureGroupSpec element of your spec should look similar to this:
<FeatureGroupSpec
xmlns="bb_appfx_featuregroup"
ID="f43603ff-da89-46f3-b7cc-cee6ba207820"
xmlns:common="bb_appfx_commontypes"
Name="Constituent Address View (Custom)"
Description="Search Constituents and View addresses"
Author="Technical Training"
NameUIOverride="Constituent Address View"
>  ...
Step 6 - Specify the folder where the feature group will appear in the user interface.
Within the provided Folderelement, provide the value for the Path attribute. The path provides a way to create a hierarchical folder structure within Assign permissions dialog screen. This will help organize our feature group among the other permissions within the user interface. We will get to see this folder structure toward the end of the exercise when we configure our new system role to use our feature group.
Tip: While Feature Groups are created with a FeatureGroupSpec via the SDK, they are known to users as "Permissions" in the user interface.
- Within the Folders element, provide the following: <Folder Path="Constituent\Constituent Address view (basic)">
Step 7 - Identify and group the necessary features together with the Features element.
Next we must identify all the features necessary for viewing a constituent's address. To view a constituent, we will need to search for a constituent. Therefore, we will need to obtain the system record id of the appropriate search list feature and use that value as the FeatureID attribute value within a Feature element. To search for a constituent, we will need permission to a task that invokes the search list. So, we will need the system record id of the task, too. The task that invokes the search us will drop us on the Constituent Page. We don’t have provide a Feature element for a page, but we will need a Feature element for the necessary features that are displayed within the page like the summary view form at the top of the page and most importantly the data list of addresses displayed within the page's Contacts tab.
Tip: To help surf the sea of features and obtain the system record id's of the necessary features, you will probably need to use the tasks and actions used to view Application Features and view the metadata for a feature.
The table below represents each feature included within the Features element of our new FeatureGroupSpec. Note that a PageDefinitionSpec (Page) is not a type of feature that belongs within the FeatureGroupSpec. Within a page, the system will hide any features that a user does not have permissions to view or use.
|
FeatureID |
FeatureType |
Feature Name |
Purpose |
|---|---|---|---|
|
bcf5e643-e833-4ec6-842f-a73679c1877a |
Task |
Constituent search |
Search for and view constituent records. Uses the Constituent Search by Name or Lookup ID search list to find a constituent and then sends us on the Constituent Page. |
| fdf9d631-5277-4300-80b3-fdf5fb8850ec | SearchList | Constituent Search by Name or Lookup ID | provides the ability to search for constituents. |
| e04c7070-e928-4646-859b-2e2c22c84b9d | DataList | Contact Information Address List | datalist returns all address contact information for a constituent. Used on the Constituent Page. |
| 1f4fea31-5779-44db-bcce-ec5afa36d82b | DataFormInstance | Constituent Summary Profile View Form | This view data form template provides a constituent summary profile. Used on the Constituent Page. |
- Below the Folders element, you will see the Featureselement. Within the Features element, add four Feature child elements. Use the table above to complete the FeatureID and FeatureType attribute values for each Feature element. When you have finished, the completed FeatureGroupSpec should look similar this:
<FeatureGroupSpec
    xmlns="bb_appfx_featuregroup"
    ID="f43603ff-da89-46f3-b7cc-cee6ba207820"
    xmlns:common="bb_appfx_commontypes"
    Name="Constituent Address View (Custom)"
    Description="Search Constituents and View addresses"
    Author="Technical Training"
    NameUIOverride="Constituent Address View"
    >

  <!--Specify one or more folders where the feature group will appear in the UI.-->
  <Folders>
    <Folder Path="Constituent\Constituent Address view (basic)">
    </Folder>
  </Folders>

  <!--Specify one or more features that belong to the feature group.-->
  <Features>
    <Feature FeatureID="bcf5e643-e833-4ec6-842f-a73679c1877a" FeatureType="Task" />
    <Feature FeatureID="fdf9d631-5277-4300-80b3-fdf5fb8850ec" FeatureType="SearchList" />
    <Feature FeatureID="e04c7070-e928-4646-859b-2e2c22c84b9d" FeatureType="DataList" />
    <Feature FeatureID="1f4fea31-5779-44db-bcce-ec5afa36d82b" FeatureType="DataFormInstance" />
  </Features>
</FeatureGroupSpec>
Step 8 - Load the FeatureGroupSpec via LoadSpec.
- Within Visual Studio, save xml file containing the FeatureGroupSpec.
- Use the LoadSpec utility to load the spec into the database / catalog system.
Step 9 - Configure the new Feature Group (Permission) to the Address View Test Role
- With the spec successfully loaded, navigate to the Administration functional area and select the Security task.
- Select System roles task
- Locate and select the Address View Test Role system role within the list of system roles.
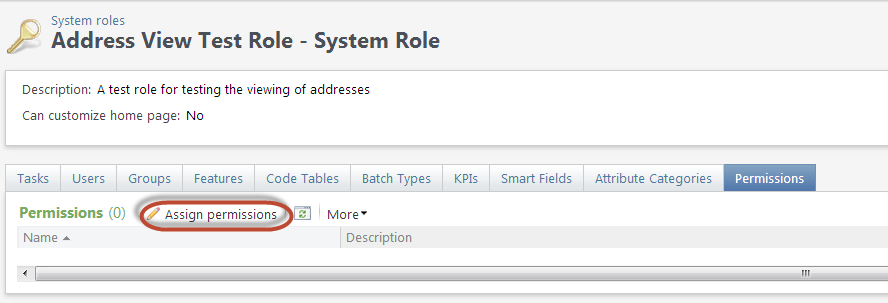
- Select the Permissions tab followed by clicking the Assign permissions action button.
- The Assign permissions dialog screen will appear. See figure below. Select the Constituent folder on the left hand side of the dialog screen followed by the Constituent Address view (basic) sub folder. This folder structure corresponds to the <Folder Path="Constituent\Constituent Address view (basic)"> element you placed within your FeatureGroupSpec in an prior step.
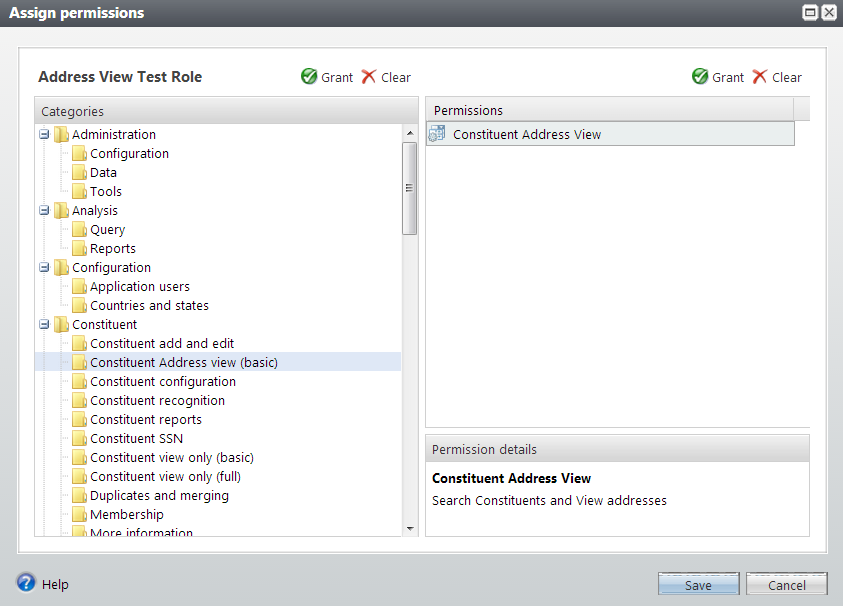
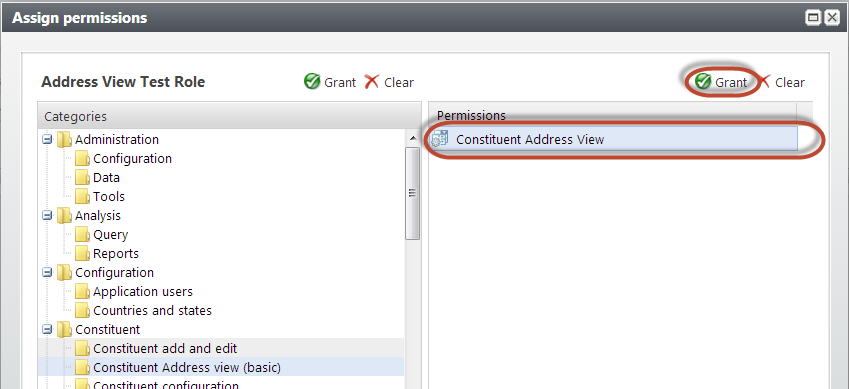
- On the right hand side of the Assign permissions dialog screen, select the Constituent Address View permission from the list of Permissions. The name of the permission corresponds to either the Name or NameUIOverride attribute value of the root FeatureGroupSpec element. Since we have provided a value for the NameUIOverride attribute, the value for this attribute appears in the list of Permissions.
- In the upper right hand side of the screen, select the Grant button above the Permissions list.
- Select the Save button to assign the permission to the system role.
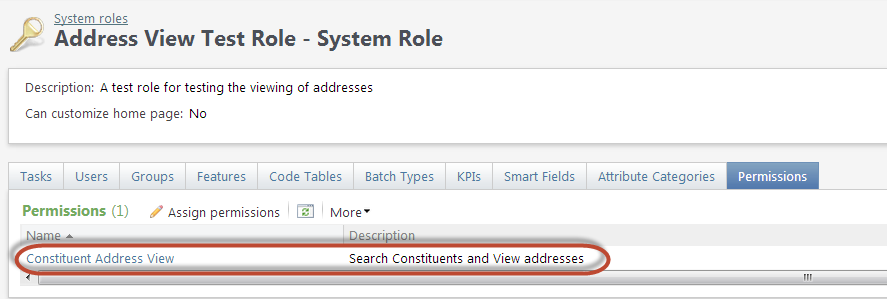
Once the permission (feature group) has been assigned to the system role, you will see the permission listed:
Step 10 - Testing our Feature Group (permission) for a non system administrator
In order to test our feature group, we will need to assign a test user that does not have any privileges other than the ones we associated to the Address View Test Role. Remember the test user that was added to our test system role? We will revoke system administrator privileges from this test user.
- Log into the application with your own system administrator credentials
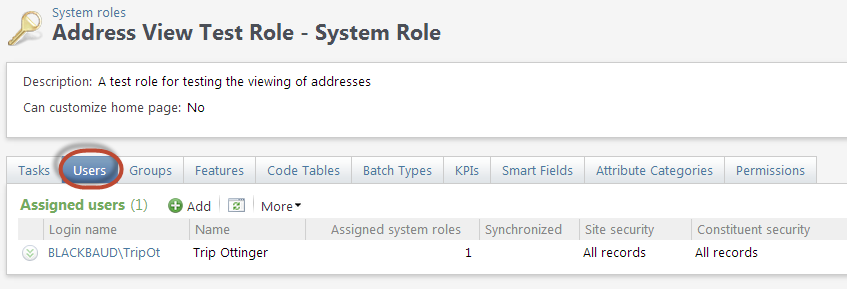
- On the page displaying the Address View Test Role, click the Users tab.
- Within the list of assigned users, click the assigned test user. This will navigate you to the page of the application user.
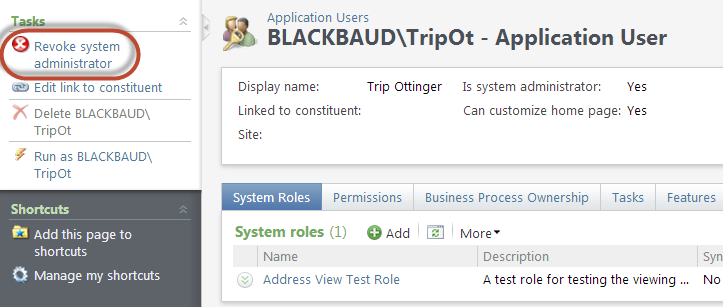
- In the upper left area of the page, select the Revoke system administrator link and confirm the action.
- Recycle the Application pool to flush the web cache.
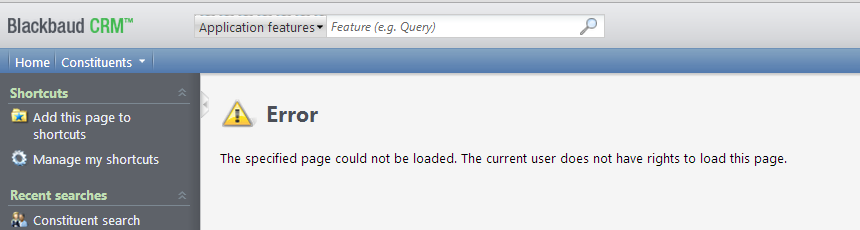
- Refresh the web shell page in your browser. If you are logged in as the same user that you just revoked system administrator privileges, you will no longer have rights to see the page of the application user.
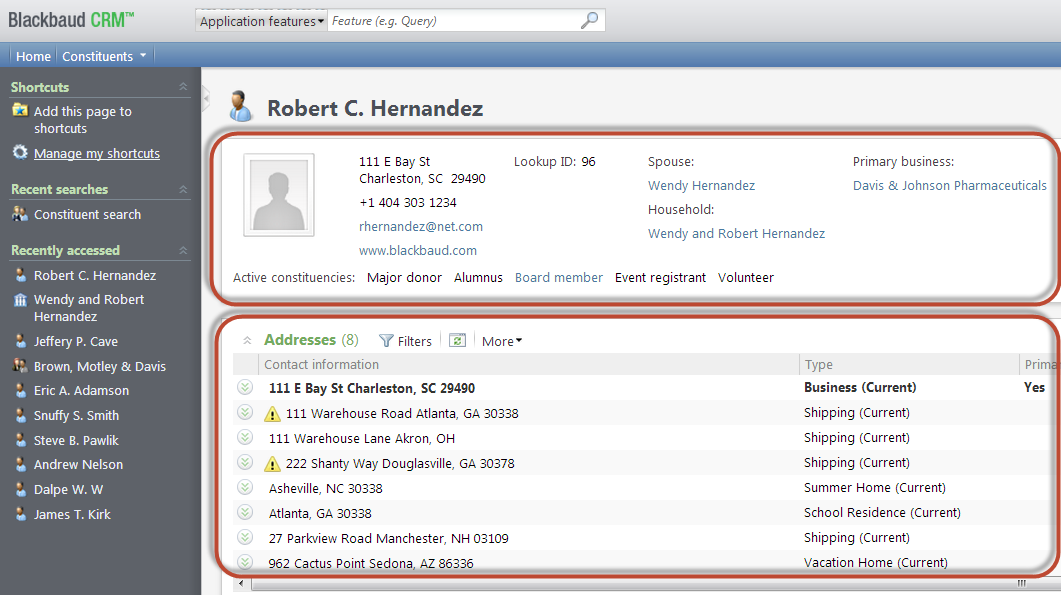
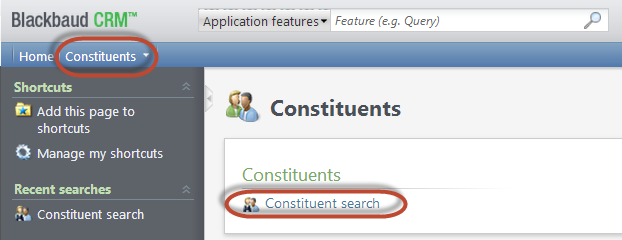
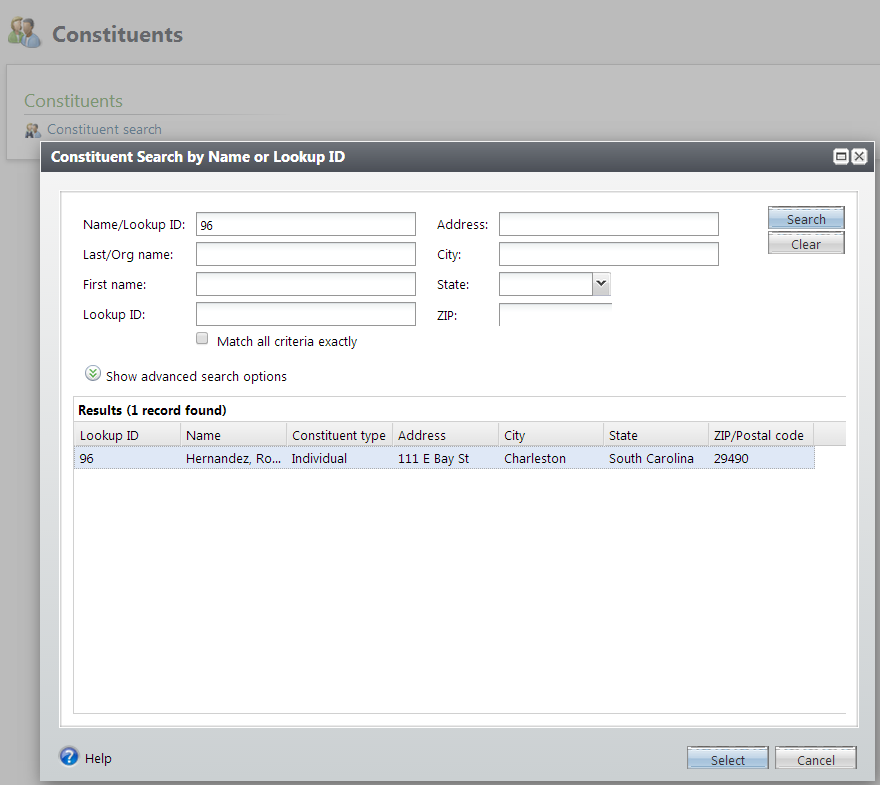
- Your test application user should now only have rights to search and view the Constituent Page along with the summary view data form and the data list of addresses. Select the Constituents functional area, click the Constituent search task, and search for a constituent. In the series of screen shots below, I am searching for Robert Hernandez via his look up id:
As you can see the task navigates to the Constituent Page. Notice we only have access to the summary view data form and the address data list as defined by our FeatureGroupSpec. Success!