Select your user interface:
Exercise: Configure a Functional Area
You can create functional areas, tasks, and data lists with two methods:
-
Configure the feature through Shell Design.
-
Use the Infinity SDK to edit the appropriate XML spec within Visual Studio.
Features that users access in the Infinity shell are grouped into functional areas. Functional areas include tasks. These specs simply create the various areas in an Infinity application (e.g. Constituents, Revenue, Data, and Major Giving). Tasks are used for organization and navigation. Tasks are related to an existing functional area and are displayed on the Functional Area drop-down list as well as on the Area Home Page.
Step 1 - Put the shell into Design Mode.
Select Tools\Design Mode from the Infinity shell main menu.
Click the Toggle design mode on button near the top right of the web browser.
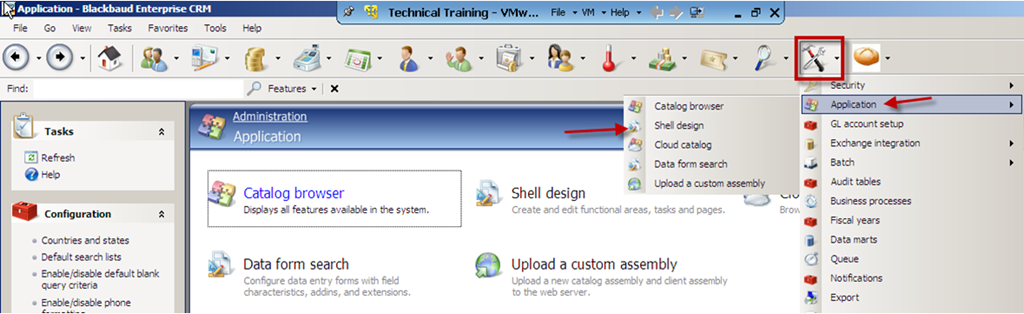
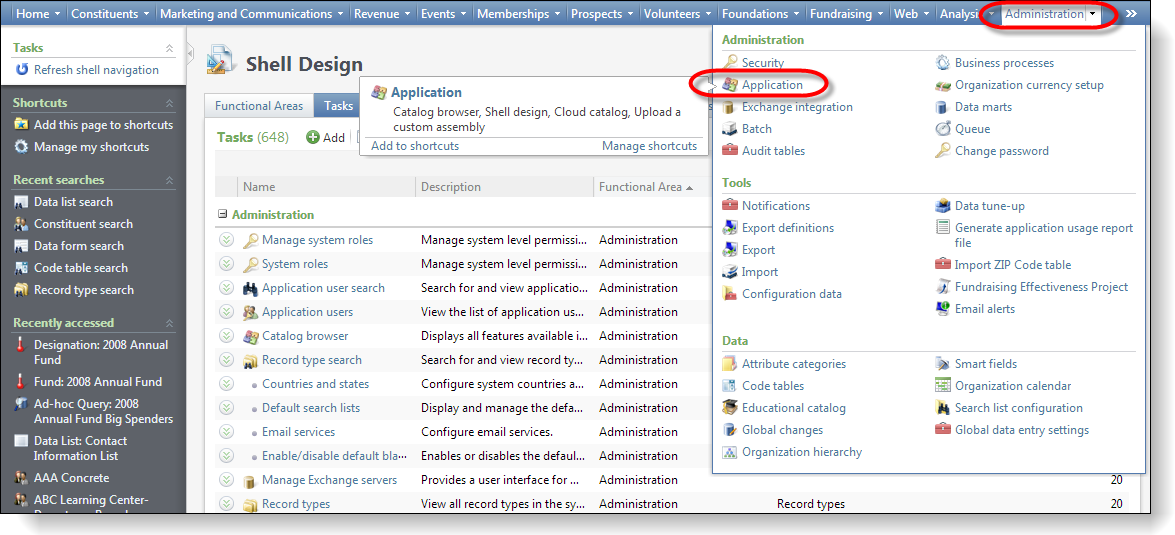
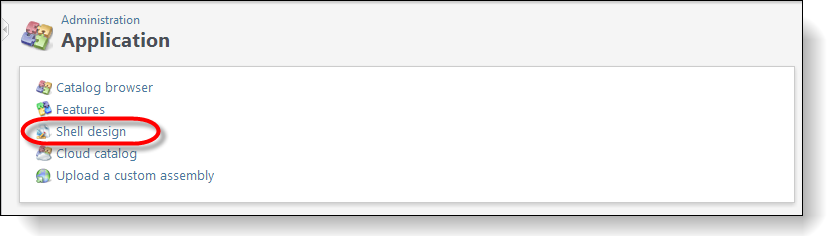
Step 2 - Navigate to the Administration functional area, select the Application task, and select the Shell Design task to open the Shell Design page.
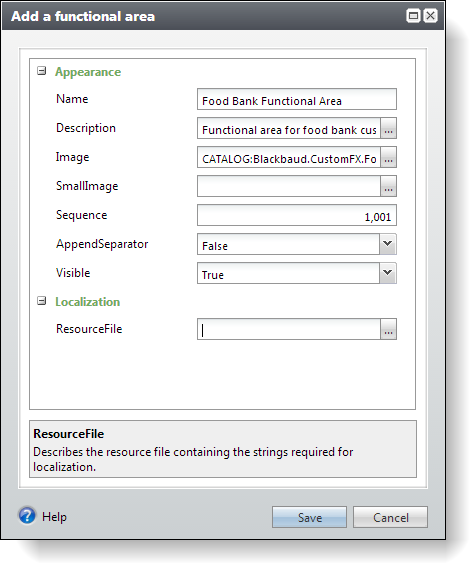
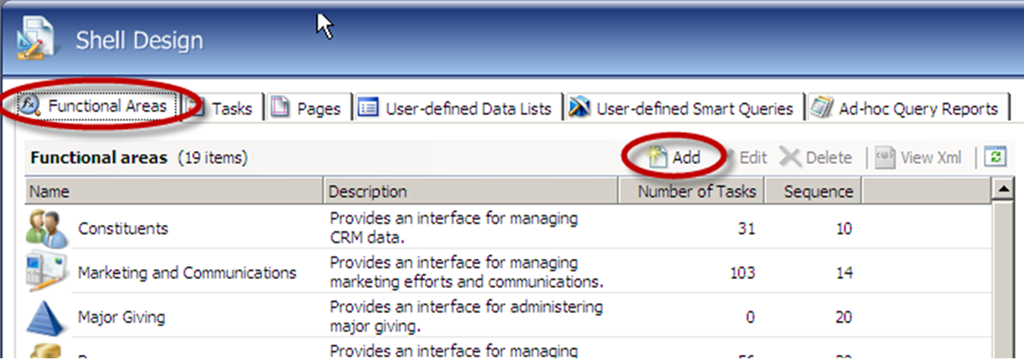
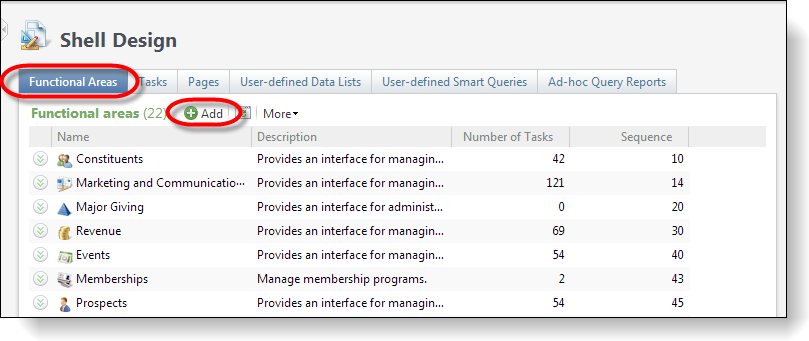
Step 3 - On the Functional Areas tab, click Add just above the Functional areas data list.
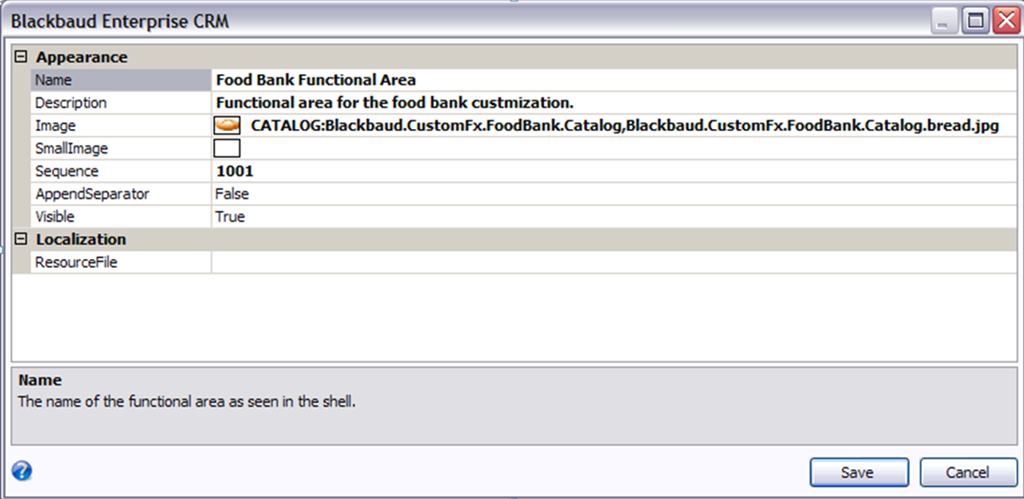
Step 4 - Configure properties for the functional area.
On the properties dialog window to add a functional area, enter the following values.
| Property | Value |
|---|---|
| Name | Food Bank Functional Area |
| Description | Functional area for the food bank customization. |
| Image |
CATALOG:Blackbaud.CustomFx.FoodBank.Catalog,
|
| Sequence | 1001 |
Note: Step 4 assumes that an image file named bread.jpg exists within a .NET assembly (.dll) file named Blackbaud.CustomFx.FoodBank.Catalog.dll that was deployed to the Infinity web server. Custom images such as the bread image may NOT be browsed within the designer. The values for the Image property that points to custom images must be typed into the property setting manually.