Exercise: Create an Ad-hoc Revenue Query
When you create ad-hoc queries, you must first specify a source view that determines the type of records to include. Then you specify the output fields and filter criteria for the query. You can use categories to group your queries. When you view ad-hoc queries, you can use filters such as Type or Category to limit how many queries are shown.
Step 1 - Add a Revenue query code table category.
Navigate to the Administration functional area and select the Code tables task.
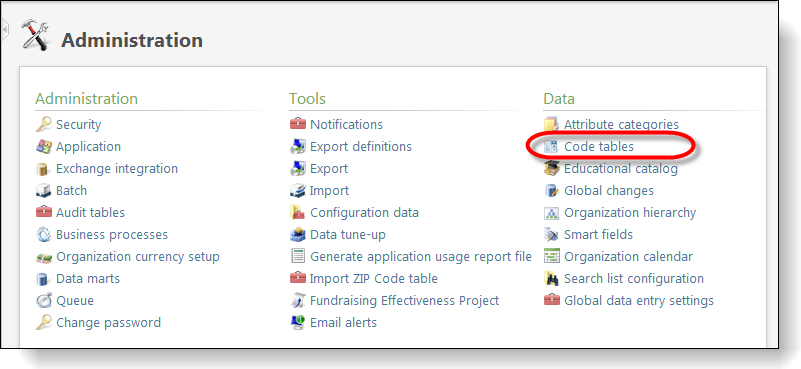
Locate the Query Category code table and click the Query Category link.
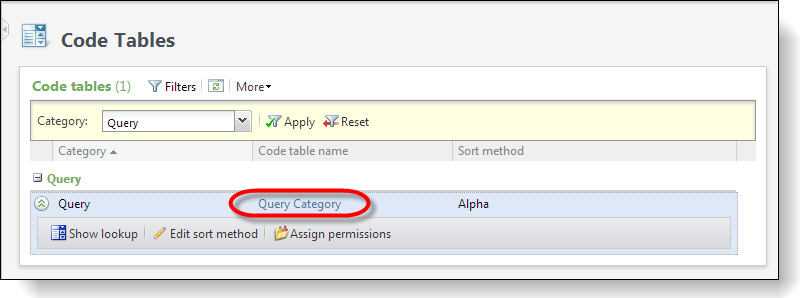
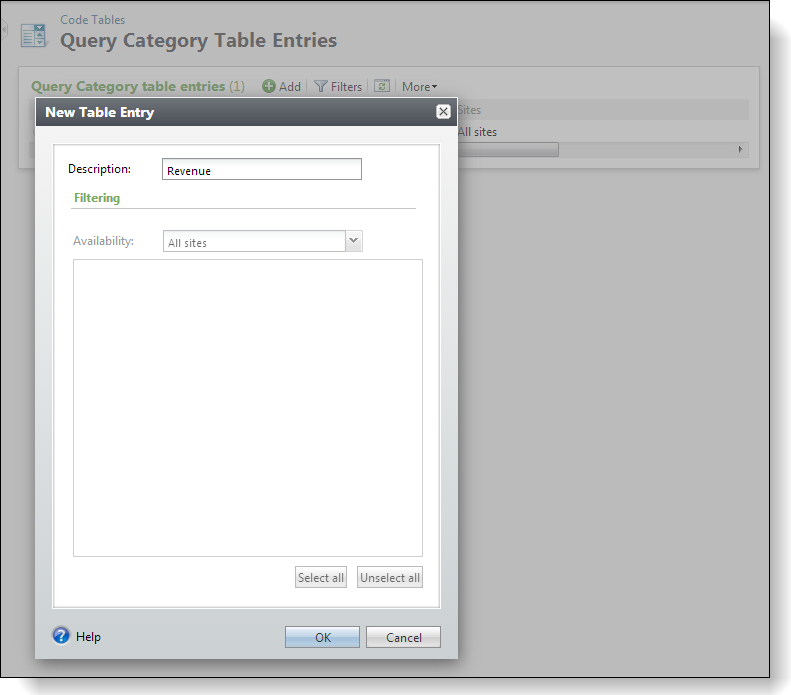
To create a query category table entry, click Add and enter "Revenue" in the Description field. Then click OK.
Step 2 - Create an ad-hoc query.
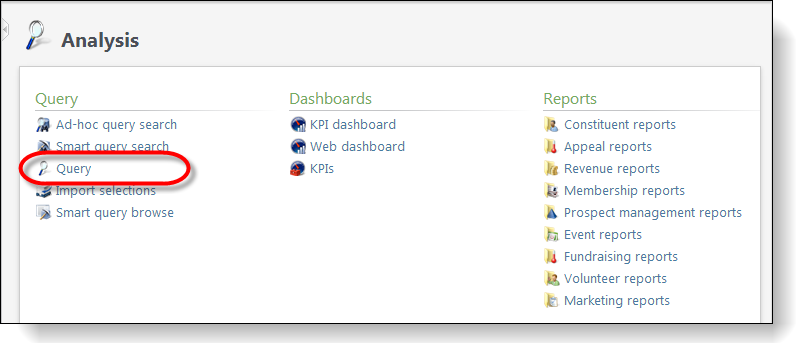
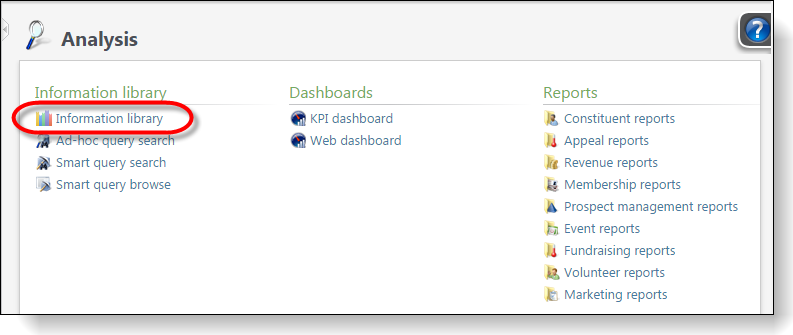
Navigate to the Analysis functional area and click the Query task to create an ad-hoc query.
Navigate to the Analysis functional area and click the Information library task to create an ad-hoc query.
Step 3 - Click the Add action and select the Revenue source view.
Step 4 - Click the Add an ad-hoc query action and select the Revenue source view.
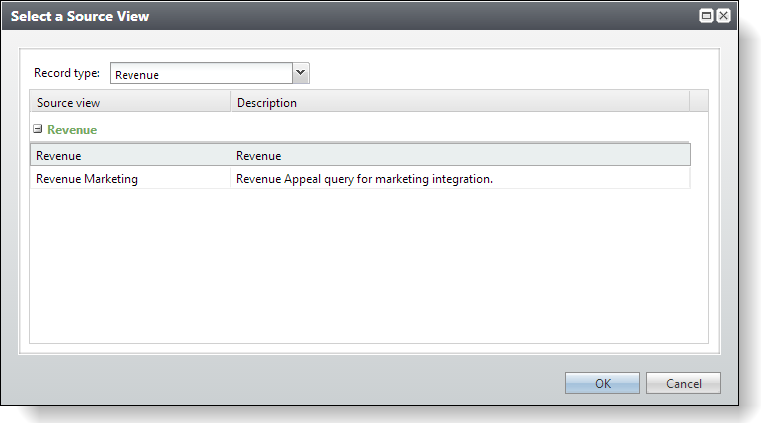
Select the source view to use as the basis for your query. Each source view is associated with a record type that determines how the query is used throughout the system. When you create queries, it is important to understand the idea of source views. All queries are based on an initial source view that instructs the program to select a particular type of record for inclusion in the query. Source views determine the field categories that are available for a query. The record type that a query is based on determines where the query is available and how it is used in the program. Selecting the source view can be considered the first step in narrowing the information available for your query.
You can filter the list of source views by the Revenue record type, as shown below.
Select the Revenue source view for our ad-hoc query and click OK.
Step 5 - Select fields from Browse for fields in.
On the Select filter and output fields tab, you select the output fields to view for each record that the query returns and the criteria to determine which records to include in that output. On the Set sort and group actions tab, you can specify sort fields and their order and filter on aggregate values. On the Preview results tab, you can browse through the results of the query.
The Browse for fields in pane shows the tables available for the selected type of query. You can expand a table to see its available fields.
In addition to available tables, the pane displays any selections that are available for use as output fields or filters for this particular type of query. When you use a selection for this purpose, only the records included in the selection are included in the output or are filtered from the query results.
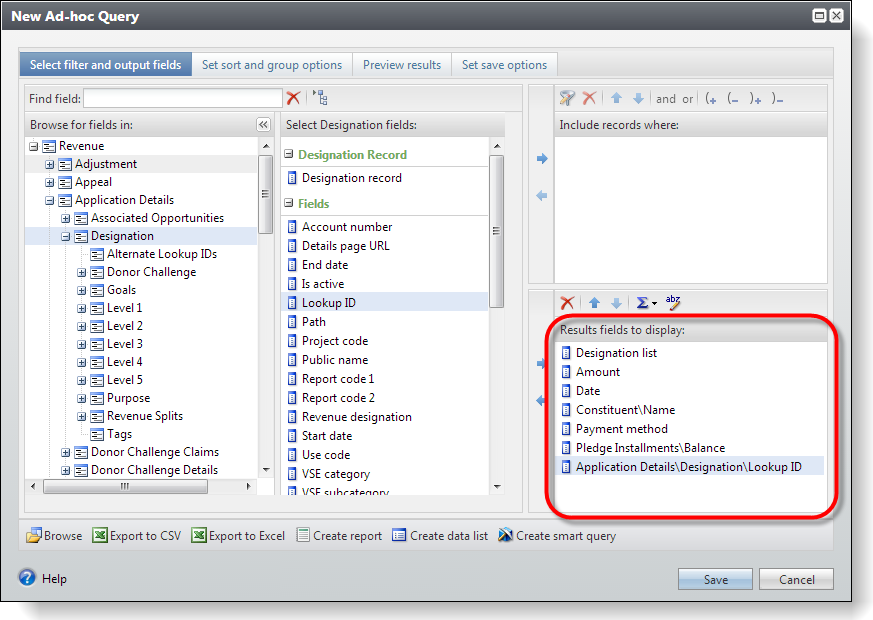
The middle pane, which is titled based on the source view, displays the Fields and System fields for the table you select. All fields from the selected source view are available. To specify output fields for the query, select them in the middle pane and drag them into the Results fields to display frame. Output fields correspond to the information you want in the query results. These fields appear as column headings on the query Results tab. Depending on the source view of the query, some fields may default into the Results fields to display frame. These are just defaults, and you can remove them if necessary. You must specify at least one output field.
Add the following fields to the Results fields to display pane:
Step 6 - Select the filters for the query.
When you define a query, you establish a set of conditions each record must meet to be included in the results. You establish these requirements by applying the criteria operators to the fields you select to use as filter fields for the query output. In the Include records where pane, you can select the criteria fields and enter criteria operators to determine which records to include in the query. For example, if you create an individual query to find the names of everyone with a home telephone number, you can use the criteria field Phone Type “equals” Home to group all records with a value in this field.
For the purpose of this exercise, we want to restrict the results of the query to an amount that is greater than or equal to $100,000.00 for the 2008 Annual Fund designation.
Add the following fields to the Include records where pane:

Step 7 - Add the sort for the query.
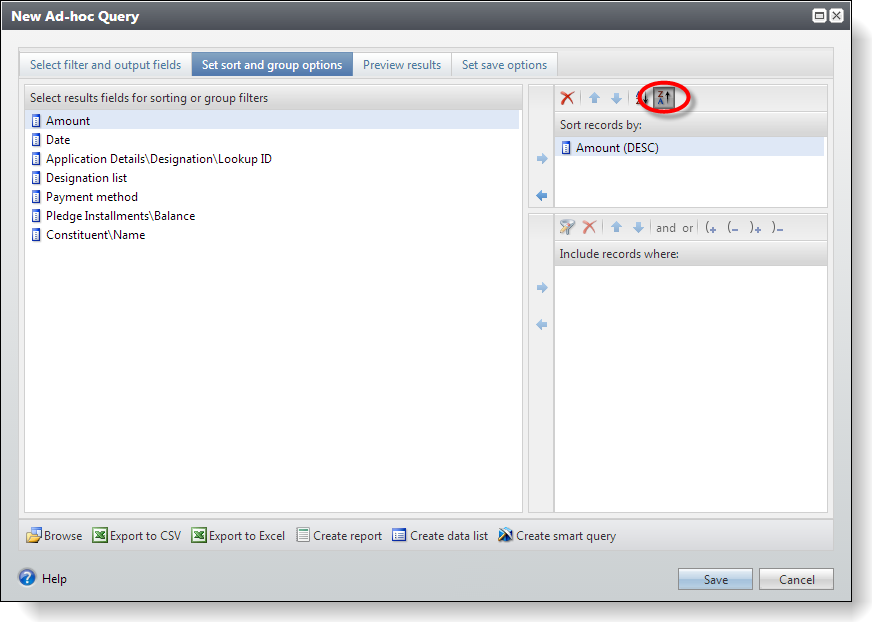
Select the Set sort and group options tab. The Select results fields for sorting or group filters pane lists the output fields you selected on the Select filter and output fields tab. Select the fields to sort by and drag them into the Sort records by pane. In the Sort records by pane, you include the fields to sort by and the sorting order. You can sort in ascending or descending order. Sort fields are optional. For example, if you create a query to list the name and home telephone number of individuals, you can select an ascending sorting order using the last name of the individual.
In our exercise, we want to sort the results of the query by amount in descending order. Drag the Amount field from the Select results fields for sorting or group filters pane to the Sort records by pane. Click the Sort descending button to sort the values largest first.
Step 8 - View the results.
The Preview results tab provides a preview of the records included in the query so you can quickly browse to make sure the criteria and output for the query are running as intended. Only the first 500 results are returned since the tab is intended to verify your query criteria, not to view every record in the result set. When you click Browse, you can view it using a selected type of page in the program. From the Preview results tab of a query, or when you select a query on the Query page, you can select to browse the query results using one or more specific pages in the program. For example, you may want to browse the results of an appeal query using the Appeal page so you can easily view more information about each appeal in the result set.

Step 9 - Save the ad-hoc query.
Select the Set save options tab on the Ad-Hoc Query screen to save the query. Enter the information in the table below to save the ad-hoc query.
|
Property |
Value |
|---|---|
|
Name |
2008 Annual Fund Big Spenders |
|
Description |
2008 Annual Fund Big Spenders Description |
|
Category |
Revenue |
|
Site |
All sites |
|
Allow other users to run this query |
True (checked) |
|
Allow other users to edit this query |
True (checked) |