Run the Dimensional Usage Wizard
This is applicable to the SDK for Blackbaud CRM versions 2.93 and higher.
-
Ensure you have created an extensions solution. For more information, see Create a New Extensions Solution.
-
From Visual Studio 2010, open the extensions solution. Click File > Open > Project/Solution.
-
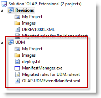
Browse to the UDM project or the extensions solution that contains it and click Open. The UDM project appears.
-
Right-click the UDM project node and select Add > New Item. The Add New Item - UDM screen appears.

-
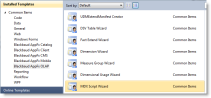
Browse to Installed Templates > Common Items > Blackbaud AppFx OLAP.
-
Select Dimensional Usage Wizard, enter a name, and click Add.
The Dimensional Usage Wizard appears.

-
Click the binoculars next to the Cube field. The Select a dimension screen appears.
-
In the Server field, enter the name of the Analysis Services server for your Blackbaud Data Warehouse OLAP Cube. Then click Connect. The wizard connects to the server and populates the Database drop-down field.
-
Select the Database and the Cube.
-
Select the Dimension.
-
Click OK.

-
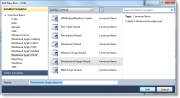
You can add, edit, and remove measure group relationships from this screen.

-
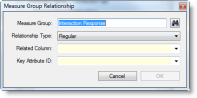
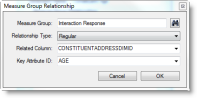
If you click the Add (green +) button, the Measure Group Relationship screen appears.
-
If you click the Edit (pencil) button, the Measure Group Relationship screen appears. The wizard populates the screen with information from the selected measure group relationship.
-
If you click the Remove (red X) button, the wizard removes the selected measure group relationship.
-