|
|
Guides (SDK /API) | Technical Reference | BBDN | How-to Documentation |
Add a Custom Part to BBIS
Note: These steps assume you have supervisor access to a working installation of Blackbaud Internet Solutions and a custom part (type) copied to the BBIS installation. For information about setting up a development environment, see Development Environment. For information about how to configure a Parts project to copy custom parts (types) files to a BBIS installation, see Adjust the Post-build Events.
-
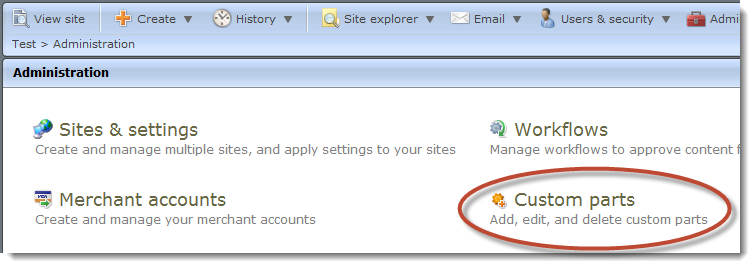
Log into BBIS as a supervisor and navigate to the Administration page.
-
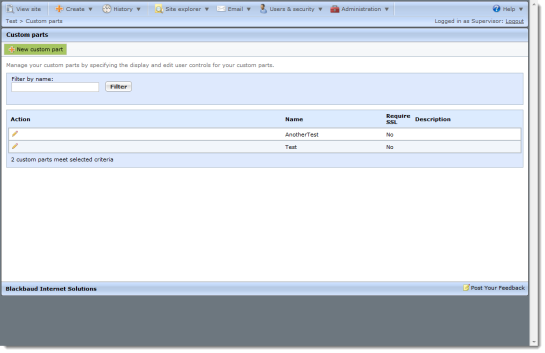
Click Custom parts.
The Custom Parts page appears.
-
Click New custom part.
-
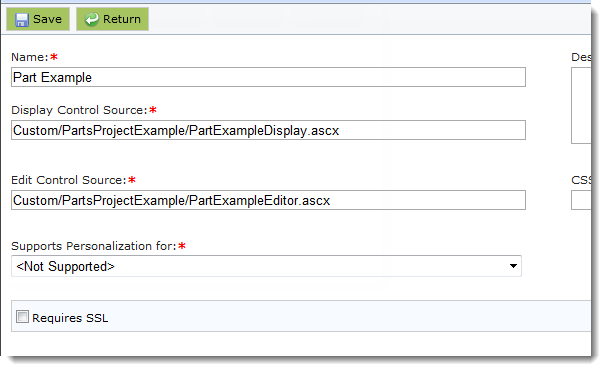
In Name, enter a name for the custom part (type).
-
In Display Control Source, enter the path to the ASP.NET display user interface (ASCX file) that the post-build events copied to the BBIS installation. For example: Custom/PartsProjectExample/PartExampleDisplay.ascx. For information about how to configure post-build events for a Parts project, see Adjust the Post-build Events.
Warning: Enter a virtual path. Otherwise, you will get an error message like this:

-
In Edit Control Source, enter the path to the ASP.NET editor user interface (ASCX file) that the post-build events copied to the BBIS installation. For example: Custom/PartsProjectExample/PartExampleEditor.ascx
-
Select the Requires SSL checkbox if the part contains, displays, or collects, sensitive data, such as credit card information. When you select this checkbox and you configure an SSL certificate on your web site, any page to which you add this part will use a secure (https://) URL.
-
Click Save.
Note: Custom parts are accessible as Part types.
Tip: Sometimes part types are referred to as parts. But parts are instances of part types. Custom parts are actually custom part types. You can create a part based on a custom part (type).