|
|
Guides (SDK /API) | Technical Reference | BBDN | How-to Documentation |
Create a Custom Pledge Form Editor (Design)
Code sample project: Custom Pledge Form
-
Open your Parts project in Visual Studio. This example uses a project called PartsProjectExample created according to these steps: Create a Custom Parts Project. The project should contain a custom part created according to these steps: Create the Custom Pledge Form Editor (Design).
-
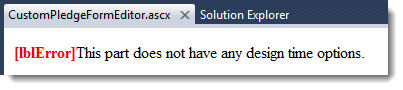
Open CustomPledgeFormEditor.ascx for editing in Designer.
-
Delete the label that contains this text: "This part does not have any design time options"
-
Add a break.
-
Create the interface for the form's configuration option. The option is to which record to write pledge information:
-
Write to a custom content table created with the Infinity SDK
-
For non-linked logins and anonymous users, write to a custom content table and for linked logins create a pledge transaction in Infinity for that constituent.
-
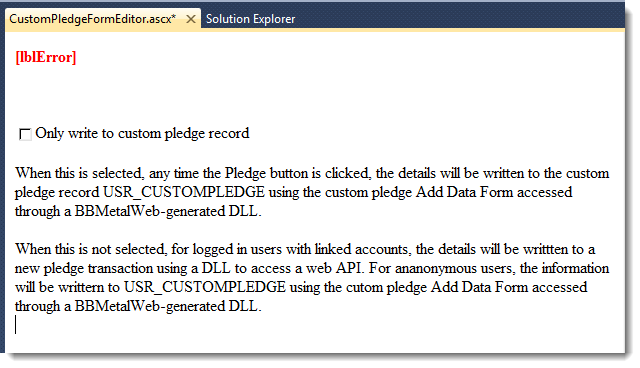
Add a CheckBox with this Text and ID:
Only write to custom pledge record
CheckBoxOnlyWriteToCustomPledgeRecord
-
Add some paragraphs with this explanation:
When this is selected, any time the Pledge button is clicked, the details will be written to the custom pledge record USR_CUSTOMPLEDGE using the custom pledge Add Data Form accessed through a BBMetalWeb generated DLL.
When this is not selected, for logged in users with linked accounts, the details will be written to a new pledge transaction using a DLL to access a web API. For anonymous users, the information will be written to USR_CUSTOMPLEDGE using the custom pledge Add Data Form accessed through a BBMetalWeb-generated DLL.
-
Save the form.
-