Navigate to Start > Network. Windows Explorer for Network appears.
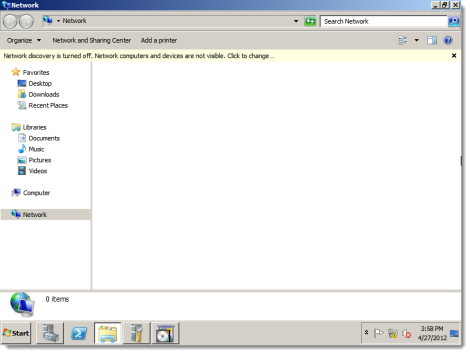
Click Network and Sharing Center.
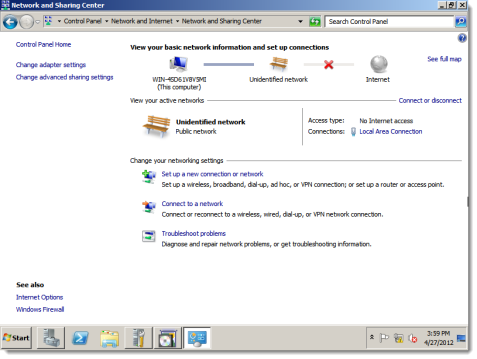
Click Change adapter settings. The Network Connections appear.
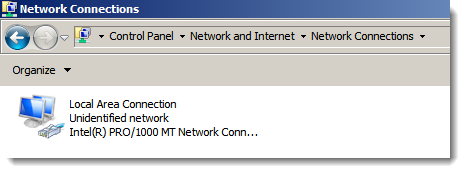
Right-click the network connection and select Properties.
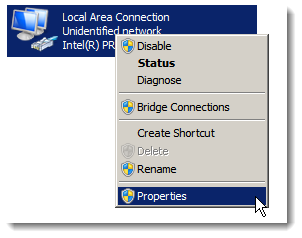
The Properties screen appears.
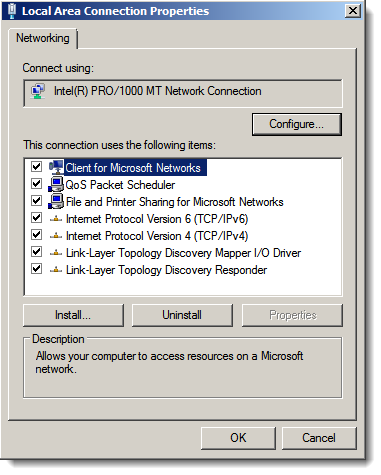
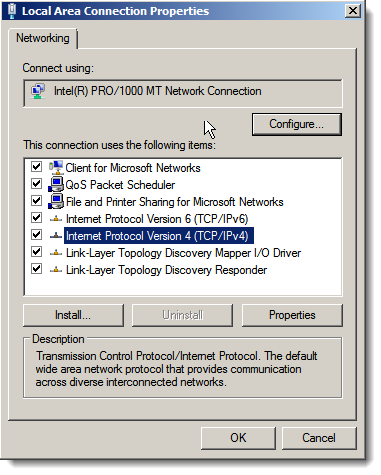
Highlight Internet Protocol Version 4 (TCP/IPv4) and click Properties.
The Internet Protocol Version 4 (TCP/IPv4) Properties screen appears.
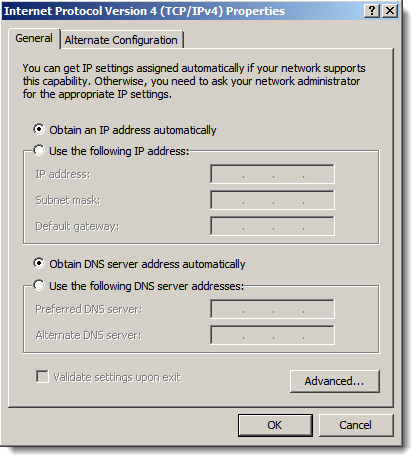
Assign static IP address and DNS server information as appropriate. For Microsoft's guidance for configuring IPv4 for static addressing on a DHCP server, see Configuring a DHCP server static IP address.