Set Up Single Sign-on (SSO) Using OpenID Connect (OIDC) for Okta
Okta is a multi-tenant, cloud-based identity management system. To set up an SSO connection that lets users sign in to your Blackbaud solutions using Okta as your IdP, use the OIDC protocol to enable third-party applications to verify end users. An organization admin or a user with admin rights must claim your organization's email domains, configure the OIDC connection, test the connection, and then turn on SSO.
To prevent inadvertent lockouts, make sure to:
-
Complete the setup during a maintenance window for your organization's network.
-
Create a Blackbaud ID outside of your claimed domains with access to the Authentication settings page in Security.
Blackbaud doesn't support IdP-initiated connections. If you need to enable users to connect to Blackbaud solutions through an app in your IdP's portal, then after you turn on SSO, you must configure that app to use the redirect URL for your live connection.
Configure SSO
To set up your SSO connection using OIDC for Okta, use the instructions in the following sections:
 1. Claim email domains
-
In Security, select Authentication.
-
Under Single sign-on (SSO) on the Authentication settings page, select Manage SSO settings.
-
On the Single sign-on page, select OIDC.
-
Under Claim your email domains, select Claim domains or Edit claimed domains and claim the email domains that your organization uses. This allows you to recognize and redirect users to your IdP when they sign in through those domains.
Note: You receive a confirmation email after we verify your domains. This process usually takes minutes, but in rare cases, it can take up to two days. After your domains are verified, continue to the next section to configure your connection.
2. Configure Okta app integration
-
Under Configure your connection on the Single sign-on page, select Get started or Edit connection.
-
In a different browser tab, sign in to your Okta account as an administrator to create an app integration.
-
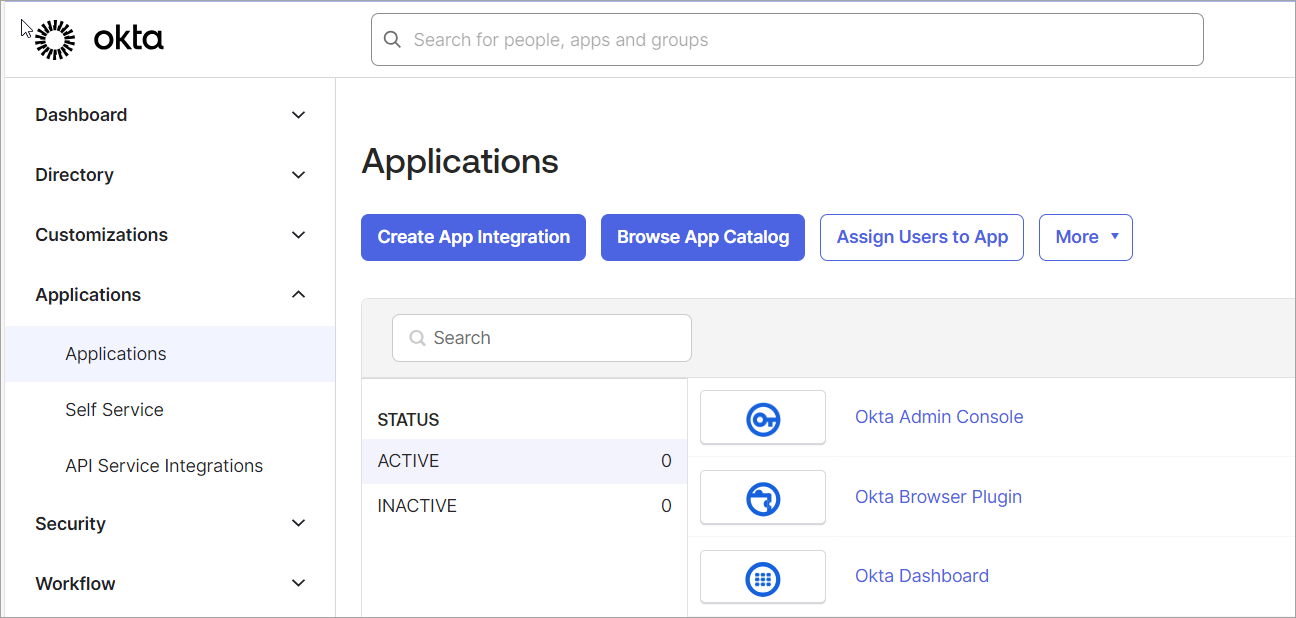
In your dashboard, select Applications, Applications.
-
On the Applications page, select Create App Integration.
-
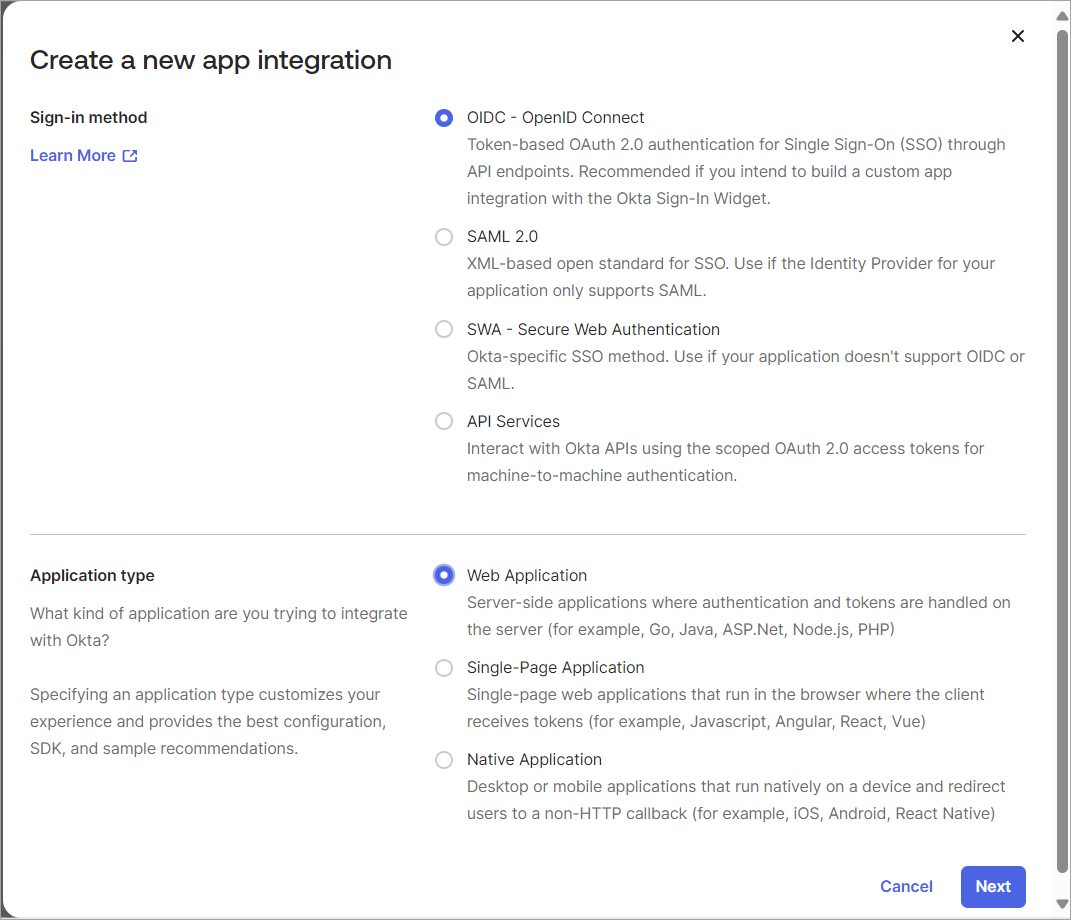
On the Create a new app integration screen, select OIDC - OpenID Connect in the Sign-in method section.
-
In the Application type section that appears, select Web Application.
-
Select Next.
-
-
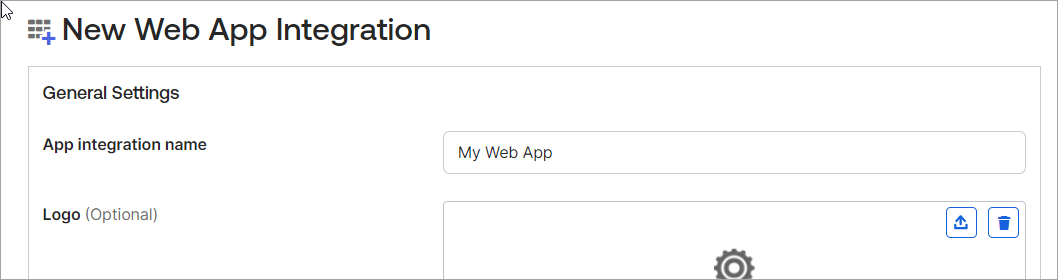
On the New Web App Integration page, configure your integration.
-
Under General Settings, enter a unique name to identify your application in the App integration name field.
-
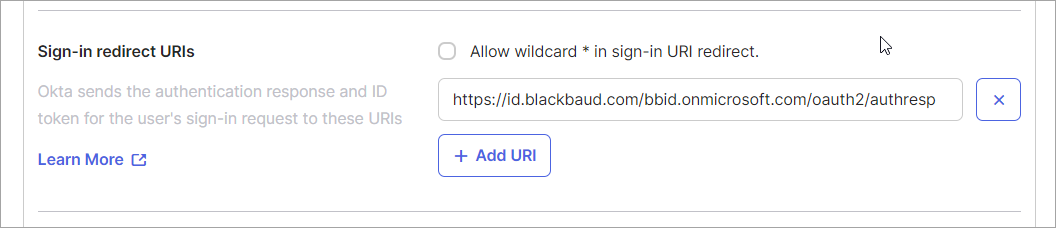
Under Sign-in redirect URIs, add Blackbaud's callback URL: https://id.blackbaud.com/bbid.onmicrosoft.com/oauth2/authresp.
-
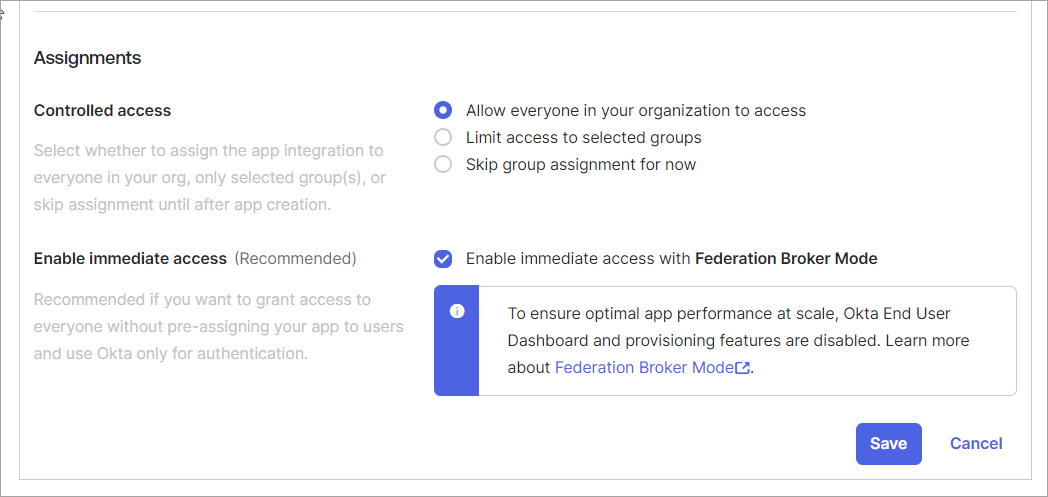
Under Assignments, select Allow everyone in your organization to access beside Controlled access. Then when Enable immediate access appears, select Enable immediate access with Federation Broker Mode.
Tip: This lets everyone at your organization sign in with Blackbaud ID on your SSO connection, but it doesn't provide authorization to access Blackbaud solutions because you manage that access within the solutions themselves. By providing all users with access to your SSO connection, you reduce overhead within the IdP. You can then provision users within your Blackbaud solutions.
-
Select Save.
-
-
Return to Blackbaud's Configure OIDC connection screen, and in the fields under Enter your connection details, configure the details for your OIDC connection.
-
In the Connection name field, enter a name to identify your organization's OIDC connection.
-
In the Metadata URL field, enter the URL for the OIDC metadata document that contains information that is required during sign-in, such as the URLs to use and the location of the service's public signing keys. The metadata document is always located at an endpoint that ends in ".well-known/openid-configuration."
-
In the Response Type field, select the "Code" response type that passes a code to be exchanged for a token. This is the only available response type when you use Okta. This response type doesn't handle the client secret generation, so you'll need to provide the client secret during configuration and then remember to update it before it expires.
-
In the Client ID field, enter the client ID for your Okta application. In your Okta account, you can copy the value from the application's General tab in the Client ID field.
-
In the Client secret field, enter the client secret for your Okta application. In your Okta account, you can copy and generate client secrets from on the application's General tab in the Client Secrets section.
-
-
In the fields under Confirm how your IdP identifies the following, specify where you store the data that your IdP uses to identify your organization's users. Enter field names or unique identifiers. These values must match the mapping values you entered when you created the Okta application.
Warning: You can only pass mapping fields if they are included under "claims_supported" in the OIDC metadata document that you provided in the Metadata URL field. That document, which ends in ".well-known/openid-configuration," contains information that is required during sign-in, such as the fields where you store data that identifies your users.
-
In the NameID field, specify where you store the unique IDs that your IdP uses to identify your users. The field for this data varies depending on your IdP, but the values are typically not email addresses or employee IDs. Instead, the values should be unique IDs that your IdP creates to distinguish users across all accounts.
The common claim name for this field for Okta is "sub." Okta generates this subject identifier to uniquely identify individuals, and we recommend using it for your nameID to avoid possible re-naming issues.
We also recommend against using email addresses to identify users. If you identify users by email address and need to change a user's email address, then you must re-invite the user at the new email address, which means you lose all history associated with the original one.
-
In the Email address field, specify where you store user email addresses. The common claim name for this field for Okta is "email."
For successful connections, email addresses must be unique.
-
In the First name field, specify where you store first names. The common claim name for this field for Okta is "given_name."
-
In the Last name field, specify where you store last names. The common claim name for this field is for Okta "family_name."
-
-
Select the checkbox that acknowledges the need to wait before testing your SSO connection.
-
If you are setting up SSO for the first time, select I acknowledge these settings require 24 hours to take effect. A notification will let you know when your SSO connection is ready to test.
-
If you are editing an existing SSO connection, select I acknowledge these changes can take up to 30 minutes to take effect. We recommend waiting 30 minutes before you test the connection.
-
-
Select Save.
Tip: For more information about how to set up an Okta application, see Build a Single Sign-On (SSO) integration.
3. Test connection
When you save your configuration settings, test mode is turned on automatically. Before you can enable your SSO connection, at least one user must successfully sign in using test mode.
To verify that your organization can use your IdP to sign in to Blackbaud solutions, select Learn about testing SSO under Test connection. Then copy the URL under Blackbaud ID redirect and test your connection in a private or incognito browser window.
Note: A consent screen in test mode means your IdP is configured to require admin approval before users authenticate. This consent screen is for the Blackbaud SSO application, and not for new permissions or access. It seeks read-access to the information that you configured during your SSO setup. To proceed, follow the instructions on your IdP's consent screen.
After you turn off test mode, you can select Erase all single sign-on settings under Configure your connection to clear your configuration settings and start over. For example, you can select this option to change your connection method. The option is not available after you turn on SSO, but you can turn off SSO to restore it.
4. Turn on SSO
To complete the connection to your IdP, select Turn on SSO under Turn on. Then on the Connect your OIDC SSO screen, select Connect with OIDC.
Users are then redirected to your IdP when they sign in with one of your claimed domains. After they authenticate through your IdP, their Blackbaud IDs:
-
Automatically redirect them to your organization's login for future sign-ins. From there, they are redirected to their Blackbaud profiles unless you edit the redirect URL to specify a Blackbaud solution.
Tip: Don't forget that if your users use an app in your IdP's portal to connect to Blackbaud solutions, you must configure that app to use the redirect URL for your live connection.
-
Use your IdP for password updates, lockouts, and other authentication management.
Note: After you enable SSO, resend any pending invitations.
Tip: For a visual reference of the OIDC setup that uses Okta as the IdP, see OIDC setup.