View and edit Auto-Pay
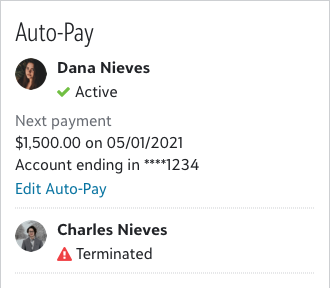
You can view all Auto-Pay activity to identify payment processing issues and other related actions. Billing clerks can edit Auto-Pay status by placing payments on hold, terminating Auto-Pay outright, or editing the active payment method for payment withdrawal on behalf of the payer.
View Auto-Pay Activity
The Activity log includes all actions or status changes from when a payer is first enrolled in Auto-Pay until it is terminated or completed. Actions committed by both payers and Billing clerks are logged here.
Entries logged under Activity include:
-
Actions taken: Enrolling in Auto-Pay, updating payment methods, putting Auto-Pay on hold, resuming Auto-Pay from a hold state (only payers can resume once suspended), and deactivating Auto-Pay (only Billing clerks can deactivate).
-
Payment processing: Successful payment processing, failed payment processing, and final payment processing.
View previous or upcoming installments
The Schedule shows the installment dates and charges due associated with a payment plan and lists the status (e.g., Missed, Scheduled, Success), due date, and the amount expected.
To view previous or upcoming payment installments:
-
Search for a payer using the People finder.
-
Under Auto-Pay, select For payment plan charges beside a billing year.
-
Review the contents under Schedule.
Put Auto-Pay on Hold
You can suspend Auto-Pay payments to prevent automatic withdrawals using the payer's payment method. Once on hold, only the payer can resume Auto-Pay.
To put a payment plan on hold:
-
Under Auto-Pay, select For payment plan charges beside the appropriate billing year.
-
Select Edit status, and then select On Hold.
-
Select Yes to confirm.
Auto-Pay payments are then suspended. Payers must re-enroll from their Current bill to resume automatic withdrawal of payments.
Terminate Auto-Pay
You can terminate Auto-Pay payments to stop automatic payment withdrawals and prevent payers from re-enrolling in Auto-Pay.
To terminate a payment plan:
-
Under Auto-Pay, select For payment plan charges beside the appropriate billing year.
-
Select Edit status, and then select Terminate.
-
Select Yes to confirm.
The payer sees a status of Terminated on their Current bill under Auto-Pay and cannot re-enroll. The Activity tile updates to indicate the action to terminate and the user who initiated the action.