Add New Cycles
New cycles can be added to a program at any time.
Note: At least one cycle must be available in a program before it can be published.
Tip: If you have already added a cycle to the program and want to create a new one with the same settings, you can create a copy instead by selecting Copy from the item's details.
-
Navigate to the Program Setup > Grant Programs area.
-
Select the ellipsis icon next to the cycle and then Edit program.
-
On the Program Details page, select the Cycles tab.
-
Select the Add new cycle button.
-
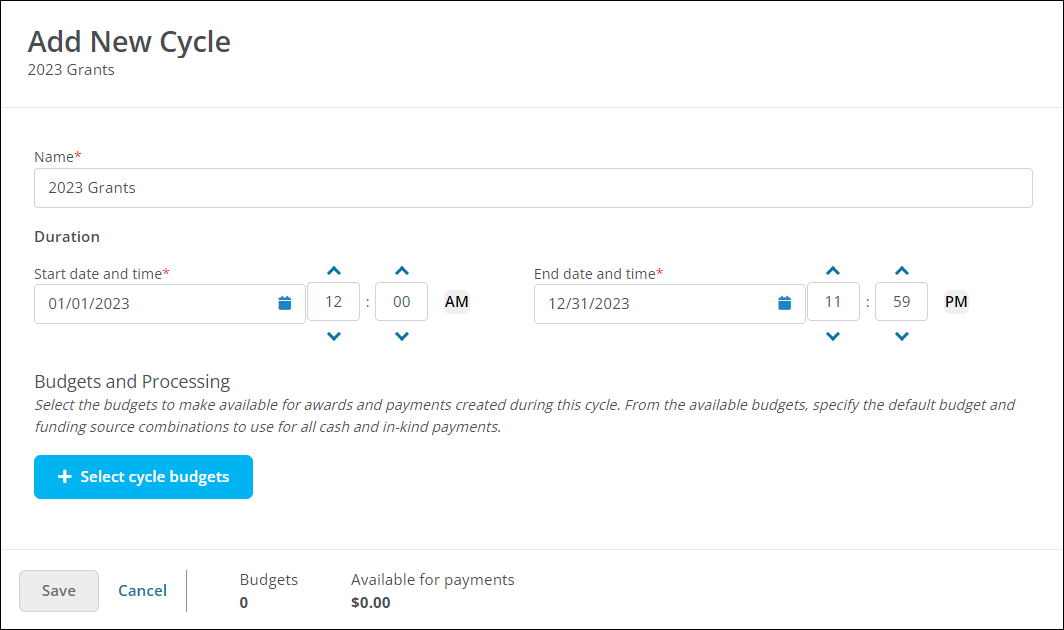
In the Add New Cycle screen, complete the following information.
-
Provide a name for the cycle.
Note: This is for internal use only. This will not be shown to applicants.
-
Specify the time period in which the program will accept applications by choosing the Start date and time and End date and time.
Warning: The Start and End dates should not overlap with another cycle in the program. If they do, an error message will appear prompting you to update the time frame.
-
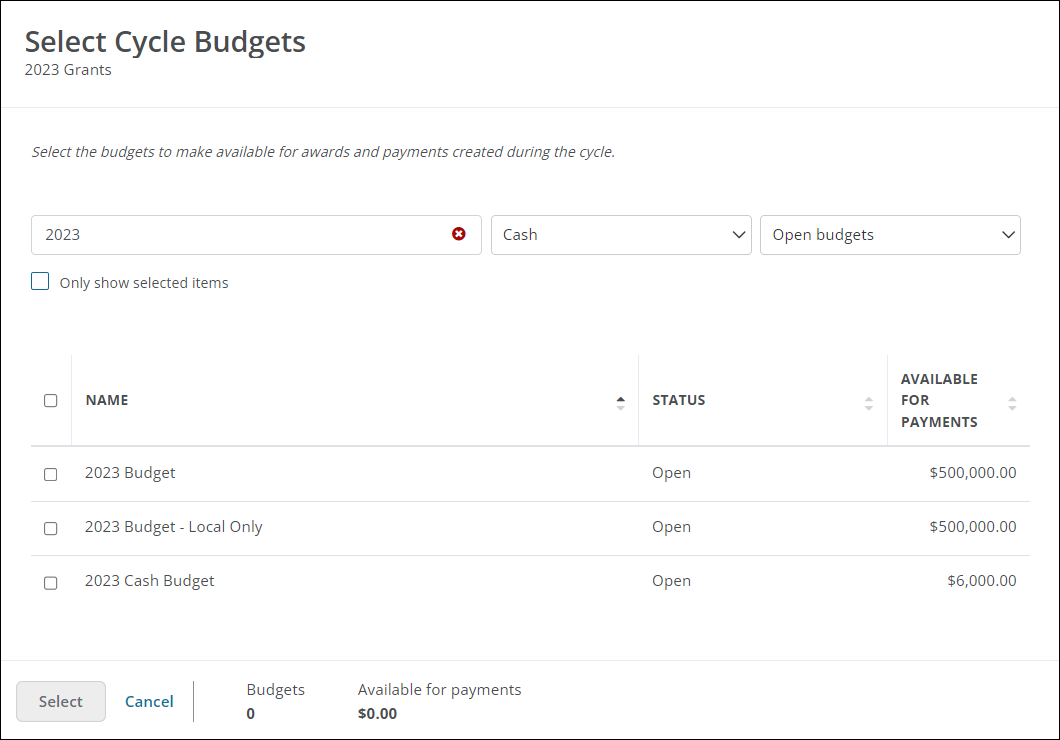
Click on the Select cycle budgets button to choose the budgets to make available for awards and payments created during this cycle.
Note: You will be taken to a new Select Cycle Budgets modal. Select the checkbox next to the budget you want to add to the cycle and then click on the Select button to return to the Add New Cycle screen.
-
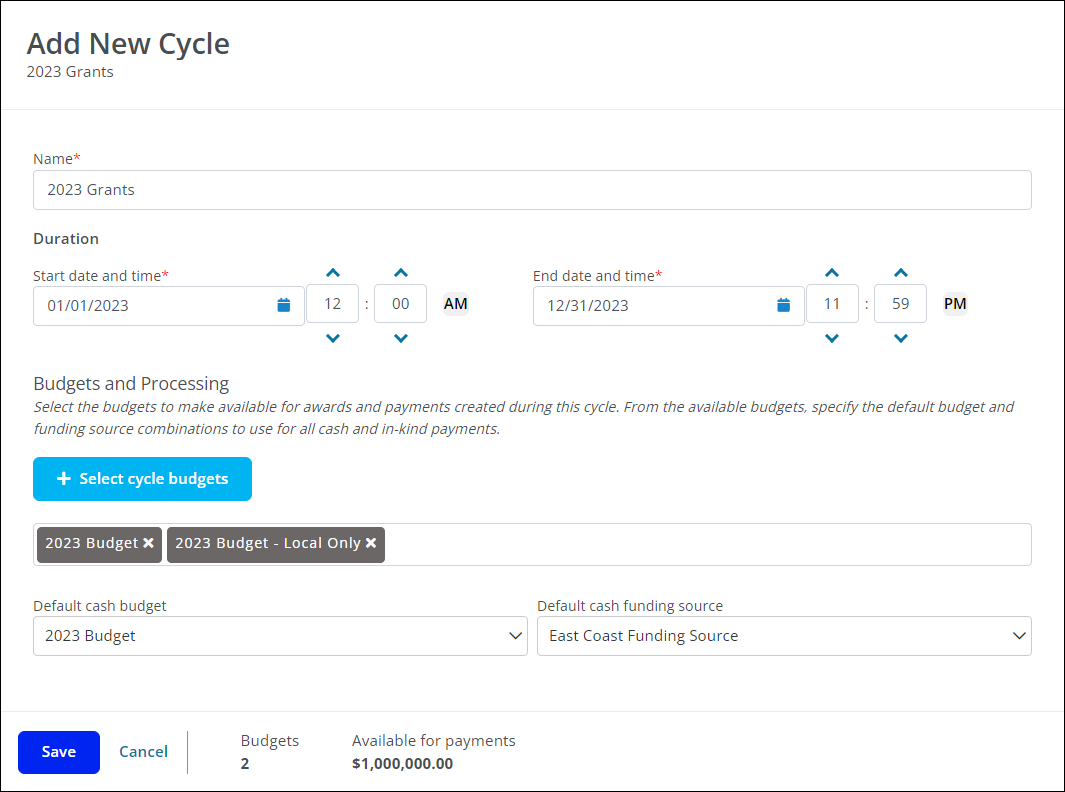
Choose the budget and funding source (if applicable) to assign as the default budget for the cycle.
Note: These fields will only appear if you've selected multiple budgets. If you only select one budget, it is automatically assigned as the default. If you've selected a mix of cash and in-kind budgets, you'll be prompted to specify the default for each type.
-
-
Save both the new cycle and the program edits.