Add Fields Using Import Tool
Existing fields can be added to a form by importing them from a spreadsheet. This process involves building a Field Import File and uploading it into the system when complete.
Step 1 - Create the Field Import File
The Field Import File is a CSV file used to import existing fields into a form. It's recommended to use the template provided in the Import Form Field tool.
-
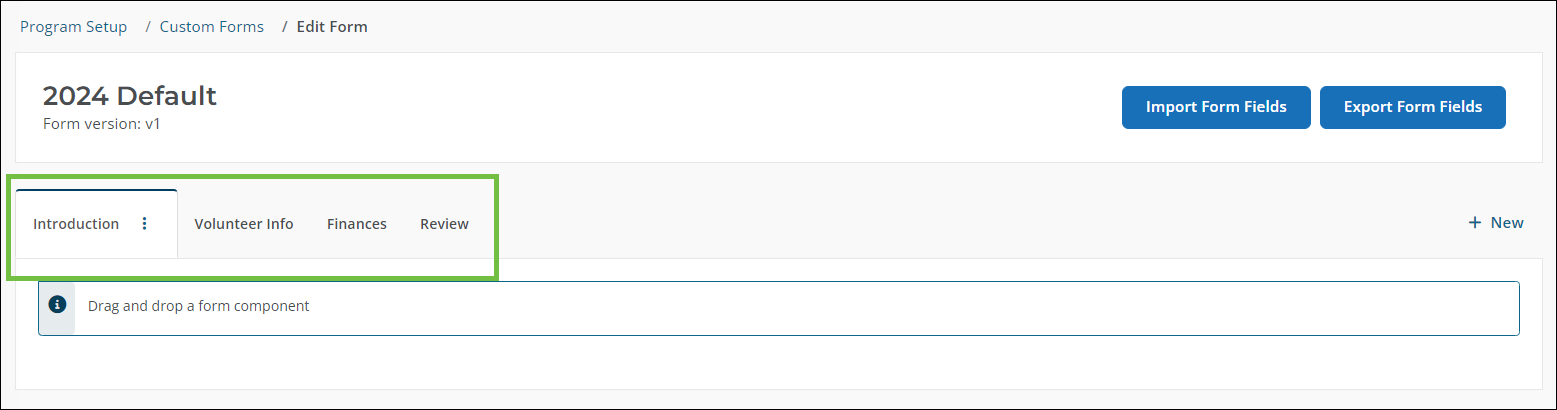
Navigate to the Program Setup > Custom Forms area.
-
Take one of the following actions to access the Import Form Field tool.
-
For new forms, create a new form and then select the Create and import fields option to continue.
-
For existing forms, edit the form and then select the Import Form Fields button in the Form Builder.
-
-
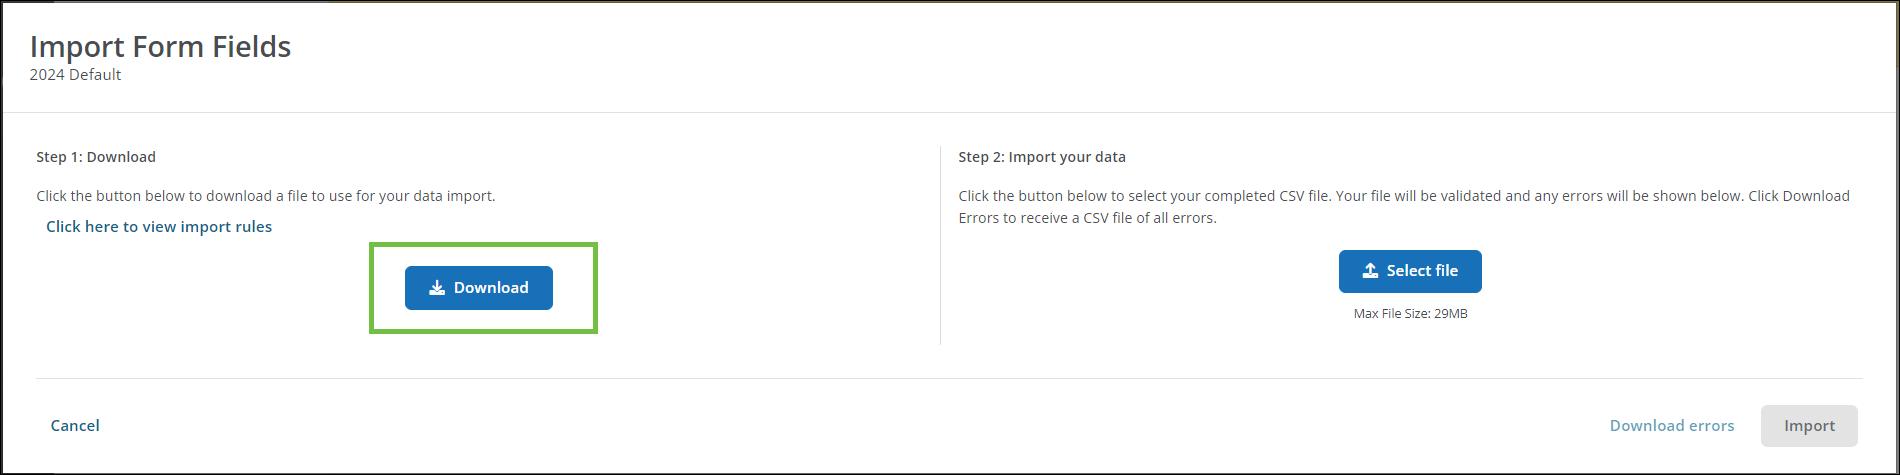
In the Import Form Fields modal, click on the Download button to export the template CSV file.
To complete the CSV file, ensure you've populated all columns as needed. This includes:
-
Form field key
-
Page name
-
Label
-
Description
-
Tooltip
-
Required
-
Disabled
-
Hidden
-
Default value
-
Minimum
-
Maximum
-
Minimum word length
-
Maximum word length
Note: Only existing fields can be included in this file. The Field Input File cannot be used to create new fields.
Tip: Formatting instructions for each column can be found in the FAQs below.
Step 2 - Upload the Field Import File
After creating the Field Import File, return to your form to load it into the system.
-
In the Form Builder, select the Import Form Fields button to relaunch the tool.
-
In the Import Form Fields modal, click on Select file and choose your CSV file.
Note: The file will be automatically validated for proper formatting and required fields upon upload.
-
Correct any errors that appear. These can be downloaded by clicking on the Download errors button.
Note: If any changes were made, reupload the file and verify the information before importing.
-
Click Import to add the fields to your form.
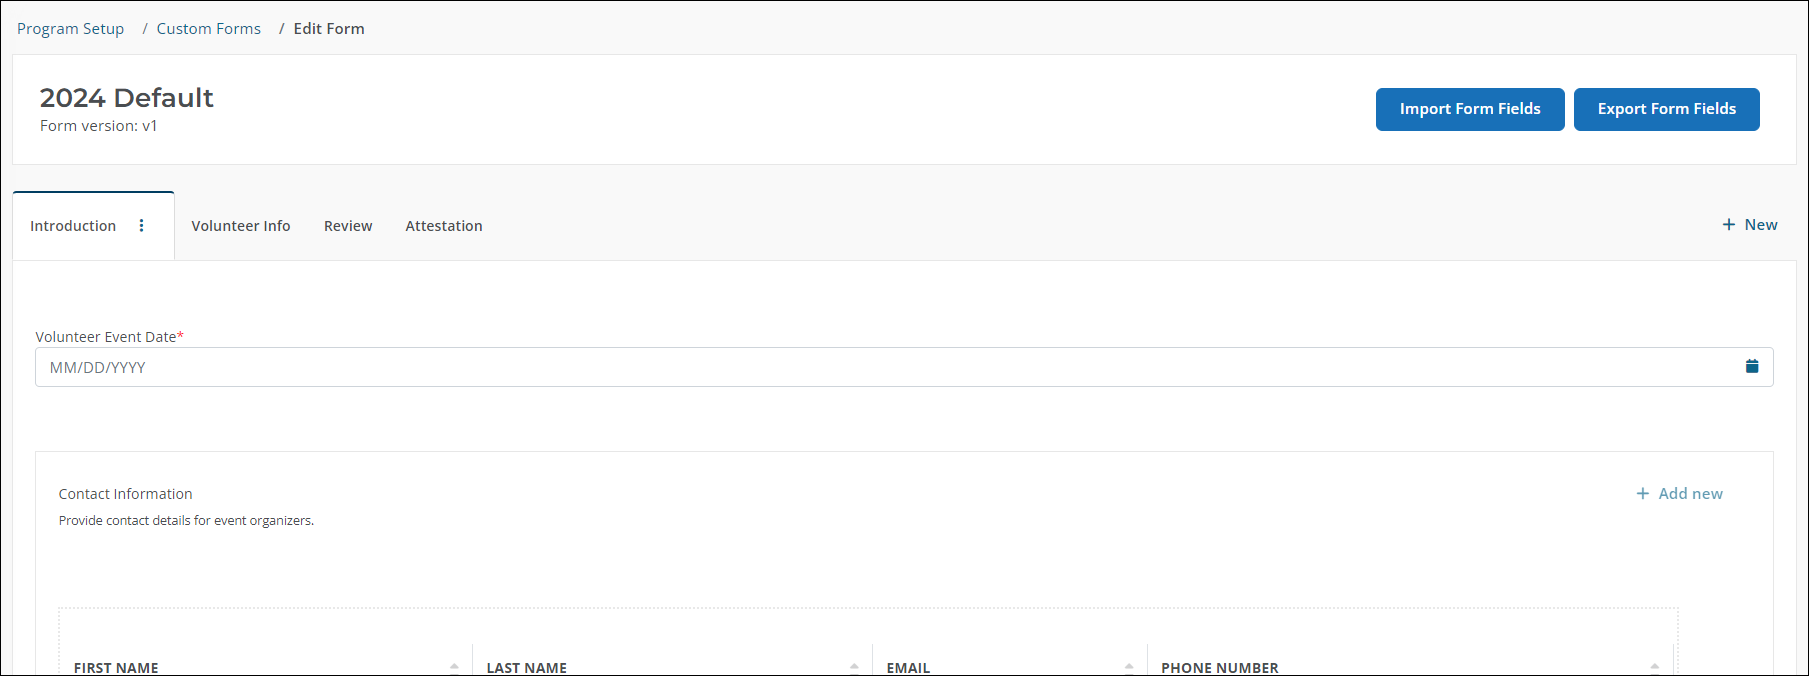
The fields defined in the Import File will be automatically added to their respective pages.
Tip: If you included a new page name in the file, the new page and fields will appear the next time you to save and close your form.
Frequently asked questions
 What columns are included in the Field Import File?
This file contains several columns that correspond with the properties of your existing form fields. See the table below for more information about how to properly format each column.
| Column | Definition | Rules |
|---|---|---|
| Form field key | This is the key for the field. |
|
| Page name | This is the name of the page in the form the component will be added to. |
|
| Label | This is the text shown above the component in the form. |
|
| Description | This is the text shown below the label in the form. |
|
| Tooltip | This is the tooltip text shown next to the label in the form. |
|
| Required | This states whether the component will be required to answer before submission. |
|
| Disabled | This determines if the component will be disabled to the user. |
|
| Hidden | This determines if the component will be hidden from the user. |
|
| Default value | This is the value the component will have by default. |
|
| Minimum |
This value varies based on the field type.
|
|
| Maximum |
This value varies based on the field type.
|
|
| Minimum word length |
This is the minimum number of words to enforce in the field response. Note: This column is only applicable to Text and Text area fields. |
|
| Maximum word length |
This is the maximum number of words to enforce in the field response. Note: This column is only applicable to Text and Text area fields. |
|
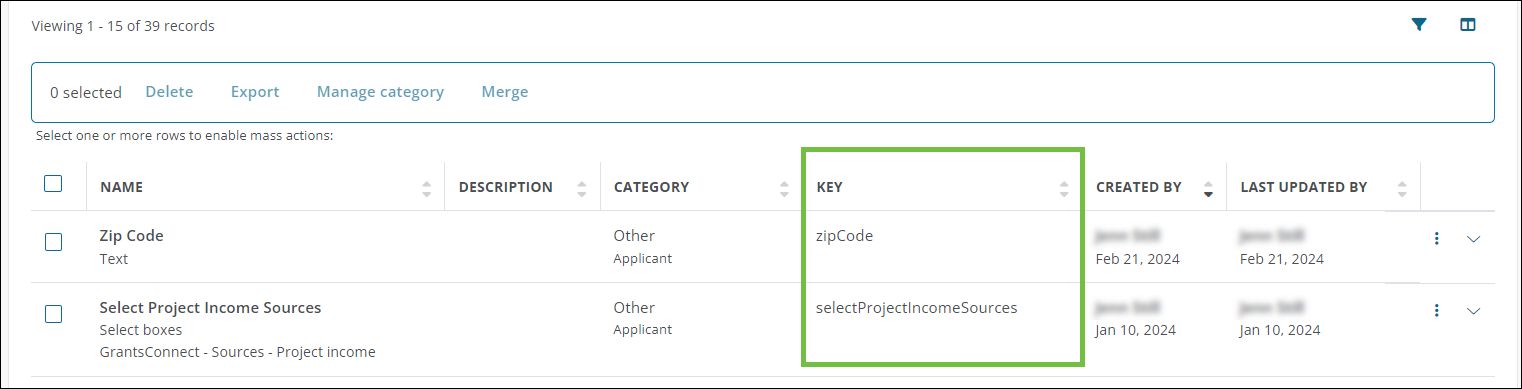
How do I find the field key?
This value is found in the Key column in the Program Setup > Custom Forms > Form Fields tab. It's also shown when editing the field itself.
Note: The field must already exist. The Field Input File cannot be used to create new fields.
How do I find the page name?
You can find the page name within the Form Builder when editing the form.