Create New Forms
-
Navigate to the Grant Manager Portal by going to yourcausegrants.com or your client URL. Sign in with your Blackbaud ID (BBID) or Single Sign-On (SSO) credentials.
-
After signing in, select Program Setup in the side navigation and then Custom Forms.
-
In Custom Forms, select Create custom form.
-
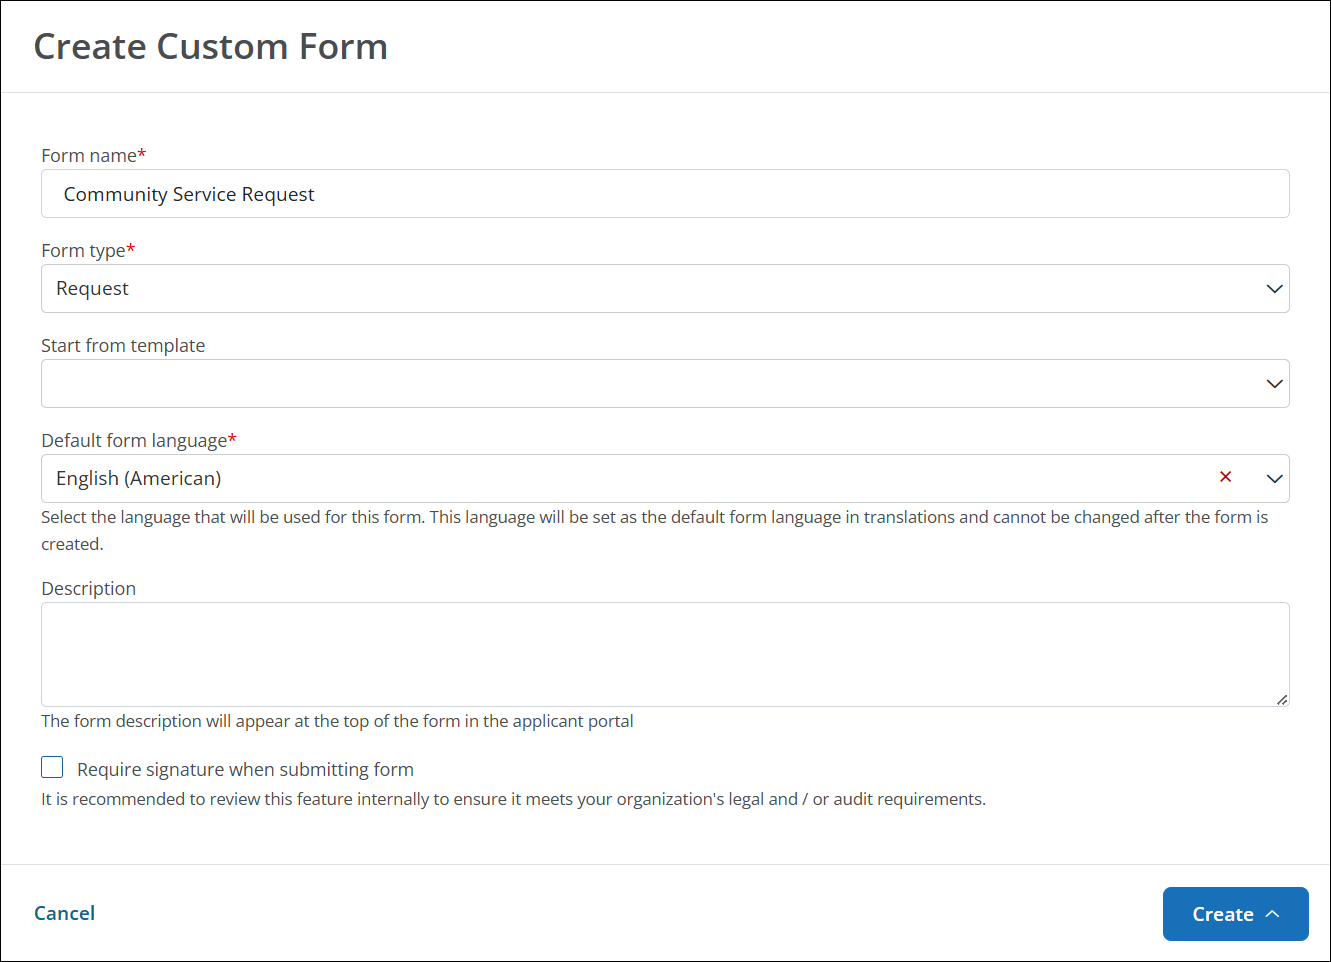
In Create Custom Form, update the details for the new form. This includes the form name, form type, description, etc.
-
Enter a name for the form. This name will be visible to applicants and Grant Managers.
-
Select the form type based on how you plan to use the form. For example, some program features require a specific form type like Routing Forms for Program Automation. For more details, see About Form Types.
Tip: Form types are grouped by their audience - applicants or Grant Managers. For more details, see About Form Types.
Warning: The type cannot be changed. If you find a different type is needed after creating the form, it's recommended to replace it with a copy of the form with the correct form type selected.
-
Optional - To build a new form based on a template, select the template in Start from template. For more details, see Create New Forms From Standard Product Templates.
-
Choose the default language.
-
Optional - Enter a brief description. This will be visible to applicants in the Applicant Portal.
Tip: This appears at the top of the form when the applicant completes it. You can include more information about the details being collected, expected timeframe for review, links to your organization's resources like marketing content or privacy policies, and more.
-
Optional - Select the Require signature when submitting form option to require the applicant or Grant Manager to provide a virtual signature on the application before submitting it.
-
-
To continue, select Create and then...
-
Create and go to form - Your new form will open in the Form Builder with all of the same fields and components as the template. You can then update it by adding, editing, and removing components as you see fit.
-
Create and import fields - You'll be taken to the Form Builder where you can select Import Form Fields to upload fields in bulk.
-
Create and quick add fields - You'll be taken to the Form Builder and prompted to choose the fields you want to include in Quick Add.
-