Select your user interface:
Exercise: Configure the Food Bank Expression Data Form
A page can contain a reference to a page expression data form, which is a type of View Data Form. A page expression data form is never actually displayed in the user interface. Instead, it acts behind the scenes to gather important information about the displayed record and make it available to the page. This allows the page author to write regular expressions to dynamically alter what appears on the page.
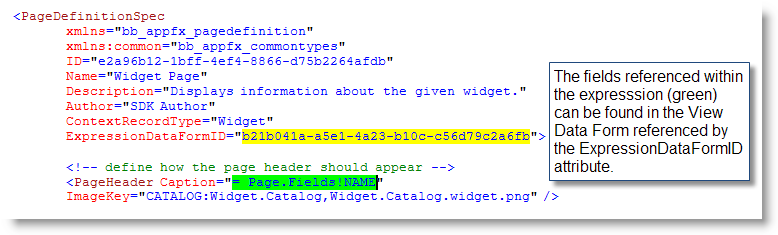
Within the PageDefinitionSpec element is an attribute named ExpressionDataFormID. The ExpressionDataFormID attribute specifies a View Data Form instance that can be used as a source for expressions within a page. The expression model is similar to the one found in Microsoft Reporting Services or in various dialects of Visual Basic. Remember, when we refer to data forms, we must refer to the DataFormInstanceID and not ID.
Step 1 - Add the Expression View Form to the catalog project.
Since creating an Expression Data Form is so similar to creating a View Data Form, we will grab an Expression Data Form that was already created and add it to our catalog project.
Right-click the Blackbaud.CustomFx.FoodBank.Catalog project within the Microsoft Visual Studio Solution Explorer and select Add\Existing Item… from the popup menu.
Here is a link to the Food Bank Source Code.
Select the FoodBankExpression.View.XML file to add the Expression Data Form to your project.
After you add the XML file to the project, right-click the file and select Properties from the popup menu. On the Properties screen, select Embedded Resource as the value of the Build Action property.
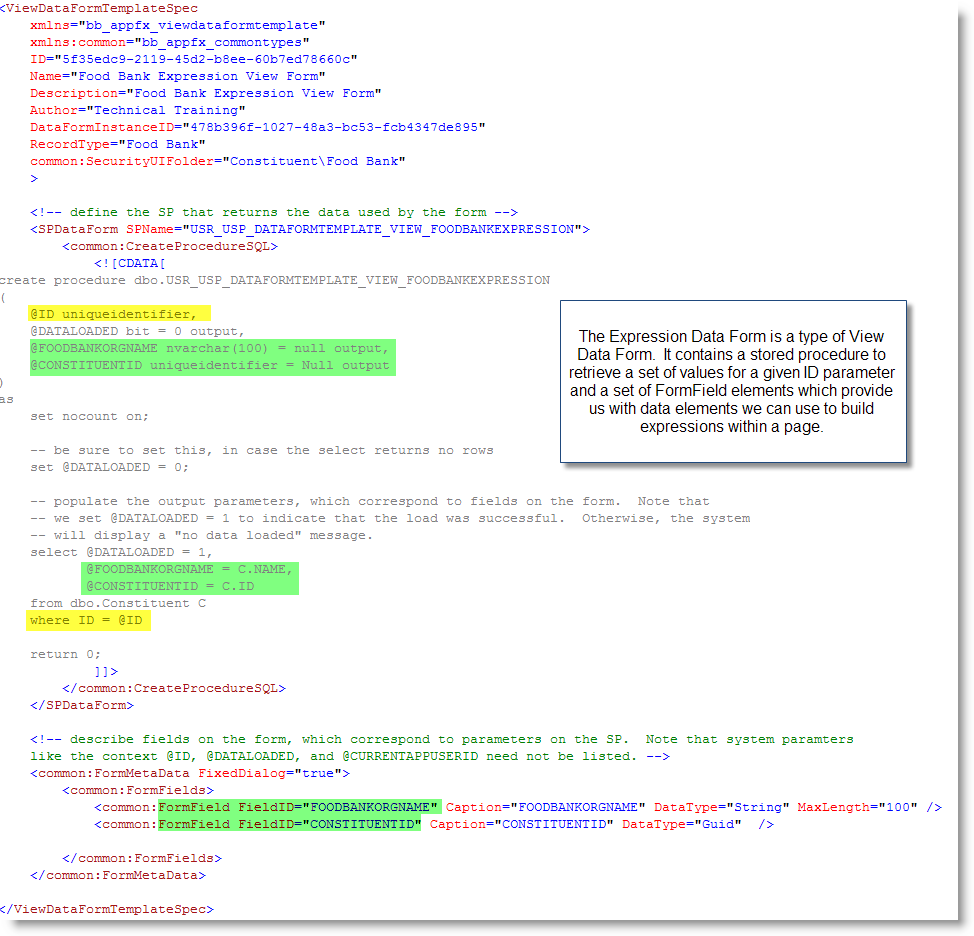
By examining the view form below, we can see that we are preparing to configure two values within expressions on our page. For now, we will use the FOODBANKORGNAMEform field to configure our caption on our page.
Step 2 - Put the Food Bank page into Design Mode and select the Expression Data Form.
With our test page open from the previous exercise, select Tools\Design Mode from the Infinity shell's main menu.
With our test page open from the previous exercise, click the Toggle design mode on button near the top right of the web browser.
Note: Design Mode is only available in the Web Shell user interface in Blackbaud CRM version 3.0 and later, and the toggle button only appears for administrators. To hide the button, see Hide or Display Design Mode Button.
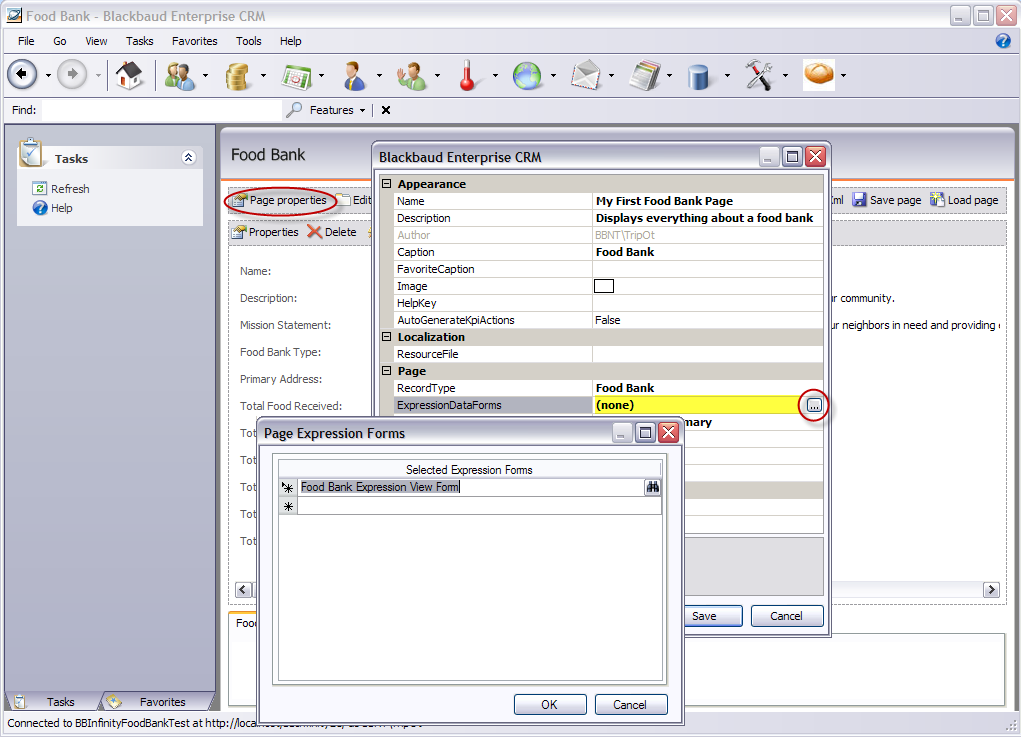
Click the Page properties action to open the properties dialog window.
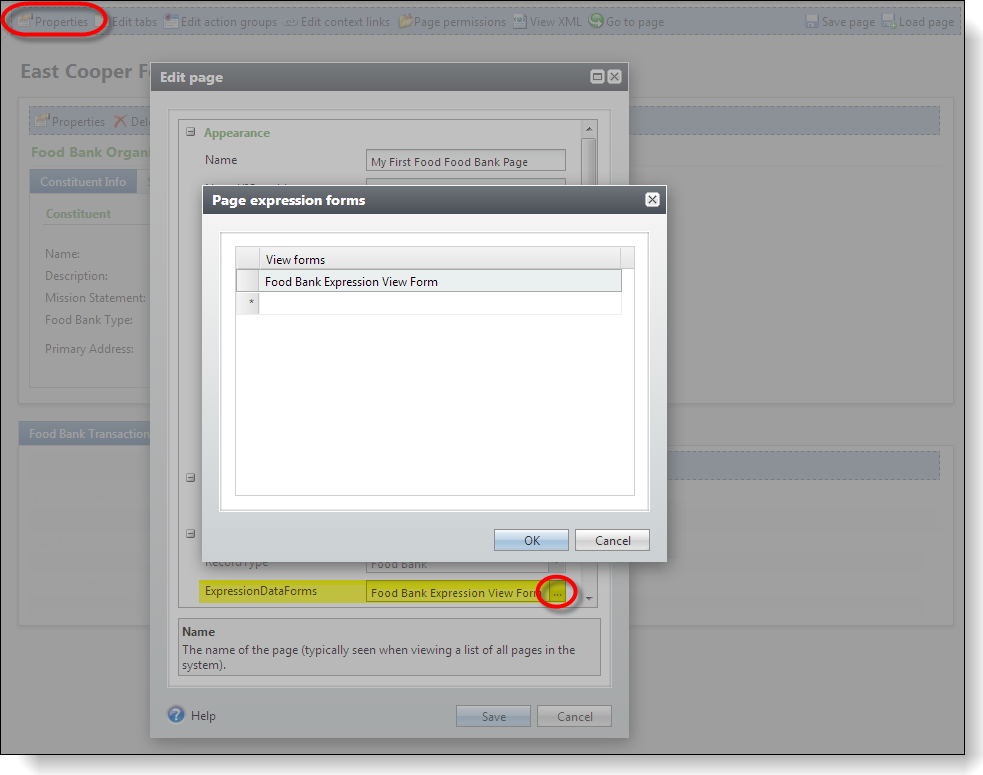
Click the Properties action to open the properties dialog window.
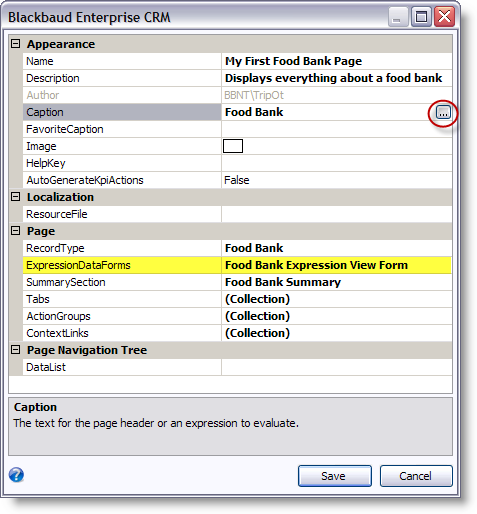
Click the ellipsis button beside to the ExpressionDataForms property to open the Page Expression Forms dialog window. Click the button within the field to open the Data Forms Instance Search window.
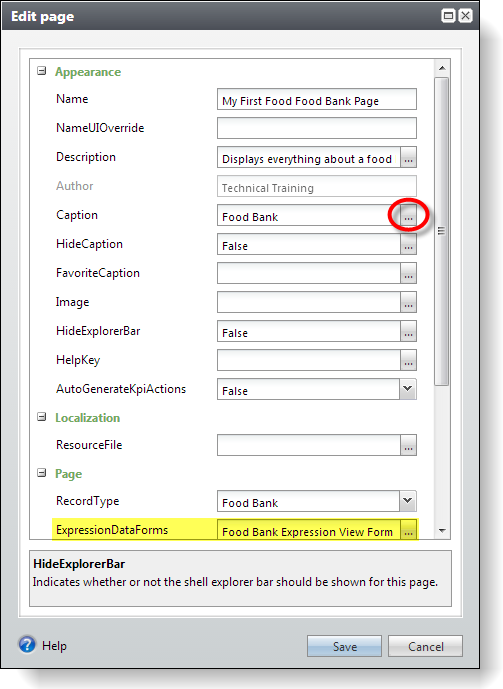
Click the ellipsis button beside to the ExpressionDataForms property to open the Page expression forms dialog window. Click the button within the field to open the Data Forms Instance Search window.
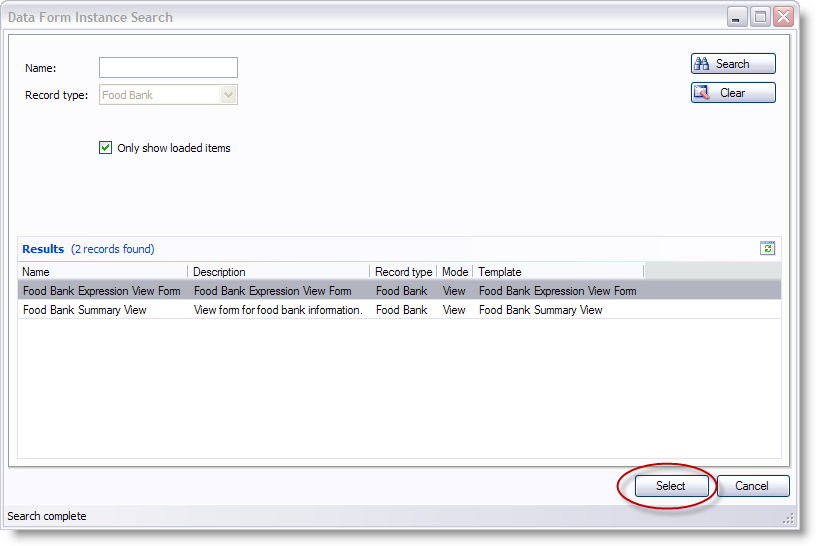
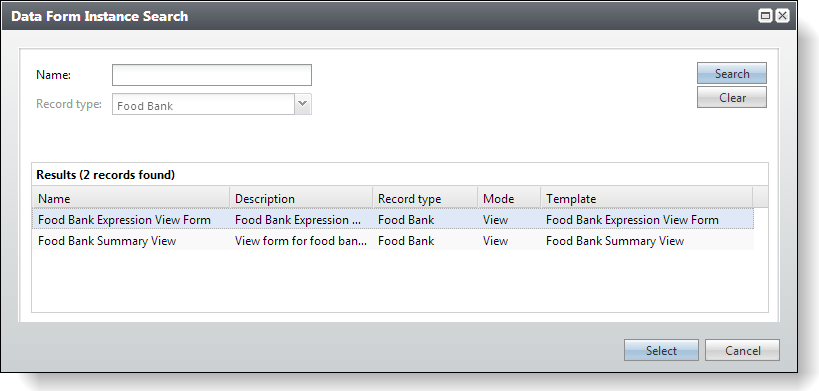
Click the Search button to search for the appropriate Expression View Form. Select the correct Food Bank Expression Data Form and click the Select button.
Click OK and Save to save configuration.
Step 3 - Build the expression for the page's Caption property.
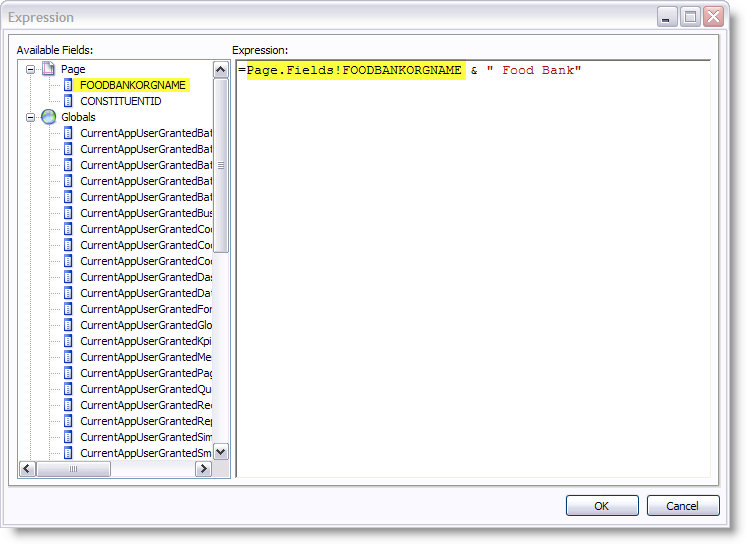
After you select the expression data form, click the ellipsis button for the Caption property to open the Expression window.
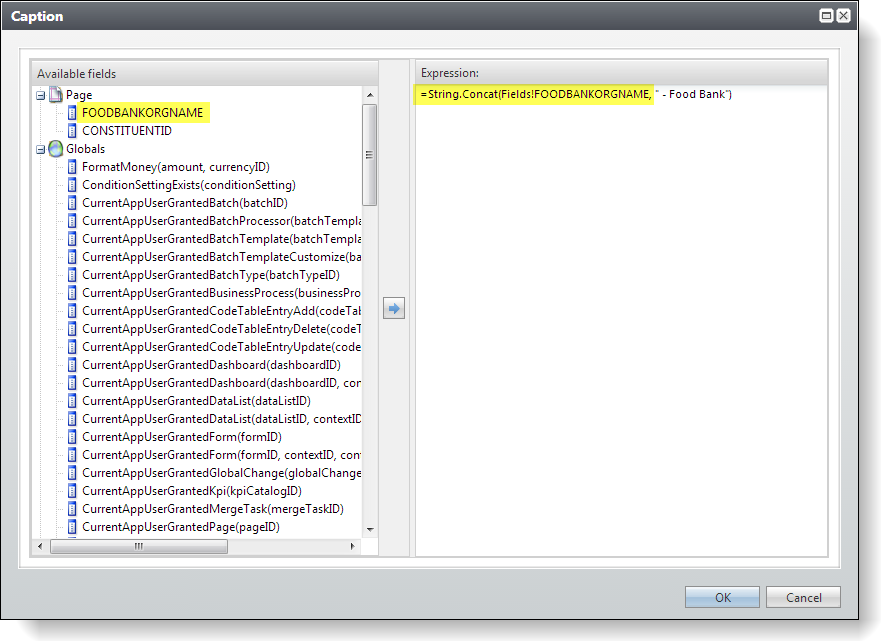
After you select the expression data form, click the ellipsis button for the Caption property to open the Caption window.
Double-click the FoodBankOrgName field on the left to add it to the expression pane on the right. For Infinity to evaluate the expression, you should place an equal sign before the expression. Concatenate "Food Bank" at the end of the expression.