Add New Options
Options can be added to a data table one at a time. This is especially useful if only one or a couple of options need to be added.
Tip: If you are adding and managing a large number of options, it is recommended to import the options in bulk instead.
-
Navigate to the Program Setup > Custom Forms > Custom Data Tables tab.
-
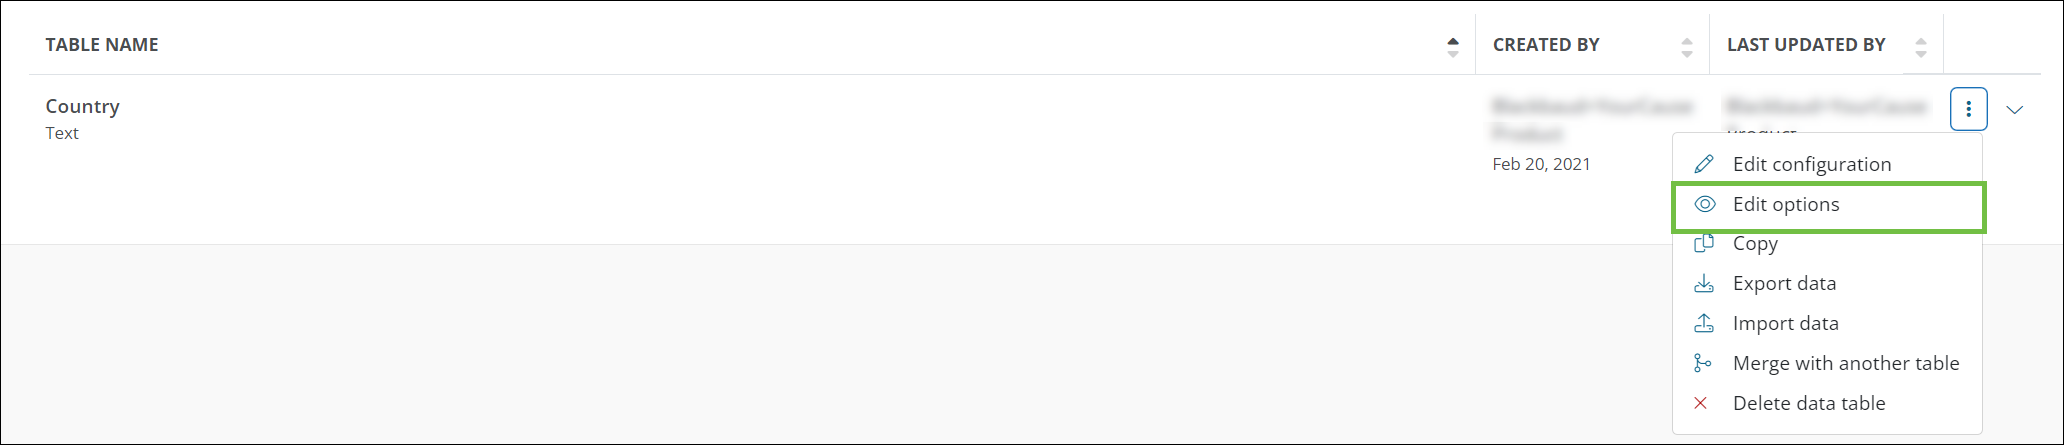
Select the ellipsis icon next to the item and then Edit options.
-
On the Custom Data Table View page, click on the Add option button.
-
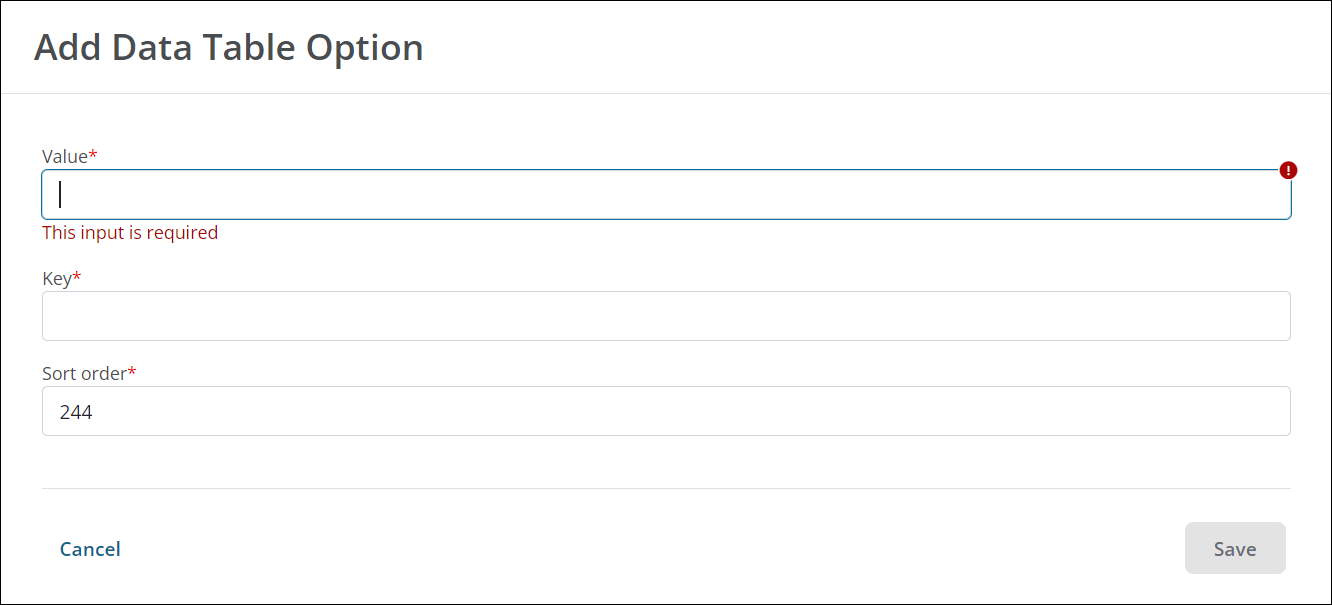
In the Add Data Table Option screen, provide the following information for the option.
-
Enter the value.
Note: The value must be unique. This will be what users see in fields and forms.
-
Provide a unique key for the option. It cannot be edited after it's created.
Tip: The key is used when connecting fields to an API. It's also helpful to distinguish between fields with similar names when managing fields in bulk, configuring custom data tables, creating reports, and more.
-
Enter a number greater than or equal to one in the Sort order field to specify the order in which options will be arranged.
Note: The sort order can be edited as more options are added to the data table.
-
-
Click on the Save button to add the option to the table.
Options will be automatically marked as Active and arranged in the specified sort order.