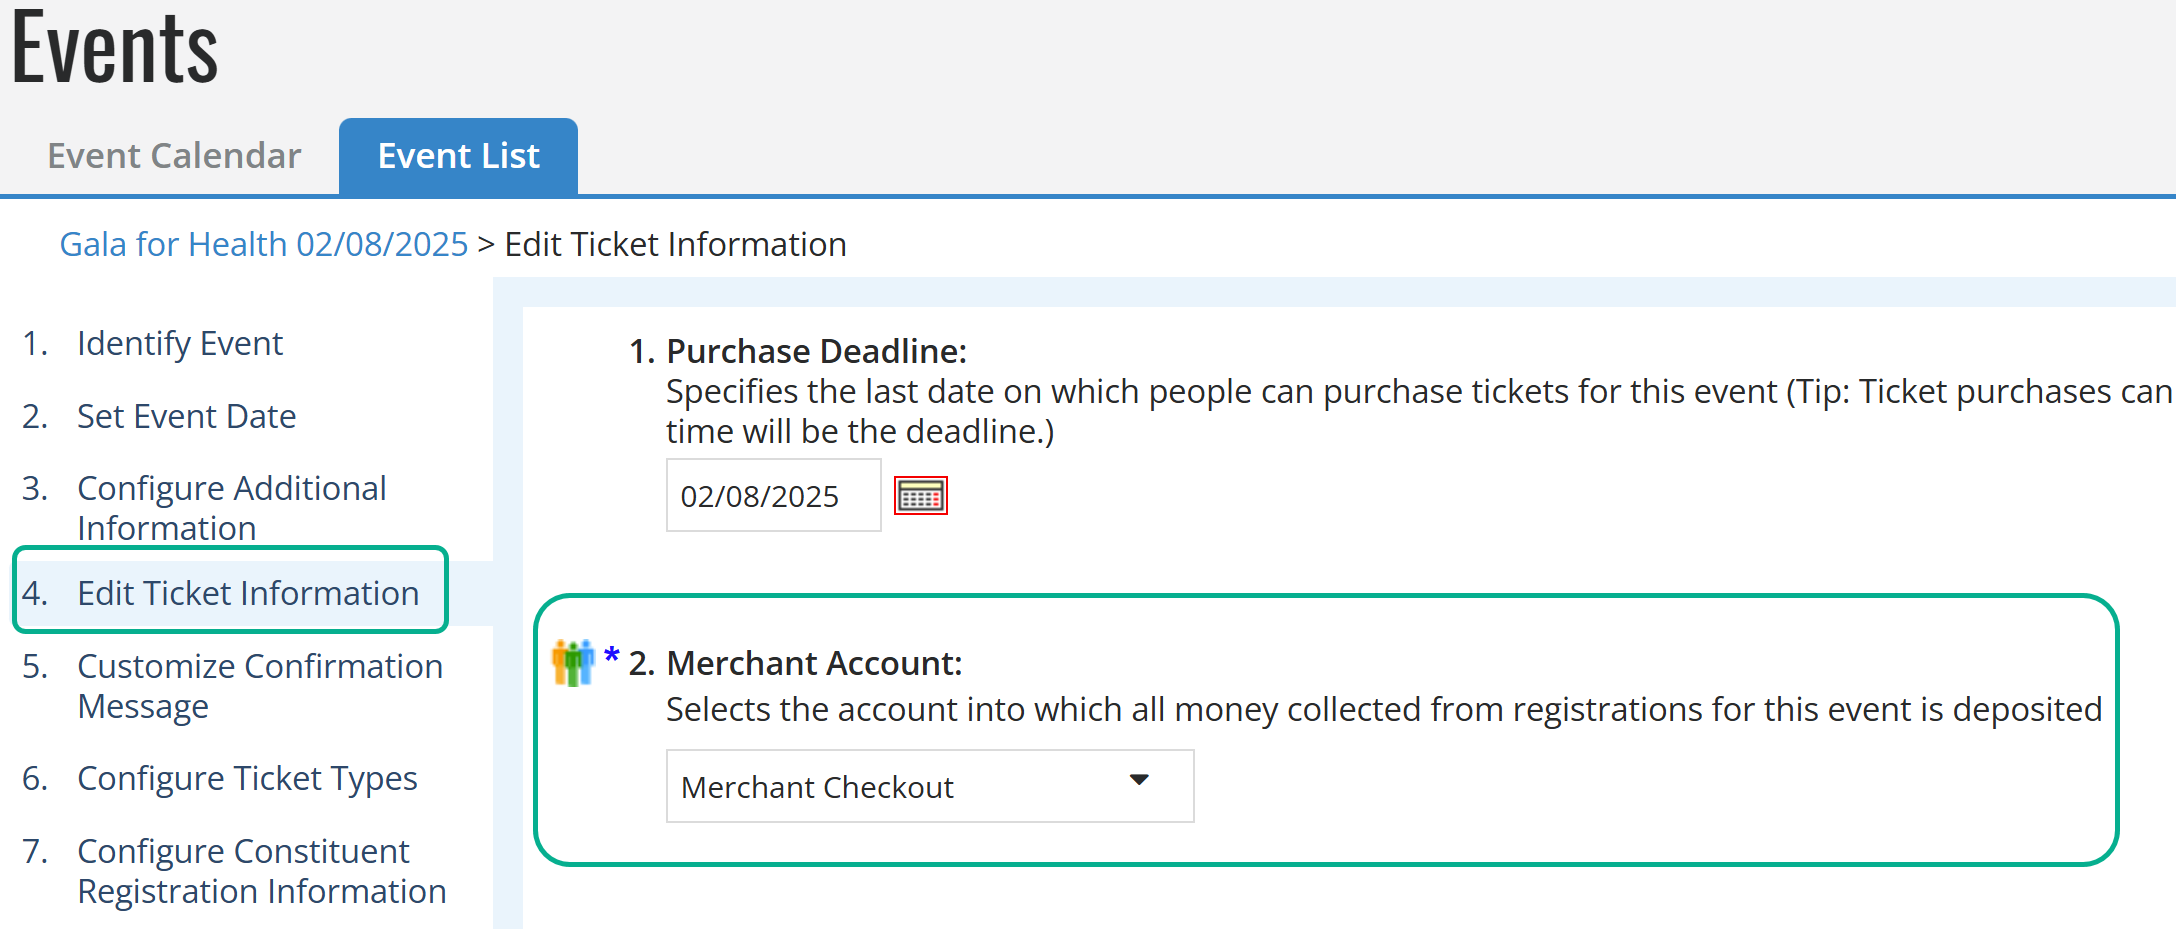
Settings on the Ticket Information page include the purchase deadline date for making ticket purchases, the merchant account to which money collected from ticket sales is deposited, and if an additional donation field displays on the ticket purchase page.
On the Edit Ticket Information page
Note: If you are not on the correct page, select the Edit Ticket Information step from the steps on the left of the page.
-
For Purchase Deadline:
-
Leave the start date to allow respondents to purchase tickets until the start time of this event.
-
Or, enter the last day on which people can purchase their tickets for this event. You can manually type in the date or select the Calendar
 icon to select the date from the calendar selector page displayed.
-
-
For Merchant Account, select a "Checkout" account that supports the new checkout payment feature to ensure you meet PCI v4 compliance.

Tip: You can search for an account and scroll through results in the Merchant Account drop-down list.
Warning: As of March 2025, all credit and debit card transactions must be through the Blackbaud Payment Service. We recommend you use a Blackbaud Merchant Services account compatible with the latest checkout to offer the most payment options with the easiest, end-to-end transaction management.
-
For General Information Text, enter content that applies to all tickets to display on the ticket purchase page.
-
For Visibility of Guest List:
-
Leave the Yes, display the View the Guest List link checkbox unselected to hide the View Guest List link on the purchase page.
-
Or, select the checkbox to display the link so people can check the names of others who will be attending this event.
-
-
For Additional Gift:
-
Leave the Yes, display the Additional Gift field on the ticket purchase page for this event checkbox unselected if you do not want to allow people to give a donation at the time they purchase tickets.
-
Or, select the checkbox to display this field.
-
-
For Additional Gift Field Label, enter the label to display in front of the Additional Gift field.
-
For Sold Out Text, enter the content to display when no more tickets can be purchased for this event.
-
For Email Opt-In,
-
select the No radio button to hide the email opt-in checkbox and automatically opt constituents in to email.
-
Select the Yes radio button to show the email opt-in checkbox.
-
Select the box to make that opt-in checkbox checked by default.
-
If you do select the Yes radio button, you will have the option of entering custom text for the opt-in checkbox label. If you enter no text, the default label will display.
-
-
When you are finished, select Next.