Checkout in Events
When an event is set up to require a purchase, such as buying a ticket, your event must use a merchant account that supports the new checkout feature.
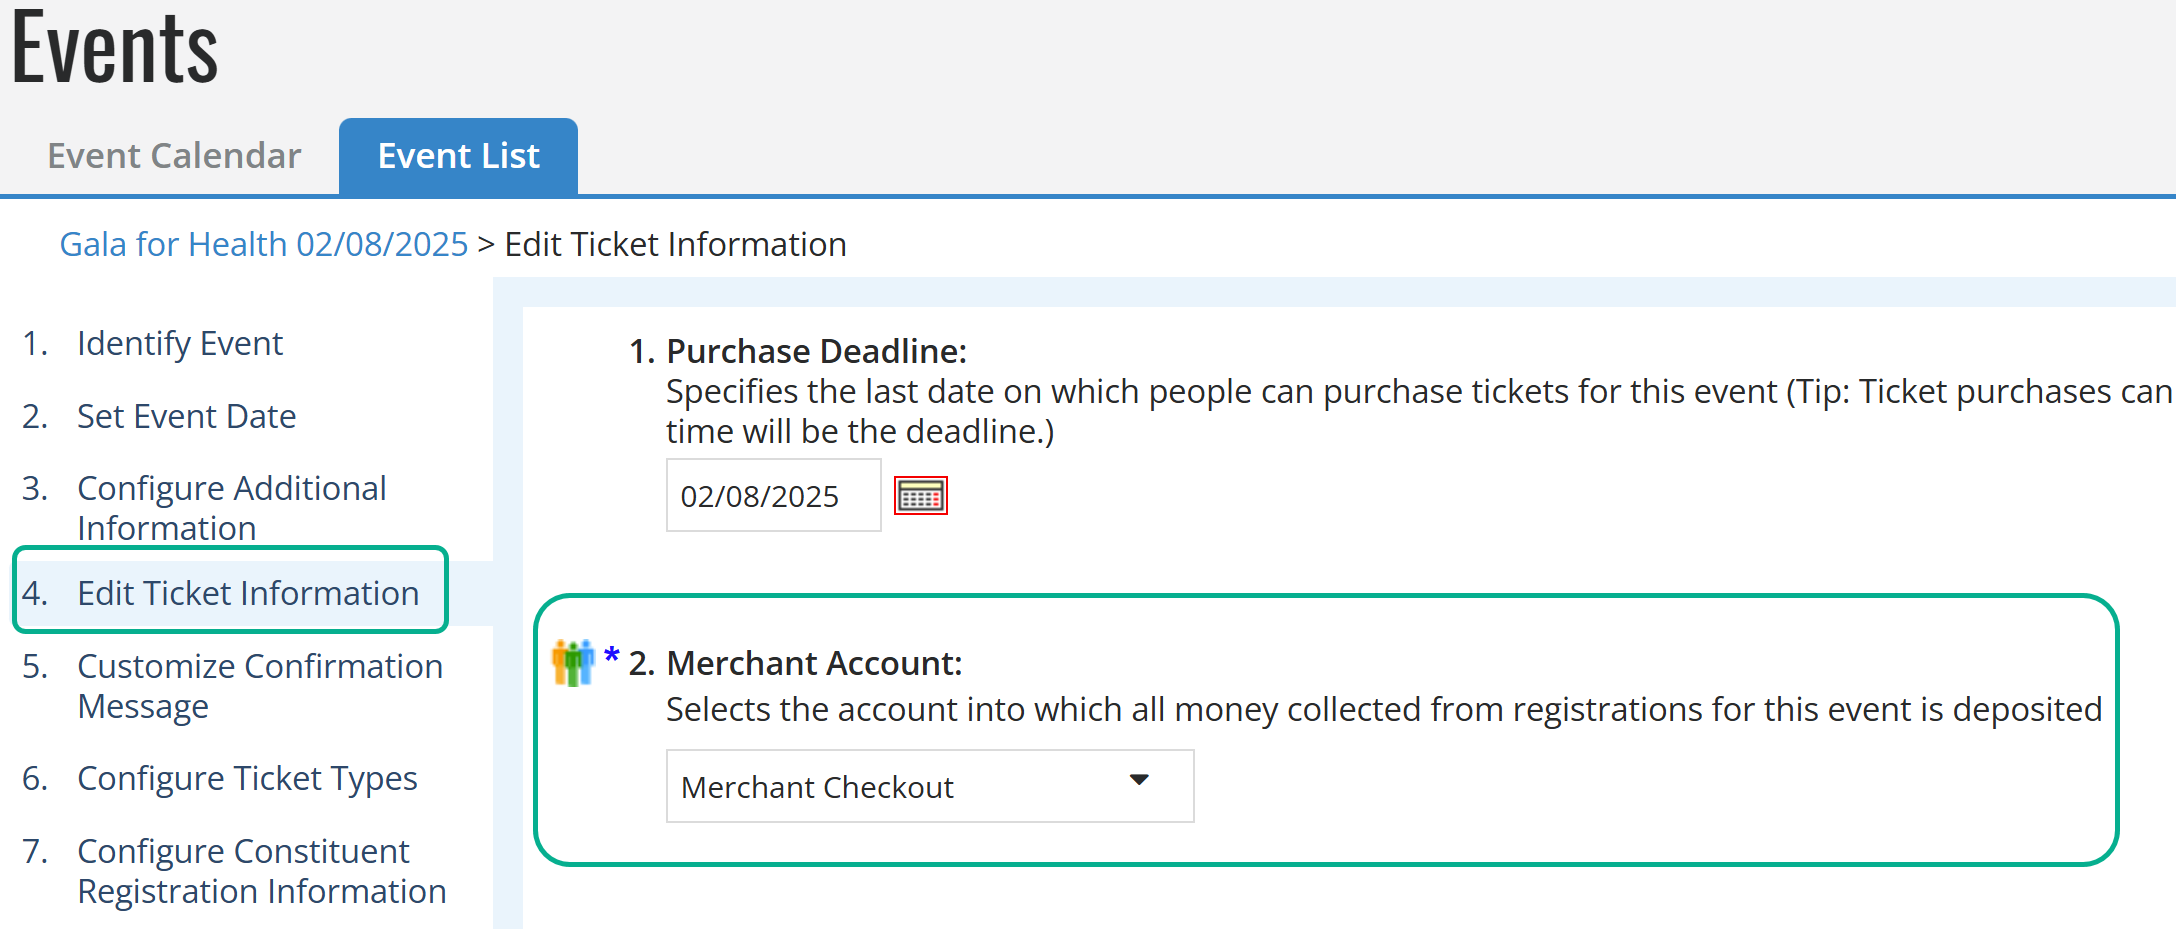
To configure your ticketed event for checkout, select a checkout-enabled merchant account on the Edit Ticket Information step of the event configuration. After the update, the checkout modal will appear for payment processing.
Update an Event for checkout
Note: If you are not on the correct page, select the Edit Ticket Information step from the steps on the left of the page.
Go to Content, Events.
Find your event in either the calendar view, or select the Event List tab and locate your event.
Edit your event.
Tip: If you are in calendar view, select on your event, then select Edit in the pop-up.
On the left, select Edit Ticket Information.
Select a checkout Merchant Account.

Tip: You can search for an account and scroll through results in the Merchant Account drop-down list.
When you are finished, select Next.