Add CAPTCHA to a Donation Form
Note: March 2025 Update: Checkout-enabled forms do not need a CAPTCHA element added. Each checkout experience has built-in reCAPTCHA protection. Remove the CAPTCHA element on checkout forms.
This is a historical document. You no longer need to add the CAPTCHA element when a checkout element is on the form.
Protect your donation form from fraudulent activity by adding a Captcha data element.
The Captcha data element uses the CAPTCHA version set for your entire site. See CAPTCHA or reCAPTCHA on Donation Forms.
Note: If your donation form processes transactions via Luminate Online API, see Secure Donations with Google reCAPTCHA v3 in the Luminate Online API documentation site.
To add the Captcha data element to the donation form
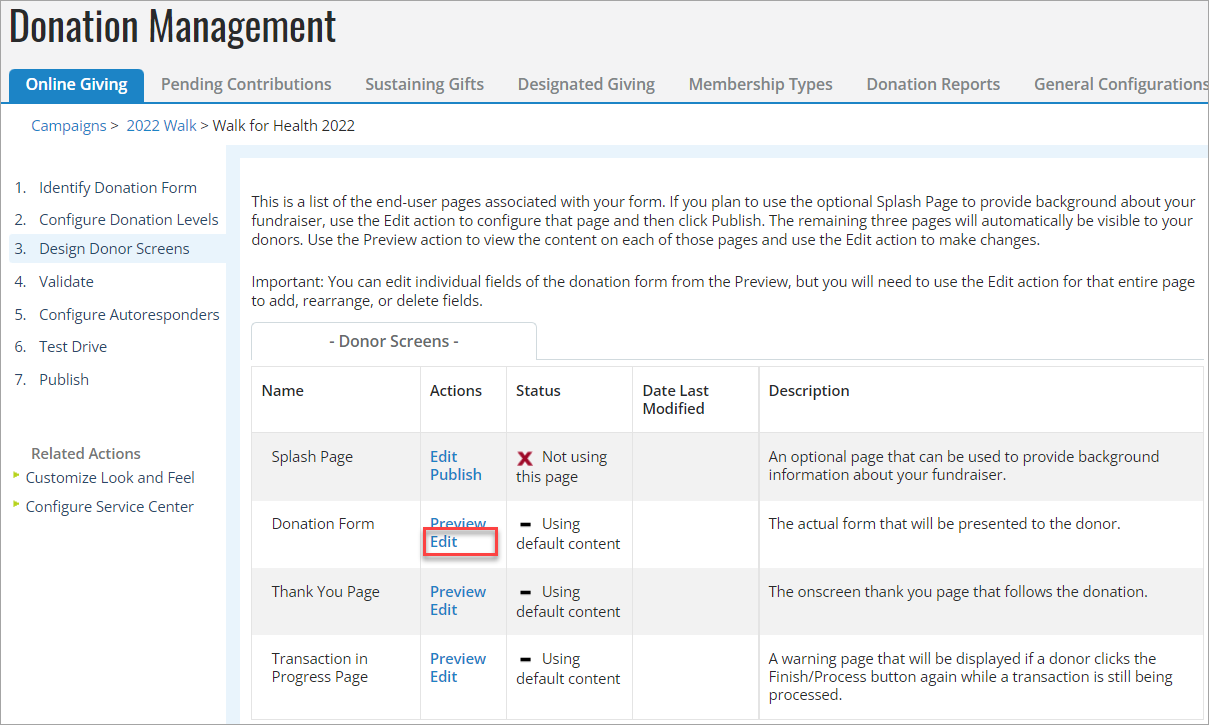
Open the donation form.
Go to Fundraising > Donation Management.
Select the All Donation Forms tab.
In the search field, enter the name of the donation form, and select Search.
In the Actions column, select Edit.
On the left, select Design Donor Screens.
For the donor screen used as the donation form, select Edit in the Actions column.
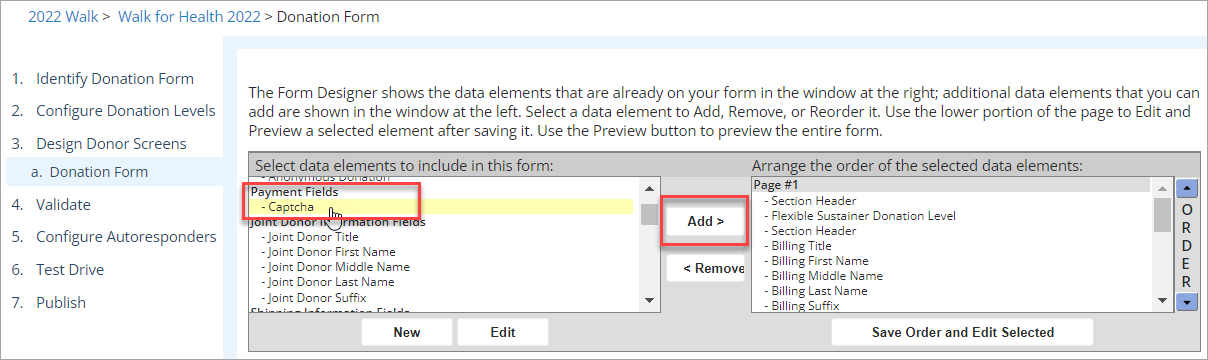
On the left side of the Select data elements to include in this form area, scroll down to find the Payment Fields section.
Select Captcha.
Select Add >.
(For sites that use the original CAPTCHA version) On the right, in the Arrange the order of the selected data elements area, use the blue arrows to move the placement of the Captcha element.
Tip: If your site uses reCAPTCHA v3, the order of the element doesn't matter.
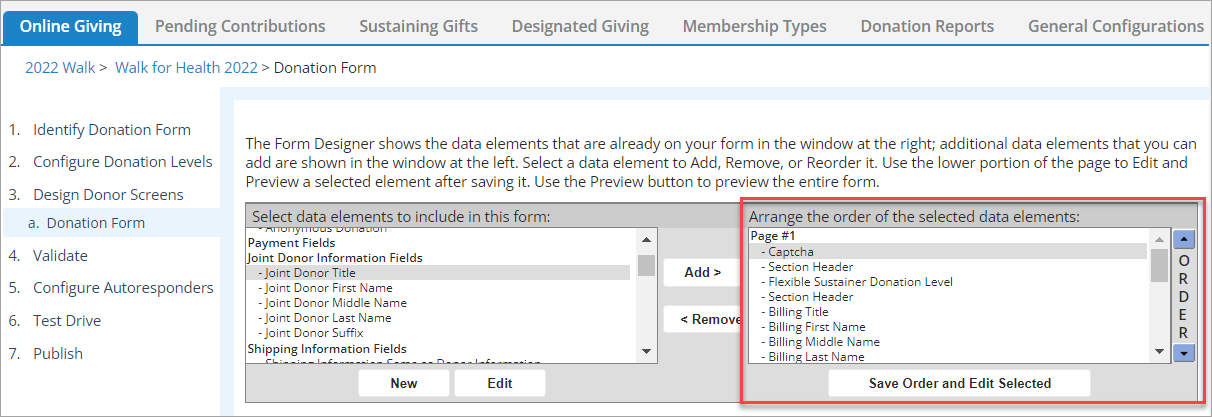
Select Save Order and Edit Selected.
Select Save.
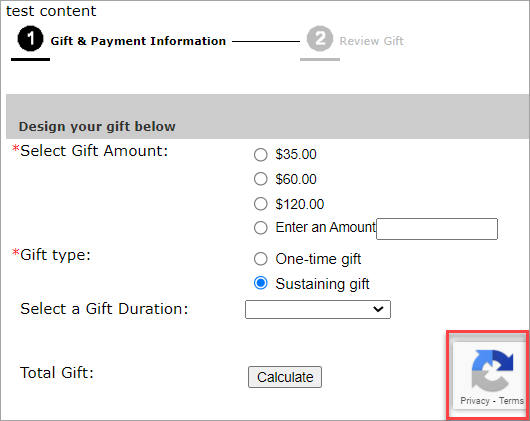
Click Preview to review your updated donation form.
If your site uses reCAPTCHA v3, you'll see the reCAPTCHA logo in the lower right.
When you're done, select Finish.