Create the Delayed Self-Pledge CSV File
From any administrator page, select Data Management > Reports.
Select the Report Writer tab.
Select Create a New Report.
From the Report Selection drop-down, select Delayed Self Pledge.
Select Delayed Self Pledge Report and select Next.
On the Select Report Columns page, remove the selection for the following items from each section:
Email: Accept Email
Gifts: Date Recorded, Gift Amount
Gifts by Donor: Gifts, Unique Donors
Gifts by Status: All confirmed Gifts, Total of All Confirmed Gifts, Offline Gifts, Online Gifts, Total Offline Gifts, Total Online Gifts
Online Check-in: Offline Fees Paid Amount, Race Number with Check Digit, Online Check-In Flow Step, Online Check-In Status, Online Fees Paid Amount
Registration: Registration Date, Self Donor
Note: Participant Constituent ID must stay selected
Registration Amount: Additional Gift Amount, Fees Paid Amount
Event: Event Date, Event Goal, Public Event Name
Sustaining Gifts: the three Delayed Self-Pledge report columns that will not be used, End Date, Last Payment Date, Next Payment Date, Recurring Pledge Frequency, Recurring Pledge Status
From the Biographical Information section, select the Member ID and User Name options.
Select Next.
On the Report Column Order page, select Next.
On the Select Sort Order page, select Next.
On the Configure Filters page:
For Registration Active Status, select Edit from the Actions column.
On Filter page, select the Active checkbox and then select Save this filter.
Select Next.
On the Identify Report page:
For Report Label, enter a name to identify this report.
For Report Description, enter details that identify the purpose of this report to administrators viewing the Reports and Report Results lists.
For Security Category, leave General selected or select the appropriate option to restrict the availability to run or copy this report to a specific administrator category.
For Report Folder, select the folder in which to store this report, or, create a new folder and put this report in it.
Select Next. displays.
On the Report Criteria Summary page, review the information and then select Run Report.
On the Edit Run Time Parameters page, select Next.
On the Identify Result page, make any necessary modifications and select Next.
On the Set Report Schedule page, select Next.
On the Share Report Results page, select Next.
Scroll to the bottom of the Review Criteria Summary and select Run Report to run the report.
When the report completes, select the save icon.

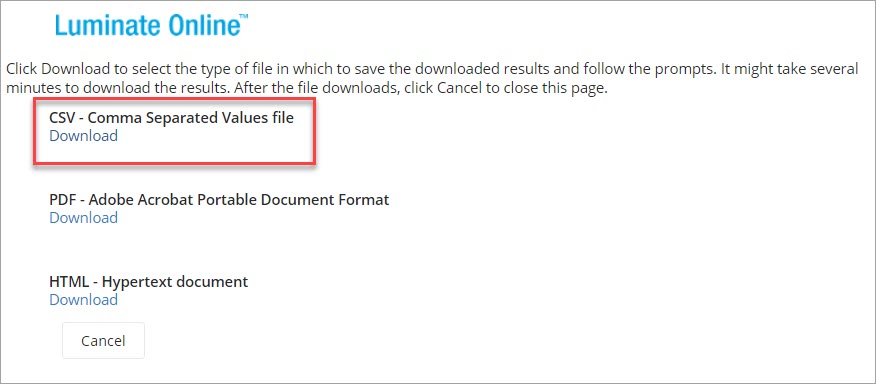
In the download window, under the CSV - Comma Separated Values file section, select Download.
Locate and open the downloaded CSV file (this is often in your Downloads folder on a PC).
Rename the column headings as follows:
Automatic column heading Change the column headers to these values Event FR_ID Internal Event Name EVENT_NAME DSP Pledge Amount Due DSP_AMOUNT Expected Payments DSP_PAYMENTS Sustaining Gift ID DSP_PLEDGE_ID Participant Constituent ID PART_CONS_ID Member ID PART_MEMBER_ID Race Number PART_RACE_NUMBER User Name PART_USERNAME First Name PART_FIRST_NAME Last Name PART_LAST_NAME Email PART_EMAIL Save the file, then Test the Delayed Self-Pledge CSV file.