Note: We offer two different ways to make sharing mission-related information easier. The Tell-A-Friend method applies for all sharing opportunities on our website, and is not limited to event participants. All other instructions on this page refer to sending email from a Participant Center, and is limited to event participants.
If a Sharing Opportunity link with icons similar to this ![]() (Facebook logo) or
(Facebook logo) or ![]() (LinkedIn Logo) displays on a page in this site, you can select
(LinkedIn Logo) displays on a page in this site, you can select ![]() (Social Tell-A-Friend Email icon) to send a special Tell-A-Friend email about the activity. The email message will contain a link back to an appropriate page on this site where your friends can pursue the activity (for example, make a donation, join your fundraising team, or take a political action alert).
(Social Tell-A-Friend Email icon) to send a special Tell-A-Friend email about the activity. The email message will contain a link back to an appropriate page on this site where your friends can pursue the activity (for example, make a donation, join your fundraising team, or take a political action alert).
The email addresses to which you will send this are added to the Contacts list in your personal Address Book that is attached to your account. The contact information is private to you and we do not use the information in any way as an organization. The information is maintained to make it easy for you to use in different areas of our site from which you can send email.
-
Select
 (Social Tell-A-Friend Email icon).
 -
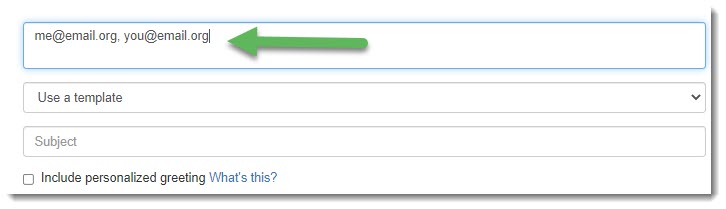
Enter the Recipient Email Addresses separated by commas.
-
If the Subject line is not locked, you can change it to be more compelling.
-
Enter your message in the Body. For example, you may want to describe the activity, explain why you are excited about it, and that you want the recipient to pursue it as well.
-
Select Send. The form closes and the site page you were on is displayed again.
Tip: You can also select the social site icons to post a comment on your favorite social sites about the activity. The post (or, tweet) will also contain a link back to an appropriate page on this site.
While fundraising, you may send requests for support, progress updates, invitations to events, and thank you notes. Some messages will go to all of your contacts, entire groups, or just a special someone. You have the option of crafting a personal message for each of these, or you can create a thoughtful template and apply personalization to that. Your organization may even have provided you with stationary and messages to help you along the way.
Note: All of the actions below are available in your Participant Center Email.
-
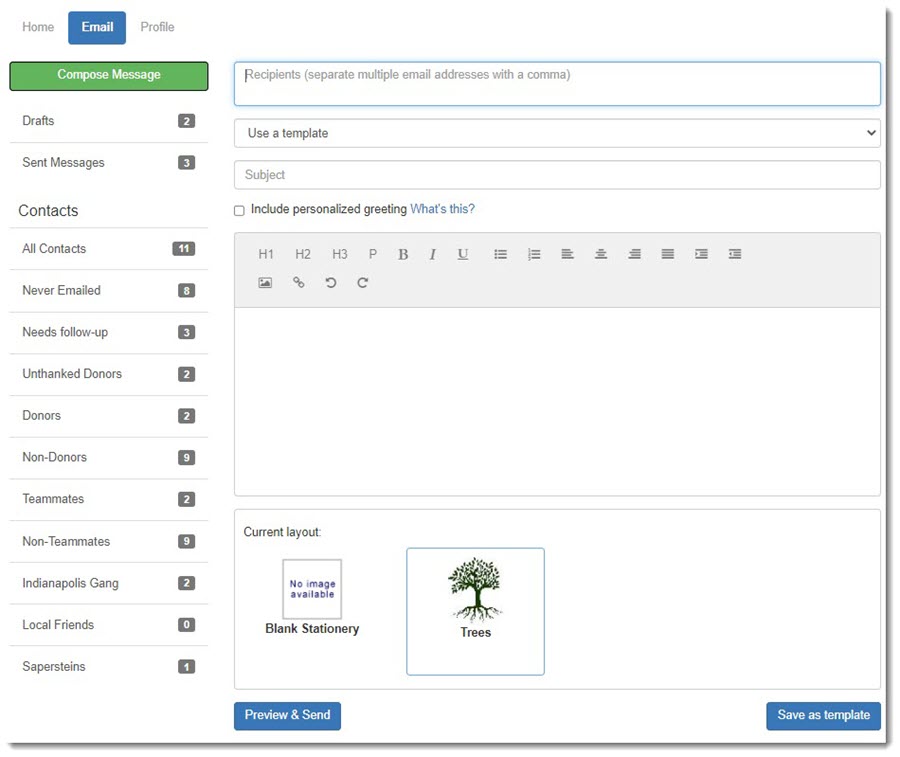
Select Compose Email to display the email designer.
-
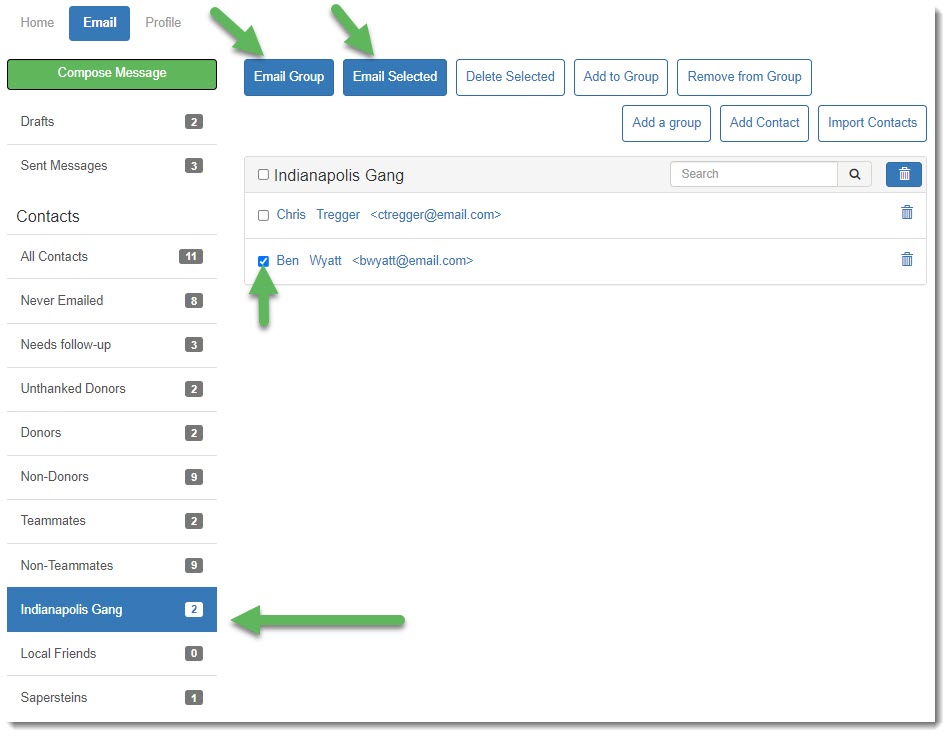
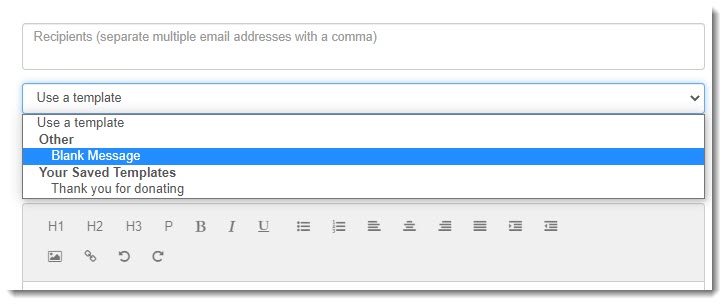
Manually enter email addresses separate by commas in the Recipients field, or select contacts from your contacts lists or groups.
-
Select a template or a blank message.
Tip: Any message you create can be saved as a template. Select Save as template at the bottom of the designer after constructing a message you want to reuse. The saved message will become available in the template list.
-
Enter a Subject. Select Include personalized greeting that includes a default salutation and the first name of each recipient listed in the To line of an email message (for example, Dear Pat). If the recipient is not already a contact within your address book, the word Friend will display with the salutation instead. You can select to include this personalized greeting as the first line in messages that you compose and send from this email area.
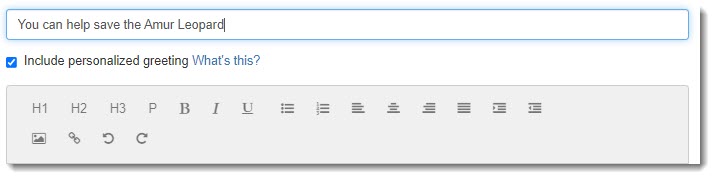
Tip: If the message is an appeal for support, write a subject that makes your audience an active participant and be positive. Instead of "Amur Leopards are endangered," try "You can help save the Amur Leopard."
Warning: If you select to include the personalized greeting in your message, do not manually type in a greeting as well. (That is, you do not want the message to start with two lines that say "Dear Pat" or a "Dear Pat" line followed immediately by a "Hey Pat" line.)
-
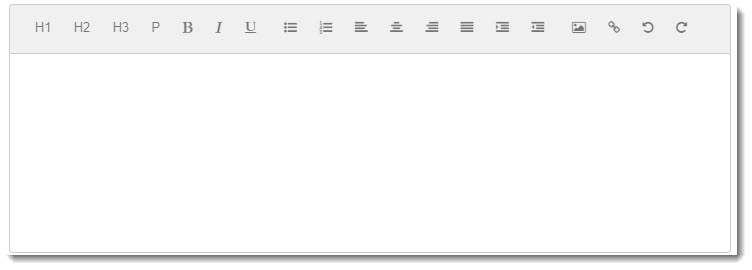
Type your message in the text box. Format your text with the heading styles H1, H2, H3; character styles P, B, I, U; list styles bullet, numbered; alignment left, center, right; indent left, right; insert image, link; and undo or redo.
-
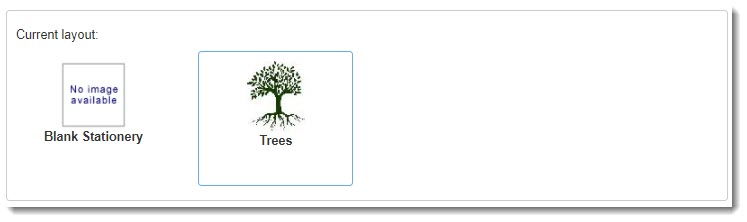
We often include a stationary with our branding colors, logo, and some contact information. This is available for your convenience. You may select to apply this or select Blank Stationery.
-
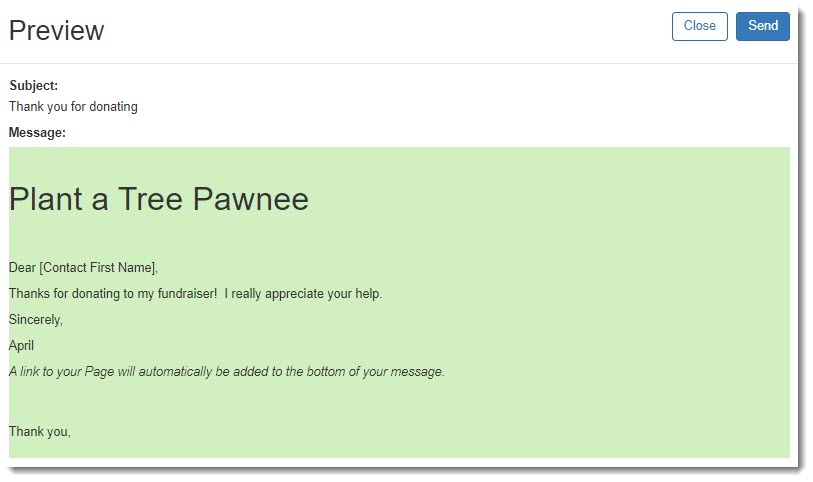
Select Preview & Send to review your message. Select Close if you want to edit your message. Select Send when you are ready to send the message.