Create and Manage Audiences
An audience is a group of users (internal and external) who can receive reports sent from GrantsConnect.
Before you begin
You must have either the System - Can Manage Users or System - All permission to create audiences and manage users.
Create new audiences
-
Navigate to the Settings > Audiences area.
-
Select the Create new audience button.
-
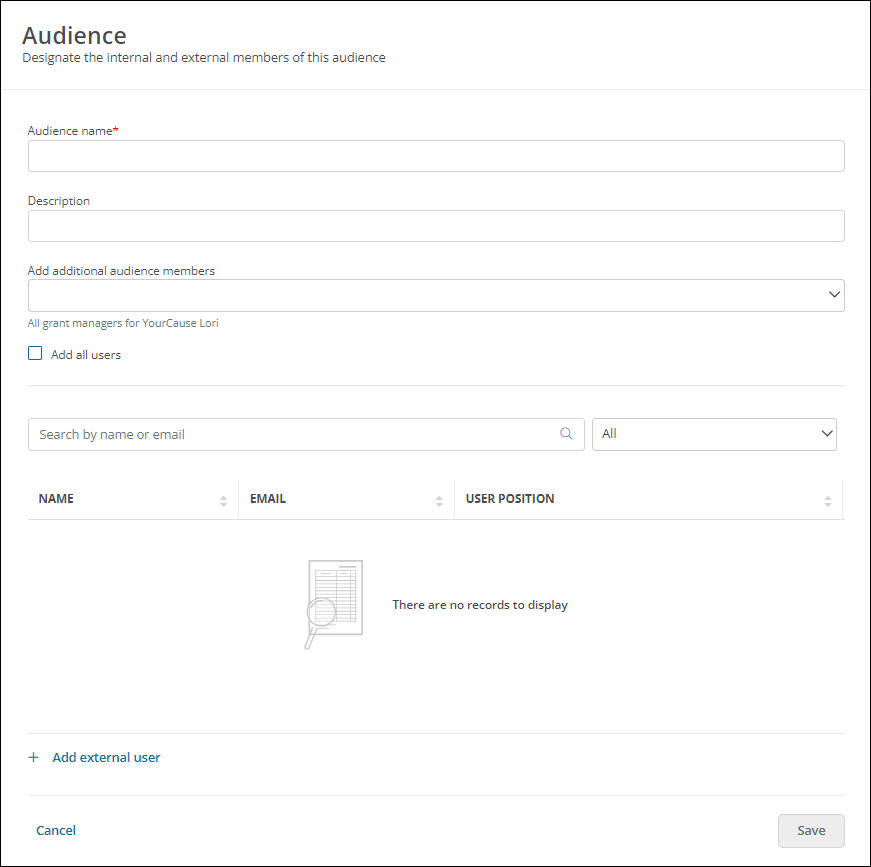
In the Audience screen, provide the following information.
-
Provide a name for the audience.
-
Optional - Include a brief description.
-
Add recipients using any of the following methods.
-
Select existing Grant Managers from the Add additional audience members dropdown.
-
Enable Add all users to include all Grant Managers.
-
Search by name or email for specific users.
-
Select the Add external user button to add users who don't have a GrantsConnect account.
-
-
-
Save all changes.
Manage audiences
 Edit audiences
-
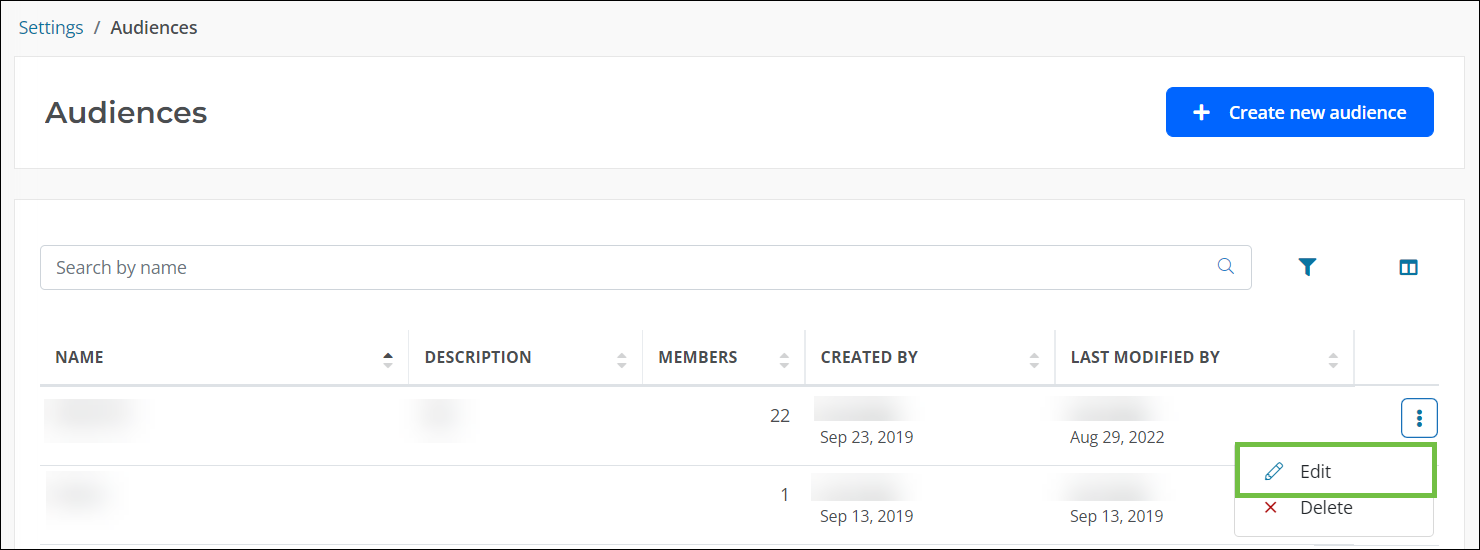
Navigate to the Settings > Audiences area.
-
Select the ellipsis icon next to the audience and then Edit.
-
Make any edits in the Audience screen.
-
Save all changes.
Delete audiences
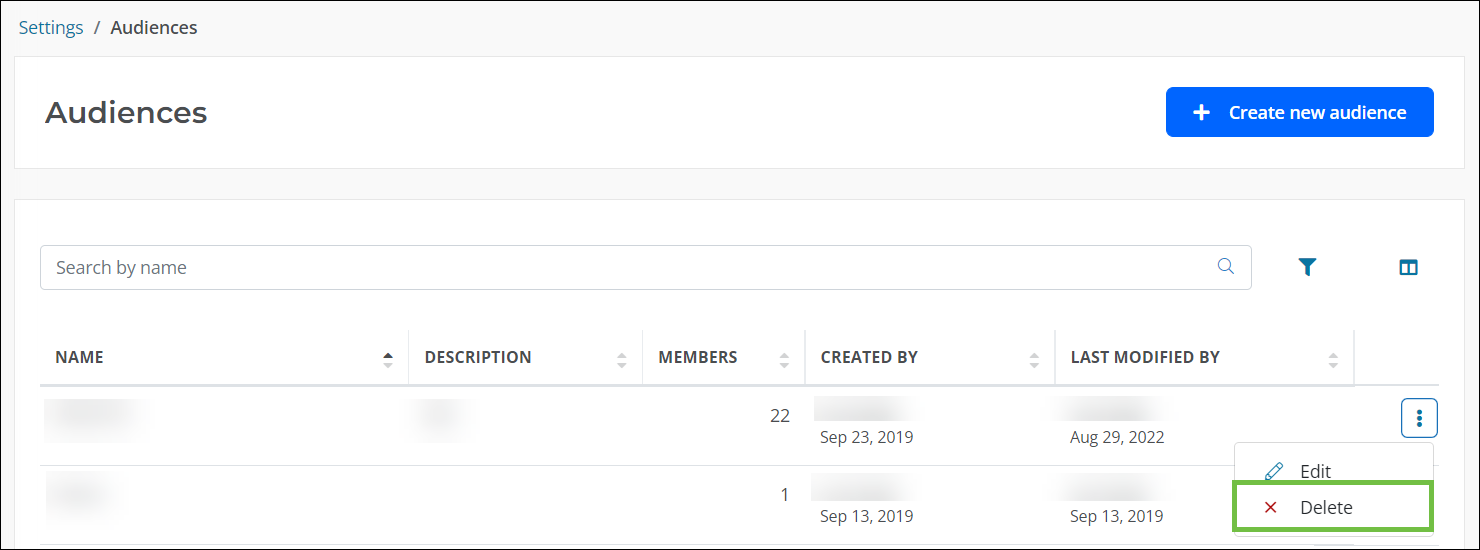
Warning: Deleting an audience prevent it from being used for scheduled or manually sent reports. This action cannot be undone.
-
Navigate to the Settings > Audiences area.
-
Select the ellipsis icon next to the audience and then Delete.
-
Confirm the action to delete the audience from the system.
How to use audiences
Audiences can be used for several features, including:
Frequently asked questions (FAQs)
How does an audience differ from a distribution list?
Audiences allow you to specify users that will receive Ad Hoc reports or payment export files for Accounts Payable (AP) integration. Distribution lists allow you to create a designated group of users who will be sent email invitations to apply for programs.
Note: For more information about distribution lists, see the Invitations resources.