Designation Fields
The Designation field is used if an application requires the payment include mention of a special purpose, status, etc.
About this field
Note: This field is available in both Applicant and Grant Manager forms.
When added to a form, the Designation field appears as shown below.

Tip: Adding the Designation field to a form updates this field at the application level. Designations can also be updated for specific payments whether or not this field was included on the application forms. Learn more.
Add to a form
-
Navigate to the Program Setup > Custom Forms area.
-
Create a new form or edit an existing one.
-
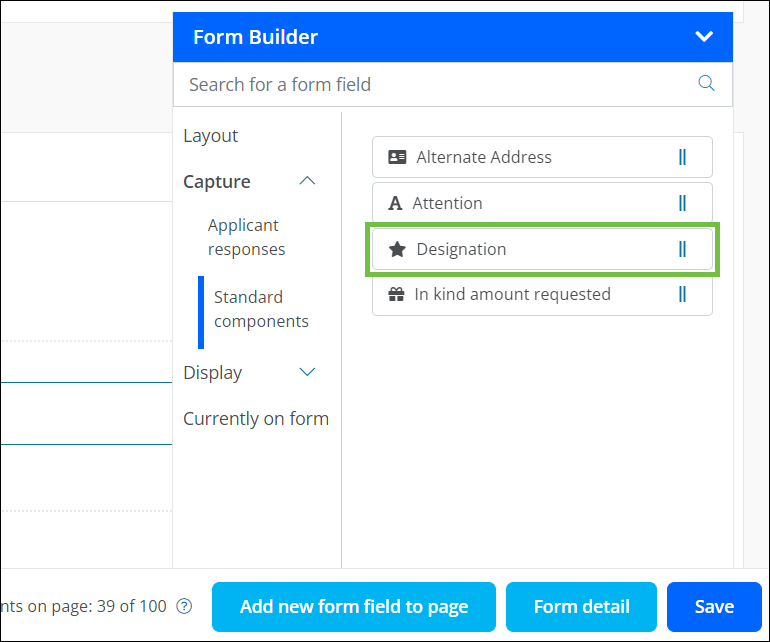
In the Form Builder toolbox, select the Capture group and then Standard components.
-
Click on the Designation field and drag it onto the form.
-
Save your updates to the form.
Configure field settings
-
In the Form Builder, hover over the field and click on the pencil icon (i.e., Edit component).
-
In the Configuration screen, update the field's settings by selecting the tabs below.
 Details
-
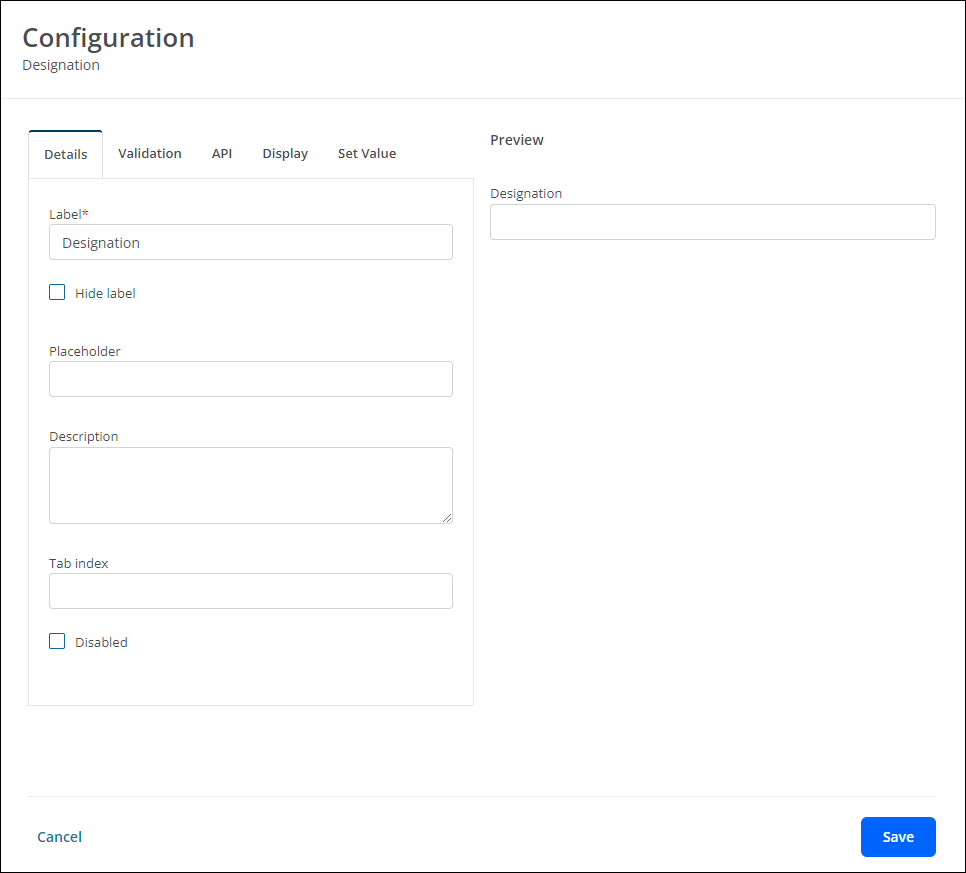
In the Details tab, make any of the following changes:
-
Update the field's label. By default, this is Designation.
Note: Alternatively, you can enable the Hide label option to hide it entirely. This is only recommended if you plan to include a Text field that provides instructions to the applicant.
-
Include a placeholder.
-
Provide a description.
Note: The description is displayed directly below the field in the form.
-
Enable the Disabled checkbox to prevent users from entering a designation.
Tip: Alternatively, you can configure when the field will display in the form. This allows applicants that meet your requirements the option to provide a designation without displaying the field to those that do not. Learn more.
-
 Validation
-
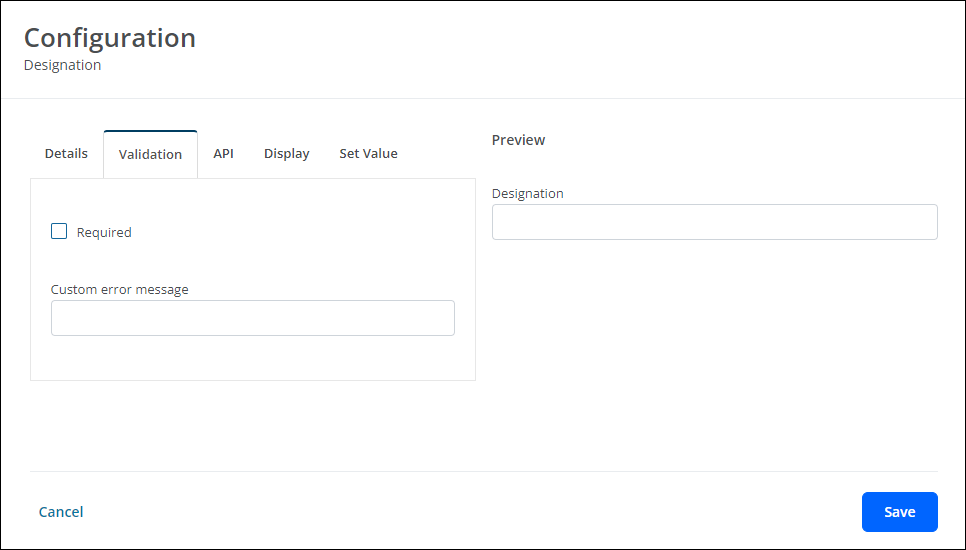
In the Validation tab, make any of the following changes:
-
Enable the Required option to require applicants provide a designation in order to submit the form.
-
Provide a custom error message that appears if they try to submit the form without completing the Designation field.
-
 API
API
-
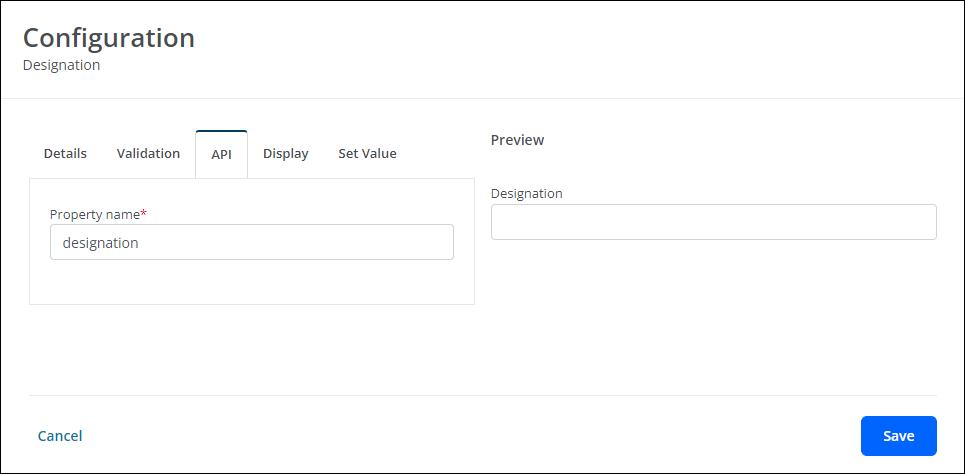
In the API tab, update the Property name that will be used with your external APIs.
 Display
-
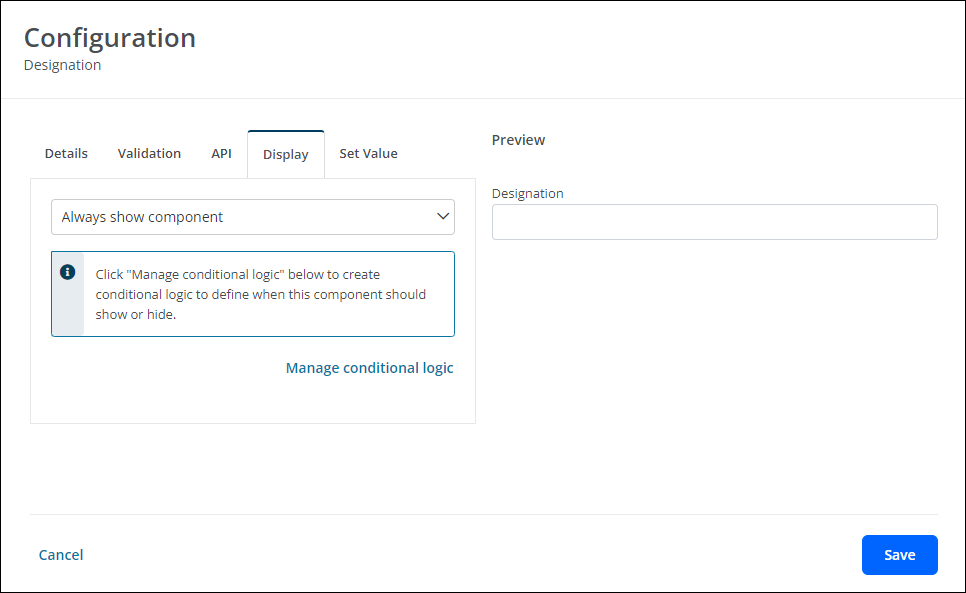
In the Display tab, define when this field will be visible in the form.
-
Always show component (default)
-
Always hide component
-
Show component when
-
Hide component when
-
Note: The Show component when and Hide component when options require you to define conditional logic to determine when the field will be shown or hidden. For more information, see Show or Hide Fields.
 Set Value
-
In the Set Value tab, create rules to assign this field a specific value or the value from another component.
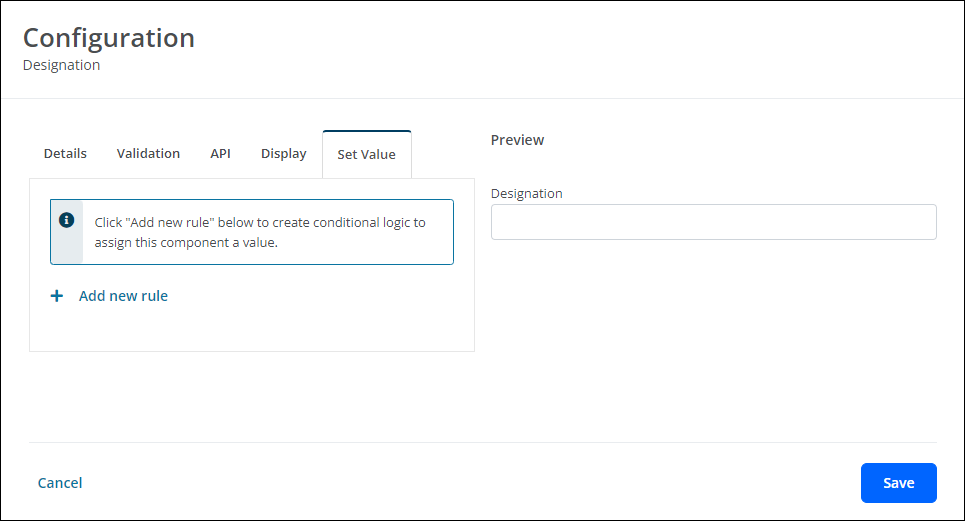
Note: For more information, see Set Field Values.
-
-
Save your updates to the form.
Frequently asked questions (FAQs)
 Why isn't the Designation field available in my Form Builder toolbox?
Only clients that have the Designations feature setting enabled in their account will have this option. This setting can only be enabled by the Implementation team.
 Can a designation be provided if it was not included in the form?
Yes. If the Designation field was not included in the forms completed by the applicant or Grant Managers, you can provide a designation in the Payment Processing area after the application has been awarded and payments created. Learn more.
 What are the special characters limitations of the Designation field?
Due to requirements when processing payments, only those special characters listed below are allowed in the Designation field.
! “ # $ % & ' ( ) * + , - . / : ; < = > ? @ [ \ ] ^ _ ` { | } ~
Uppercase (A - Z), lowercase letters (a - z), spaces, and numbers (0 - 9) are also allowed.