Note: February 2025 Update: Fraud management is now handled by Blackbaud Merchant Services. See Checkout Fraud Management.
How do I enable Fraud Management?
Note: Administrators cannot access Fraud Management until it is enabled AND they are granted permissions. See How do I assign permissions? below.
Select the CONS_ACTIVE_SUSPECT settings in Site Options to activate the feature.
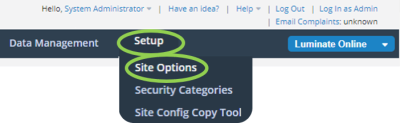
Select Setup > Site Options.
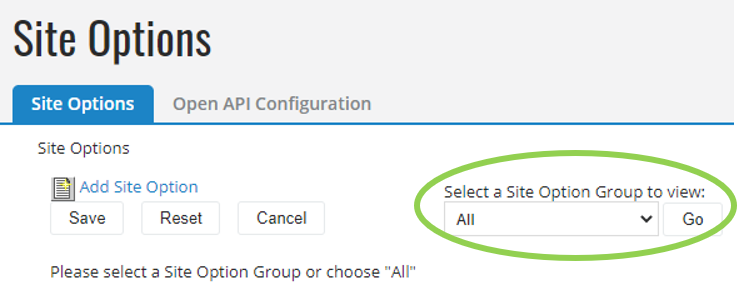
Set Select a Site Option Group to view: to All, and select the Go button.
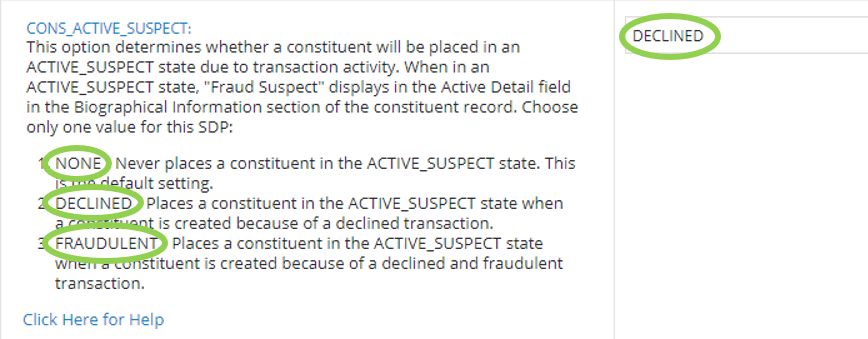
Scroll down to CONS_ACTIVE_SUSPECT and enter NONE, DECLINE, or FRAUDULENT in the text field.
DECLINED - Places a constituent in a suspicious state when a constituent is created because of a declined transaction for any reason. This setting is the most restrictive.
FRAUDULENT - Places a constituent in the suspicious state when a constituent is created because of a declined, fraudulent transaction. See How does Blackbaud Merchant Services screen for fraud for more details.
Note: The FRAUDULENT setting requires decline codes generated from the Blackbaud Merchant Services/Blackbaud Payment Services gateway. To use Fraud Management without BMMS/Blackbaud Payment Services, select the DECLINED setting.
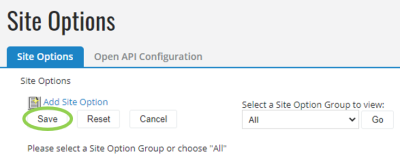
Select the Save button.
How do I assign permissions?
After the Fraud Management feature is enabled, administrators still need to belong to a security group with permissions to access the Fraud Management interface. Assign the permissions to an existing administrator group or create new groups specific to Fraud Management.
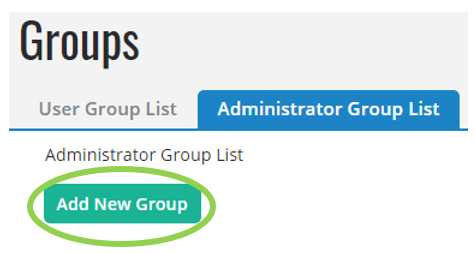
1. Open the Administrator Group List.
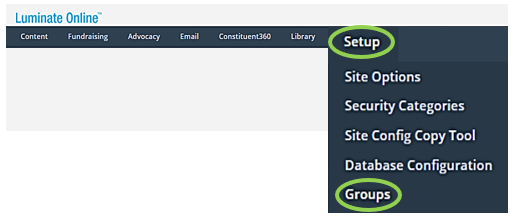
Navigate to Setup > Groups.
Open the Administrator Group List tab.

Note: See Create a Security Group and Assign Permissions for more details.
Select the Add New Group button.
Use the text fields to enter a group Name and Description.
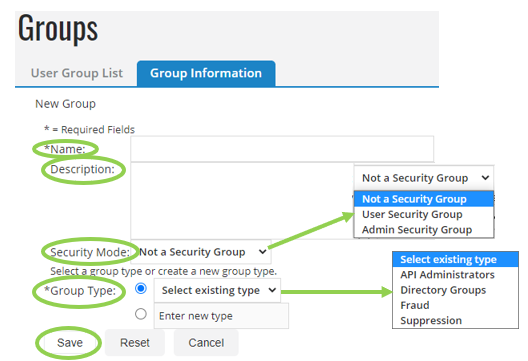
Select Admin Security Group from the Security Mode dropdown.
Select an existing Group Type, or select the radio button next to Enter new type and type the Group Type name in the field.
Select Save.
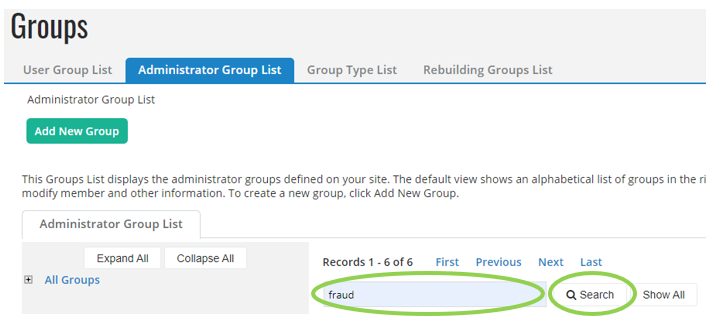
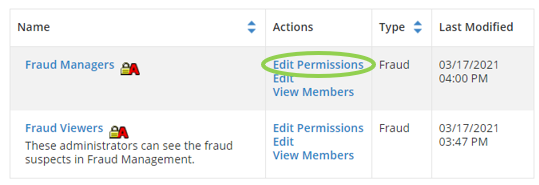
Search for the security group in the Administrator Group List. Type the name or keyword in the text field, and select the Search button.
Scroll through the table to the correct group, and select Edit Permissions in the Actions column.
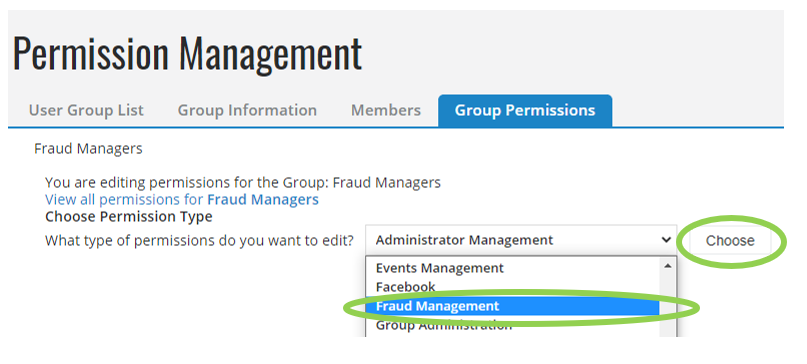
Select Fraud Management from the drop down box next to What type of permissions do you want to edit?, and select Choose.
Select the radio button for the appropriate default permissions for the group. Optional category overrides can also be set.
Assign administrators permission to view or manage suspicious records using the following permissions:
View Fraud Suspects - allows read-only access
Manage Fraud Suspects - allows record removal or resolution
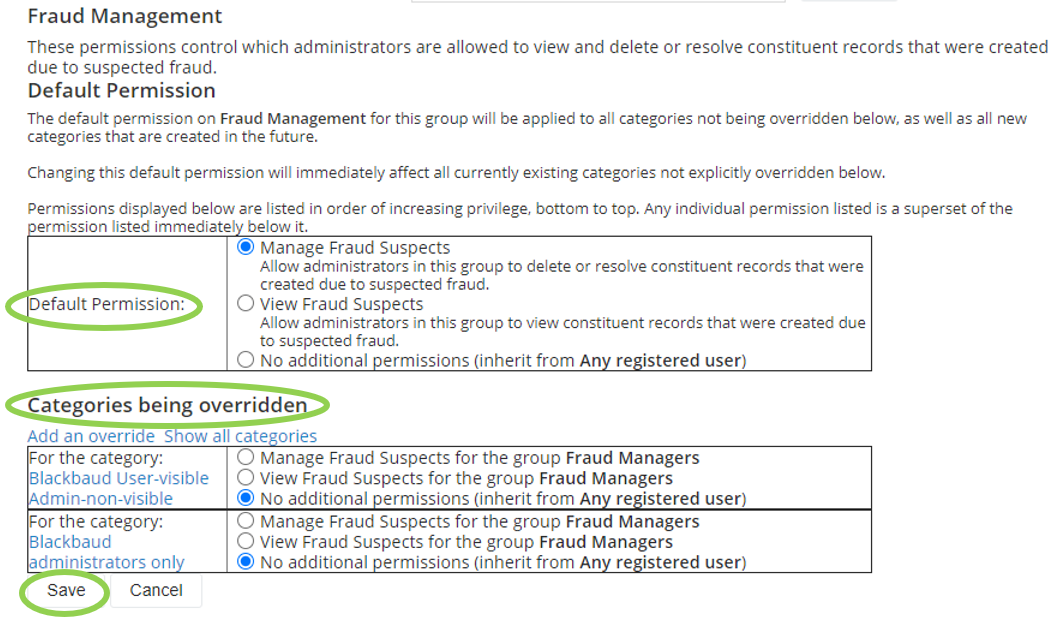
Select Save.