Sign In and Account Setup
Your Blackbaud Verified Network account allows you to manage your nonprofit's profile, access payment information, complete compliance activities, and manage organization access.
Use this topic if you need to:
Note: Creating a Blackbaud ID account does not automatically grant access to a nonprofit. After creating your account, you must register to administer or manage your organization.
Before You Start
Before signing in or creating an account:
-
Ensure you can access your email inbox during setup and sign-in.
-
Have your organization's email address available.
Tip: The email address associated with your Blackbaud ID must match the email address used for your Blackbaud Verified Network account. If these email addresses don't match, you won't be able to access your nonprofit organization.
Create a New Blackbaud ID and Blackbaud Verified Network Account
Use this path if you don't have a Blackbaud ID or Blackbaud Verified Network account yet.
-
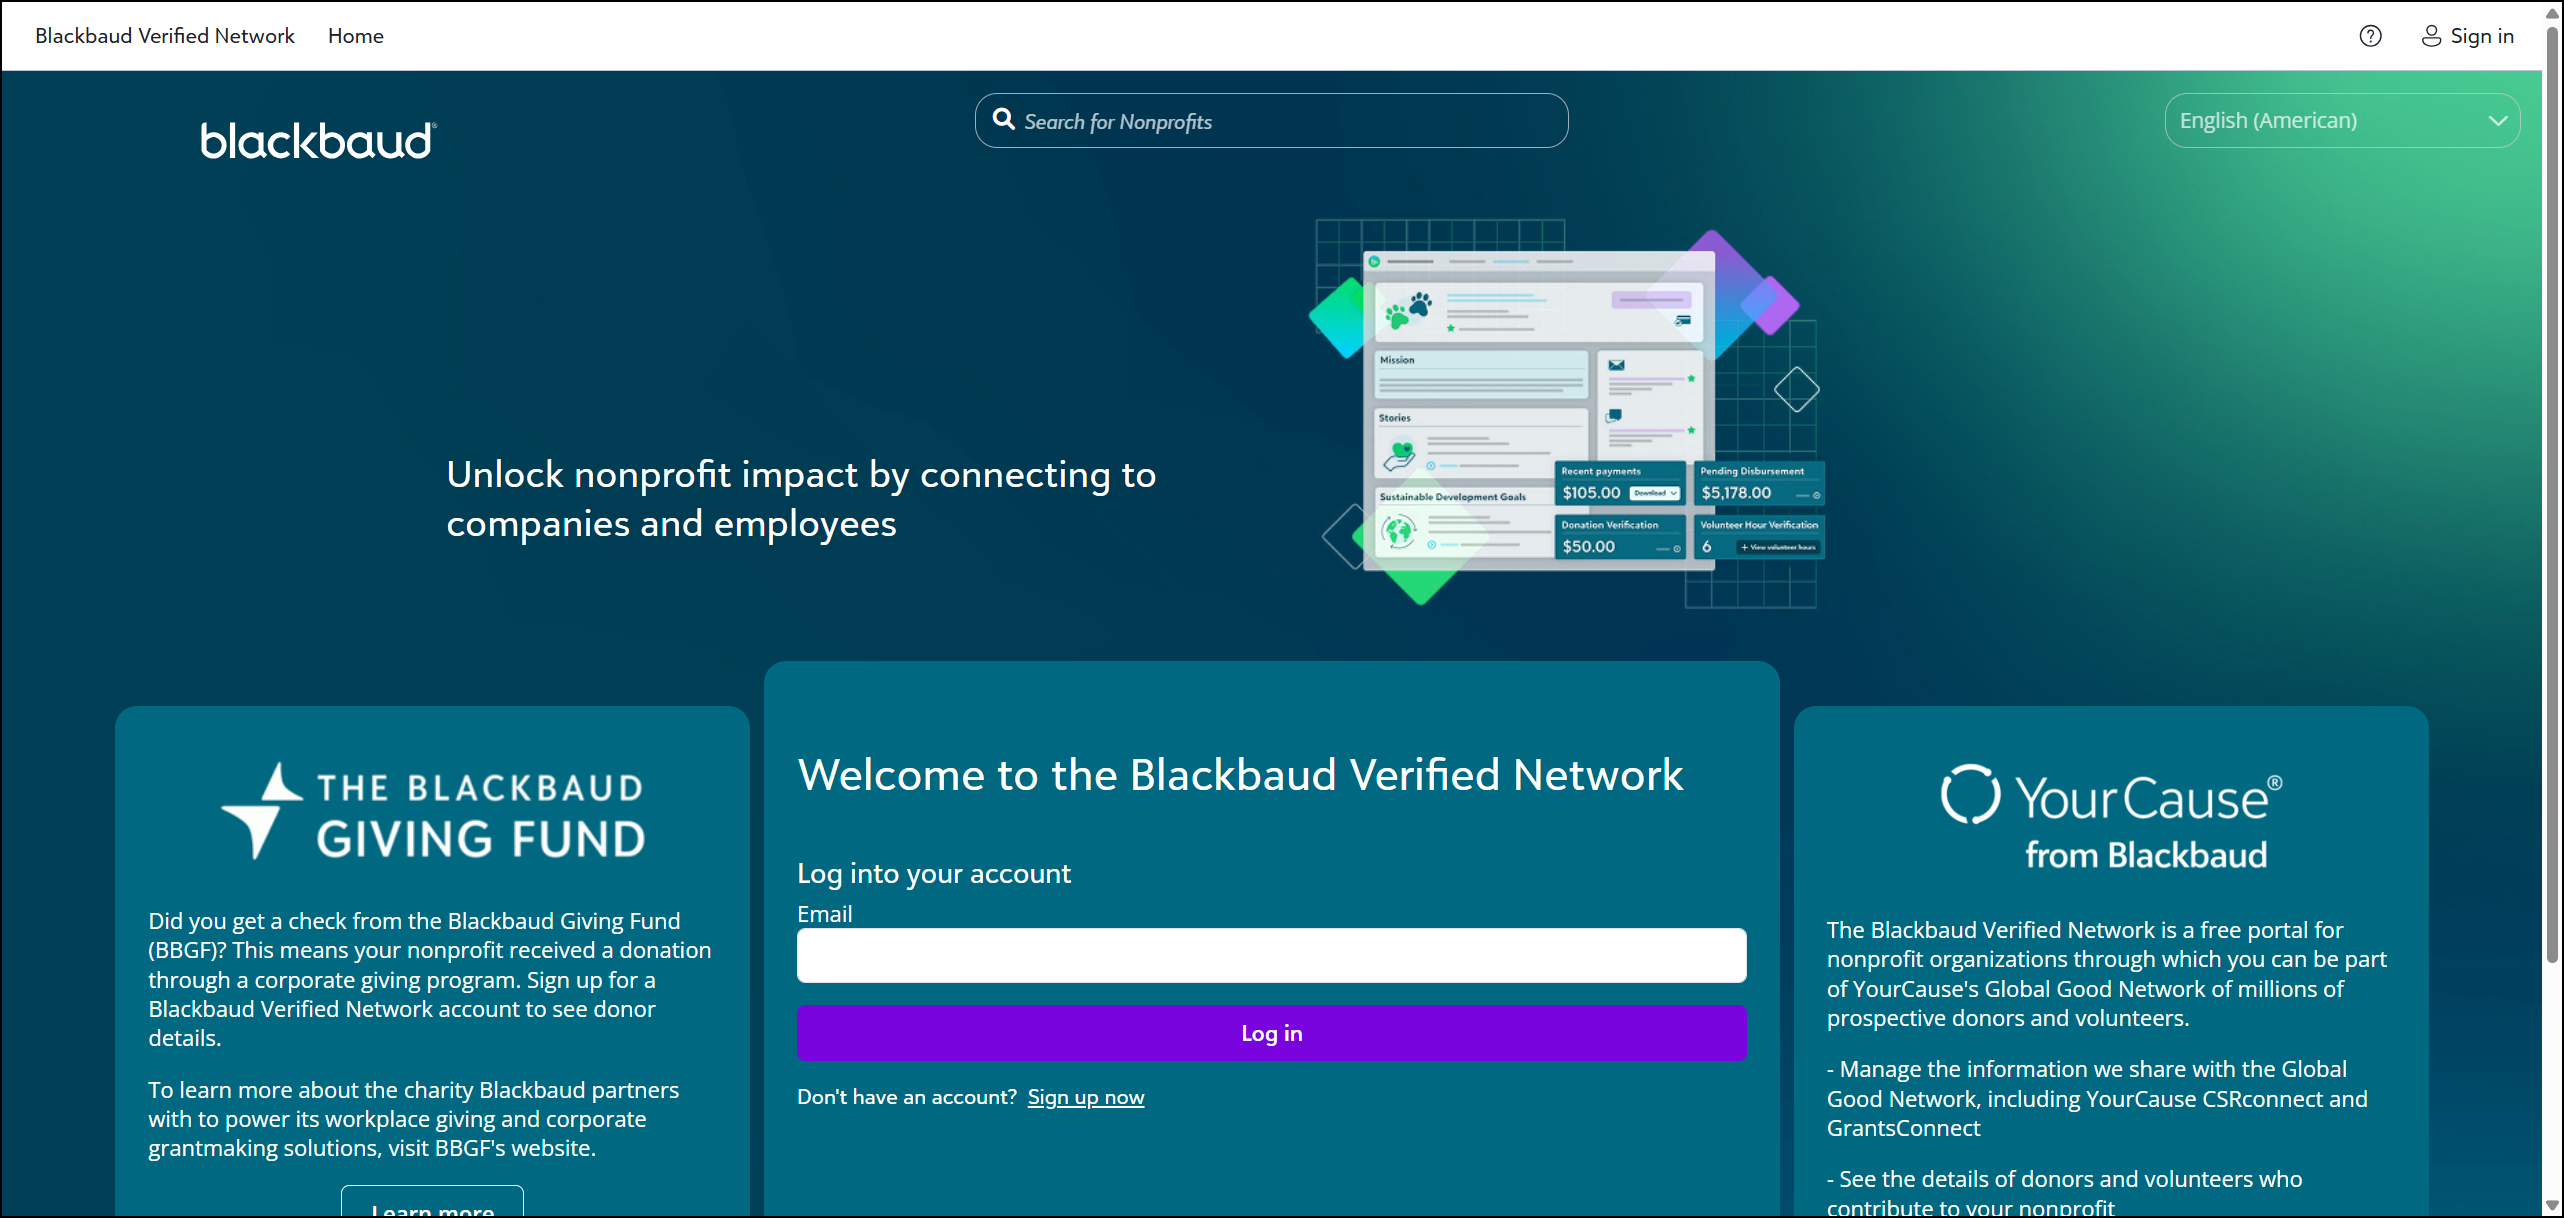
Go to the Blackbaud Verified Network sign-in page and select Sign up now below the email field.
-
Select Continue.
-
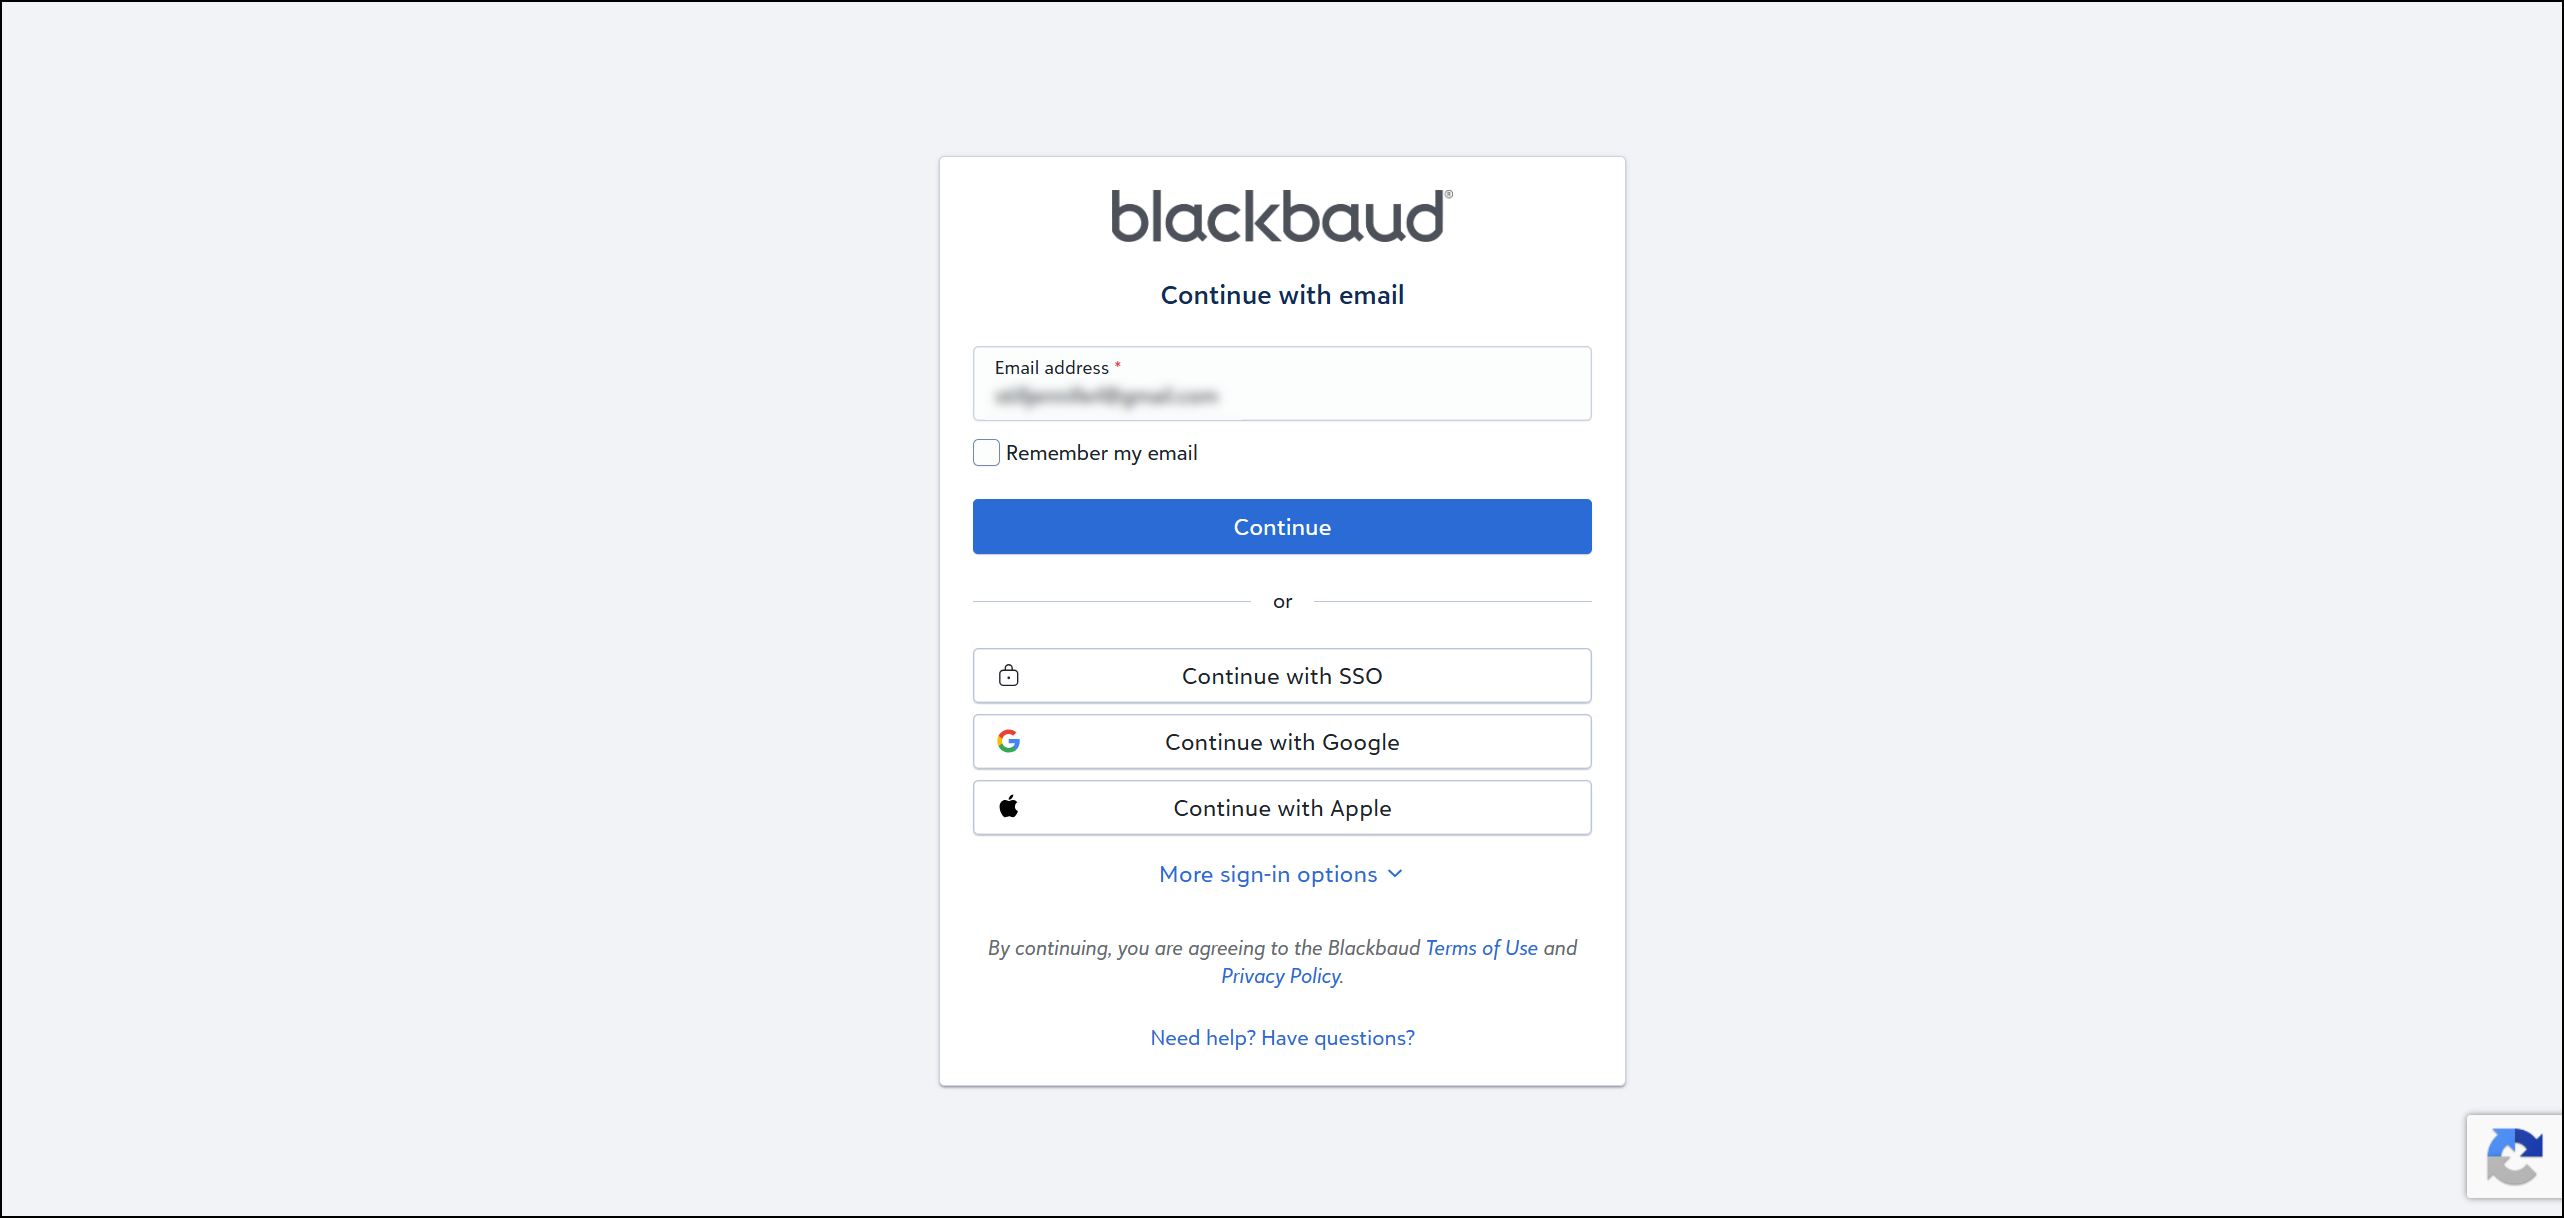
In the Blackbaud ID sign-in page, you'll be presented with multiple options to sign-in and authenticate your account. Select Continue with Email. If you do not immediately see this option, select More sign-in options to view additional sign-in methods or Use a different email address if you selected a social sign-in option by mistake.
Tip: If you already have a Blackbaud ID account, the Blackbaud ID sign-in page should automatically open using your preferred log-in method, such as Continue with Email. Although you can use authentication options like Continue with Google or Continue with Apple, use Continue with Email to sign in with an email address and password. This option is easier to manage when your organization adds new users.
-
Enter your email address and then Continue.
-
Select Send confirmation code. Open your inbox in a new browser tab or separate app and retrieve the code from the Verify your email address email sent by Blackbaud.
Note: Keep this page open while you retrieve the confirmation email in a separate tab or app. If you close this page, restart the sign-in process and request a new code.
-
Return to the sign-up page, enter the code, and select Confirm. If the code expires, select Send new code.
-
Enter your password and name, then select Sign up to return to Blackbaud Verified Network.
Tip: If you're sent to your Blackbaud ID account after signing in, go back to Blackbaud Verified Network to continue setting up your nonprofit account.
Provide Check Details (Optional)
If you received a check from YourCause and the Blackbaud Giving Fund, enter the Check number, Amount, and Check Date when prompted. If you did not receive a check or do not have it available, select Skip this step.
Sign In to Blackbaud Verified Network with Blackbaud ID
Use this path if you already have a Blackbaud ID account and need to sign in to Blackbaud Verified Network.
-
On the Blackbaud Verified Network Sign In page, select Sign in at the top of the page or enter your email and select Log in.
-
On the Blackbaud ID sign-in page, select your authentication method. Select Continue with Email to sign in with your email and password or choose another option.
-
Enter your email and password, then select Sign in.
-
If Blackbaud asks you to confirm your identity, retrieve the code from the Verify your email address email and enter it in the confirmation field.
Note: Keep this page open while you retrieve the confirmation email in a separate tab or app. If you close this page, restart the sign-in process and request a new code.
-
Select Confirm to return to Blackbaud Verified Network. If the code expires, select Send new code.
Sign In with Google or Apple
When you create your Blackbaud ID account, you have the option to authenticate through a social sign-in. This is a form of Single Sign-On (SSO) that uses your credentials from a social networking service - such as Google or Apple - to sign in.
For more information about managing social sign-in, see the Blackbaud ID documentation. This includes instructions for setup, troubleshooting issues, and steps for disabling social sign-in if you decide to switch to a different multi-factor authentication (MFA) method.
Note: After connecting your account to one of these social sign-in options, you'll manage your email address and password in your Google or Apple account - separate from Blackbaud ID. For details, see Manage Google or Apple Sign-In.
Frequently Asked Questions
 Why Are Blackbaud ID and Blackbaud Verified Network Email Addresses Required to Match?
Blackbaud ID (BBID) is your authentication account. It proves who you are and controls your sign-in credentials. Your BBID email address is your sign-in email. You use it to access Blackbaud Verified Network and other Blackbaud products. Changes to your BBID name, email, or password affect all Blackbaud products you use.
Blackbaud Verified Network is your nonprofit account. It connects you to the organizations you manage and stores your nonprofit-related profile information. Your Blackbaud Verified Network account must use the same email address as your BBID so the system can match you to your sign-in account.
Why email addresses must match: When you sign in, Blackbaud ID authenticates you with your email and password. Then it checks if a Blackbaud Verified Network account exists with that email. If the emails match, you're connected to your nonprofits. If they don't match, you can sign in but won't see your nonprofit access. Always keep these email addresses in sync.
Warning: Creating a Blackbaud ID does not automatically link you to a nonprofit—you must register or request access after your account is created.