Add Form Fields with the Form Builder
Note: Fields can also be added to a form using the Quick Add tool. Learn more.
Tip: It is recommended to organize fields into layout components, allowing Applicants and Grant Managers alike to more easily navigate the form. Learn more.
Add Capture fields
Fields that Applicants or Grant Managers are expected to complete in the form are available in the Capture group in the Form Builder toolbox.
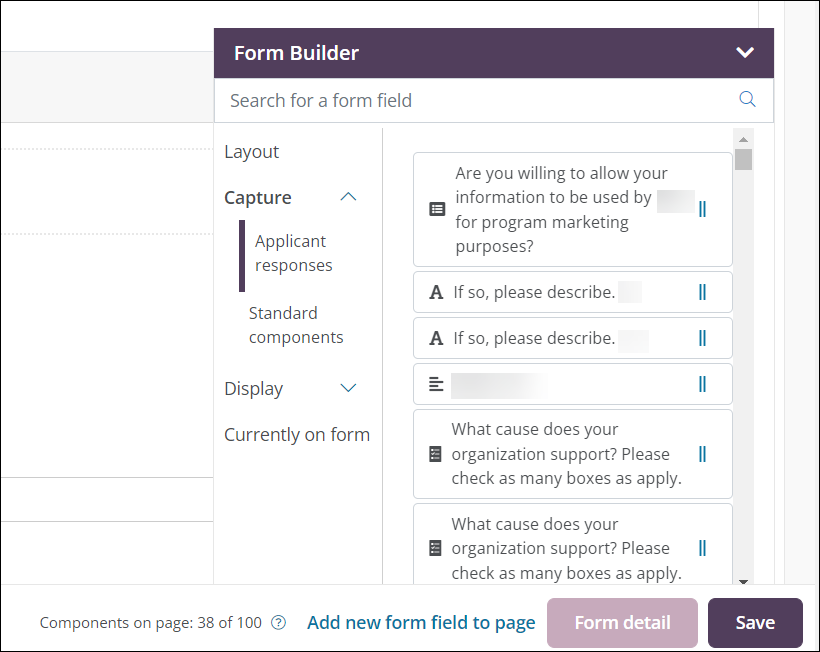
 Applicant responses (Applicant forms only)
-
Select the Capture > Applicant Responses section in the Form Builder toolbox.
-
Drag and drop the appropriate field type onto the form.
-
In the Configuration screen, define the data and settings to be used for this field.
Note: The options available for configuration may differ based on the field type. For more information, see Configure Forms and Form Fields.
-
Save your changes to add the field to the form.
Standard components
Fields that are commonly used across programs are available in the Standard Components section.
Note: These fields are integrated with standard product templates (e.g., reporting). It is advised to use these whenever possible rather than creating a new field to capture the same information.
-
Select the Capture > Standard Components section in the Form Builder toolbox.

-
Drag and drop the desired field type onto the form.
Note: For more information the components available in Applicant and Grant Manager forms, see the FAQs.
-
In the Configuration screen, define the data and settings to be used for this field.
Note: The options available for configuration may differ based on the field type. For more information, see Configure Forms and Form Fields.
-
Save your changes to add the field to the form.
Add Display fields
Any fields that are read-only, pre-populate data, and will not be filled out by Applicants or Grant Managers are in the Display group in the Form Builder toolbox.
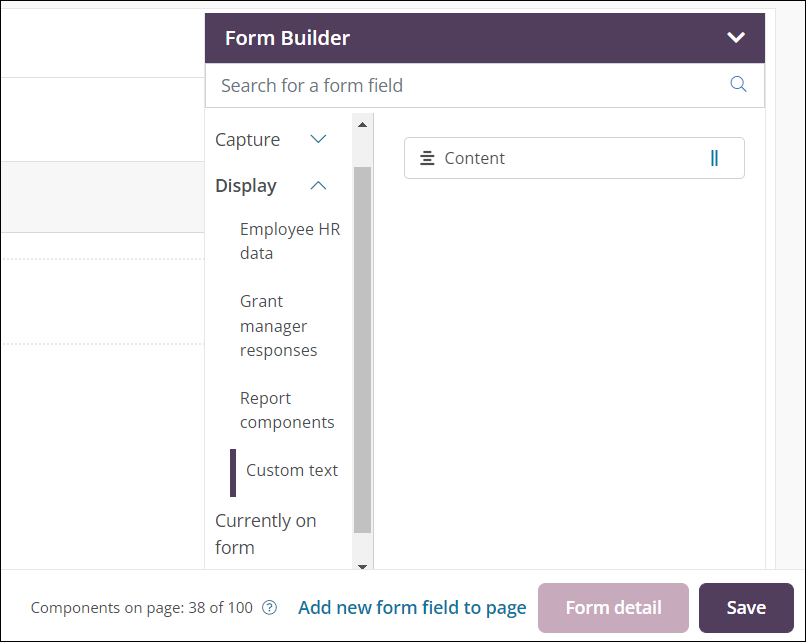
Custom text
You can display text or images (e.g., overview paragraphs, section titles, etc.) in forms by using the Content field available in the Display > Custom Text section.
Note: This field is display only and cannot be used to capture new information.
-
Select the Display > Custom Text section in the Form Builder toolbox.
-
Drag and drop the Content field onto the form.
-
In the Configuration screen, enter and style the text you want to display.
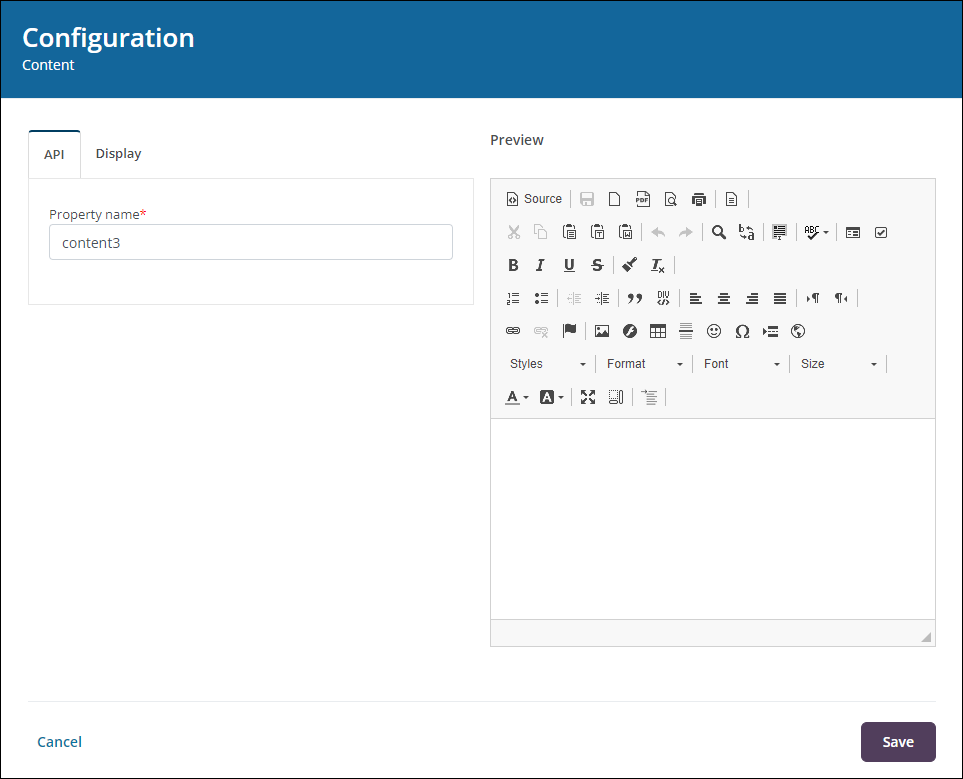
Note: You can include details about the information being collected and even links to your organization's resources such as privacy policies.
Note: You can also configure when this content will be shown in the Display tab. For more information, see Show or Hide Fields.
-
Save your changes to add the field to the form.
Frequently asked questions (FAQs)
What standard components are available in Applicant forms versus Grant Manager forms?
| Standard Component | Availability |
|---|---|
| Alternate Address | Applicant and Grant Manager |
| Attention | Applicant and Grant Manager |
| Cash Amount Requested | Applicant and Grant Manager |
| Designation | Applicant and Grant Manager |
| In Kind Amount Requested | Applicant and Grant Manager |
Note: For more information about each field type, see Standard Components.
What is the difference between Contact Email Address field and an Affiliation Email field?
There is a Contact Email Address field and an Affiliation Email field in the Contact Tables of the Form Builder. The Affiliation email applies specifically to that contact's relationship to the Organization or Request. If no Affiliation email is specified, then it defaults to the Contact's email. If you want to remove the Affiliation email field and then re-seed contact tables, that will remove it from the tables.