Manually Route Applications to New Workflow Levels
Grant Managers and Reviewers assigned to a workflow level have the ability to route applications based on their workflow permissions.
Note: For more information about the permissions necessary to manually route applications, see the Manage Workflow Level Permissions resources.
Tip: In addition to manually routing applications, workflows can be configured to automate the routing process for new applications,for specific workflow levels, or even based on the Grant Manager's decision.
-
Navigate to the Applications area.
-
From the Applications tab, find the application you want to route.
-
Take one of the following actions to route it to another level.
-
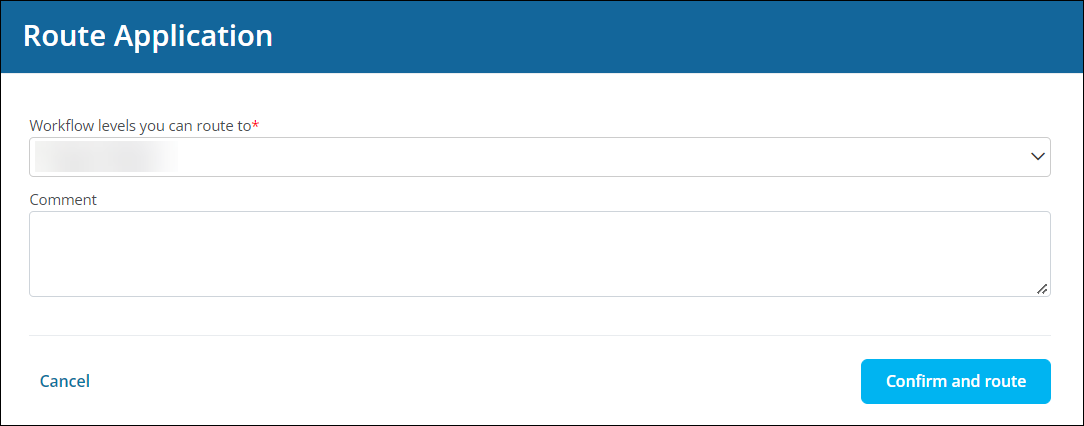
In the Route Application screen that appears, select the level to route it to from the dropdown.
Note: Only those routes defined for this workflow level will be available.

-
Optional - Provide a comment.
Tip: This can be viewed by other Grant Managers and Reviewers in the application's Activity Trail. Learn more.
-
Select Confirm and route to send the application to the new level.
After confirming the action, the application will be routed. All Grant Managers assigned to that workflow level will receive an email (GC-40 New application has entered {{WORKFLOW_LEVEL_NAME}}) alerting them that it is available for review. They will be able to see any feedback you provide when they view the application's activity.