Create New Field Groups
A Field group can be used to group together fields (Field group options only) that are gathering the same information. Fields can be included in the group based on how data is being collected, including:
-
Number - Numbers will total and are not required to add up to a certain value.
-
Percentage - Percentages will be automatically totaled and will be required to add up to 100%.
-
Yes/No - Responses include checking for Yes and unchecking for No.
Common uses of field groups include capturing demographic information like age, ethnicity, race, and population. Additionally, this field type is often used for Sustainable Development Goals (SDGs).

Note: This field can be used in both Applicant and Grant Manager forms.
Tip: Before creating a new field, it is recommended to first check the standard product fields to determine if it is already in the system.
-
Navigate to the Program Setup > Custom Forms area.
-
Select the Form Fields tab.
-
Click on the Manage form fields button and then the Add new option.
-
In the Add New Form Field screen, provide the following information.
-
Enter a name for the field.
-
Optional - Add a default label to the field. This will automatically be used as the label instead of the field name when the field is added to a form.
Note: For more information, see Update Labels and Descriptions.
-
Optional - Provide a brief description.
-
Select Field group as the Type.
-
Specify how data will be collected - Number, Percentage, or Yes/No.
-
Provide a unique key for the field.
Tip: The key is used when connecting fields to an API. It's also helpful to distinguish between fields with similar names when managing fields in bulk, configuring custom data tables, creating reports, and more.
-
Specify the audience.
-
Applicant - These fields can be added to Applicant and Grant Manager forms (view only).
-
Grant Manager - These fields can only be added to Grant Manager forms.
Tip: By default, Grant Manager fields are multi-response to better accommodate multiple reviewers. You can enable the Field will store one answer per application setting to enforce storing only one response for this field instead of multiple responses. If enabled, multiple users can complete the field but potentially overwrite your responses.
-
-
Optional - Choose a category to be used when filtering and organizing the field on custom forms and reports.
Note: If the category has not yet been created, click on the Add new category button to create it. If no category is selected, then the new field will appear under the default category Other.
-
-
If you want to prevent responses from copying into a new application, enable Do not copy responses when copying applications.
Tip: When enabled, the field displays without a response in the copied application.
-
Click Select field group options to continue.
-
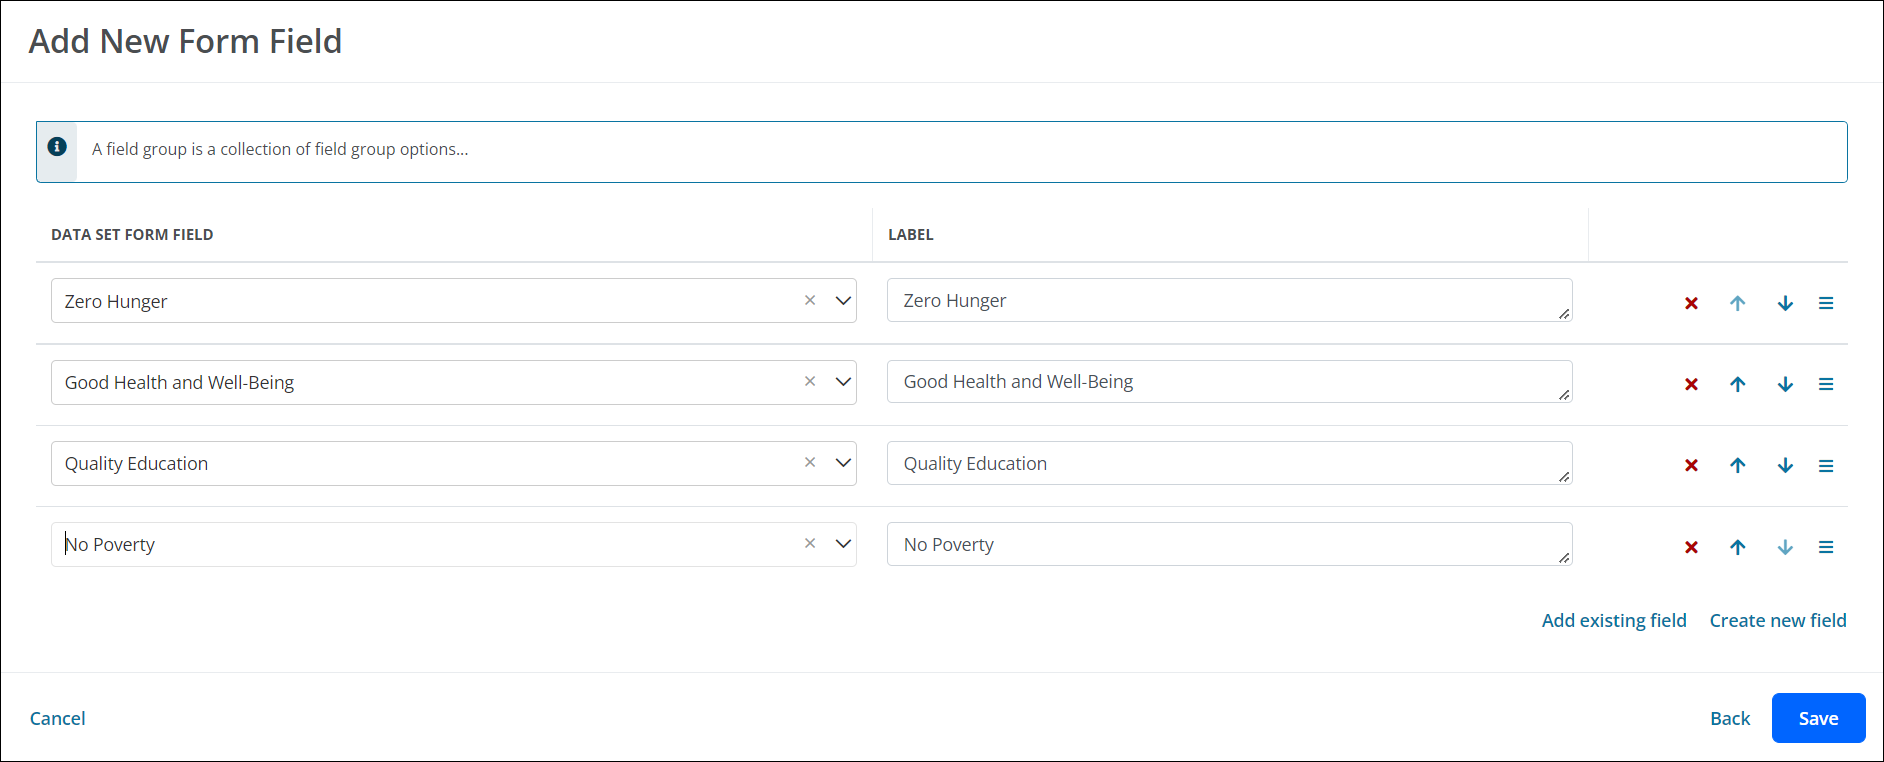
In the next screen, you'll be prompted to choose the Field group options to include in the field.
Note: You can choose existing fields or create new Field group options. The label for each field can be updated, allowing you to customize how the options display in the form.
-
After selecting all Field group options, select Save to create the new field.
Tip: This field can be configured to validate and total Field group options automatically. You can require that all options within the group have a response or that a minimum/maximum number of responses is required. You can also create a custom error message that appears if the response does not pass these validation rules. Learn more.
Frequently asked questions (FAQs)
 What forms can this field be used in - Applicant or Grant Manager?
This field type can be used in both Applicant and Grant Manager forms.
Is field masking available?
No, this field cannot be masked.
Is additional field encryption available?
No, there is no additional field encryption available for this field.
Can this field be configured so that it's set to a specific value?
No, this field cannot be set to a specific value or the value of another component in a form.
Is validation available for this field?
Yes, the following options are available in the Configuration > Validation screen when editing it in a form.
-
Set the field to require that all options have a response.
-
Specify a minimum or maximum number of responses.
-
Specify a value that the responses must add up to (e.g., 100).
-
Provide a custom error message that will appear if the Applicant or Grant Manager does not provide a response for all options or entries do not match the other validation requirements.
-
Create custom rules to define when this component is valid.
Note: For more information, see Set Up Field Validation.
Can you configure the field's visibility (i.e., shown, hidden) in a form?
Yes, the field's visibility can be set by selecting one of the following options in the Configuration > Display screen when editing it in a form.
-
Always show component (default)
-
Always hide component
-
Show component when
-
Hide component when
Note: The Show component when and Hide component when options require you to define conditional logic to determine when the field will be shown or hidden. For more information, see Show or Hide Fields.
Tip: Additionally, this field type allows you to clear the response when the field is not being displayed by enabling the Clear value when hidden option.
Can this field be used in Budget Automation and Workflow Automation?
No, this field cannot be used for automation.