Send All Available Cash Payments to Processing
All Included Payments for a processor can be sent directly to processing without requiring you to manually create an open batch. This method automatically places payments in a batch with a status of Processing unless otherwise noted.
Note: Prior to sending payments to processing, it is recommended to place holds on any Included Payments that should not be processed and release any holds on Excluded Payments that can be processed. Additionally, you can update details like Attention or Designation. For more information, see Manage Available Payments.
Tip: An alternative to sending all Available Payments directly to processing is to organize them into a batch that you can then edit before processing. Learn more.
-
Navigate to the Payment Processing area.
-
From the Available tab, click on the Manage payments button in the Processor summary.
-
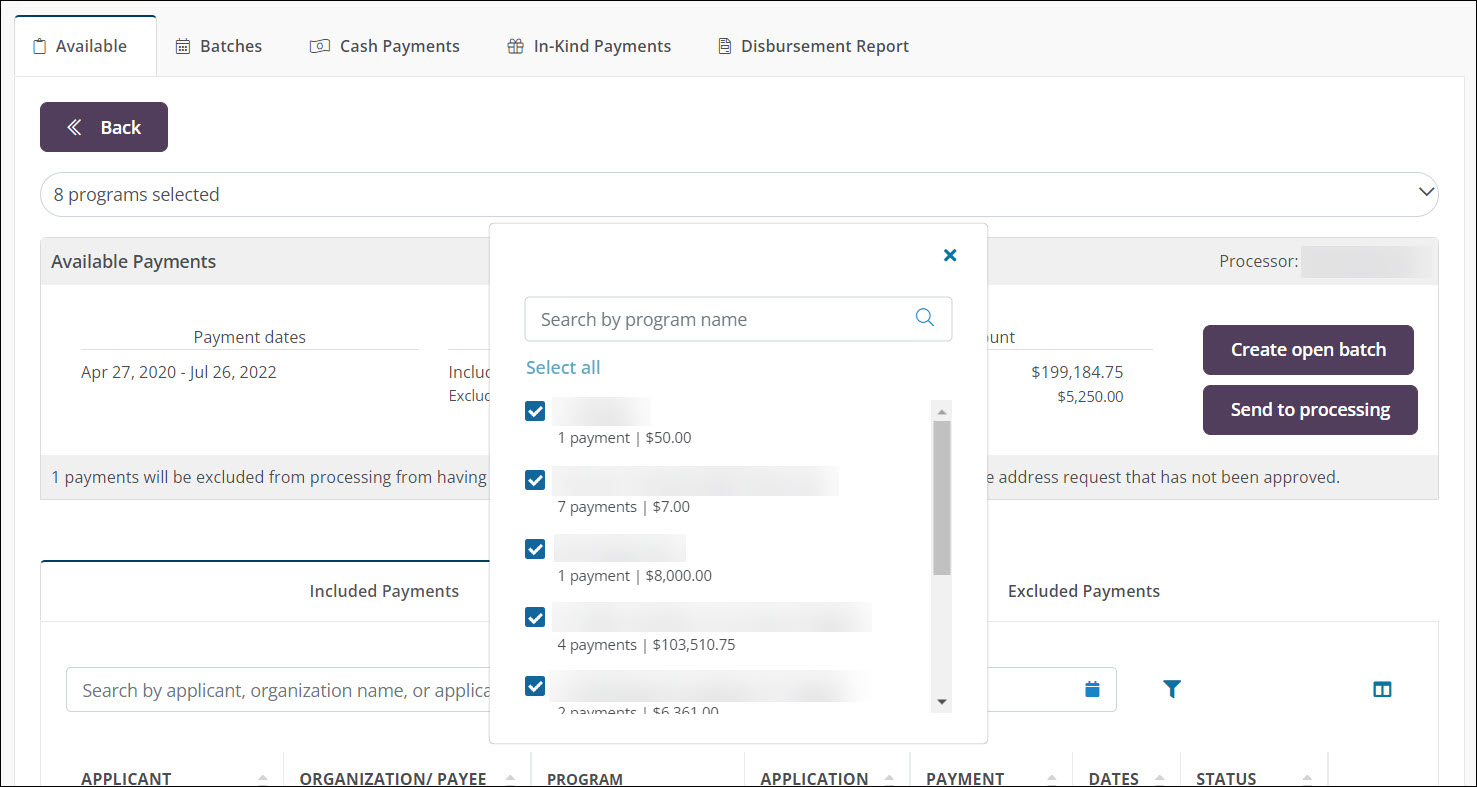
Select the programs you want to see payments for from the dropdown above the Available Payments summary.

-
In the Available Payments summary, click on the Send to processing button.
-
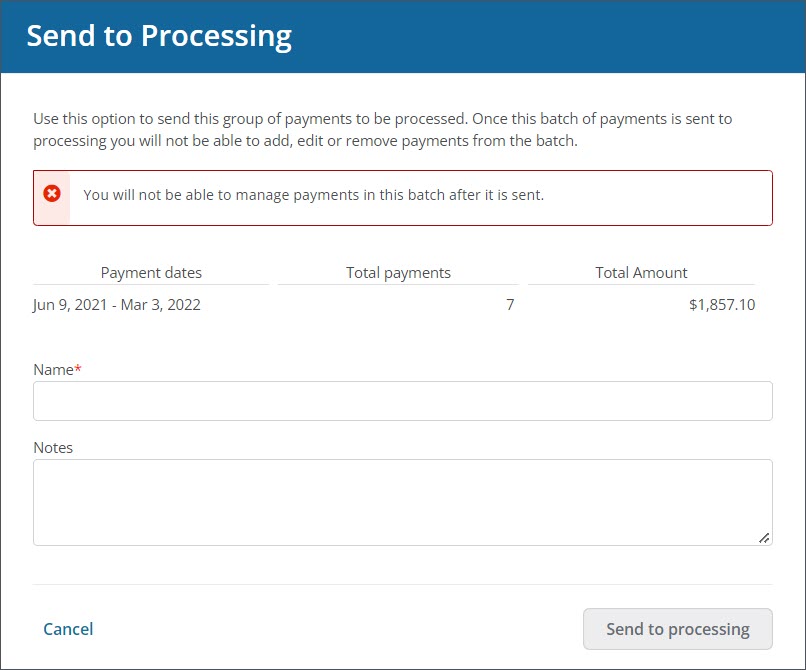
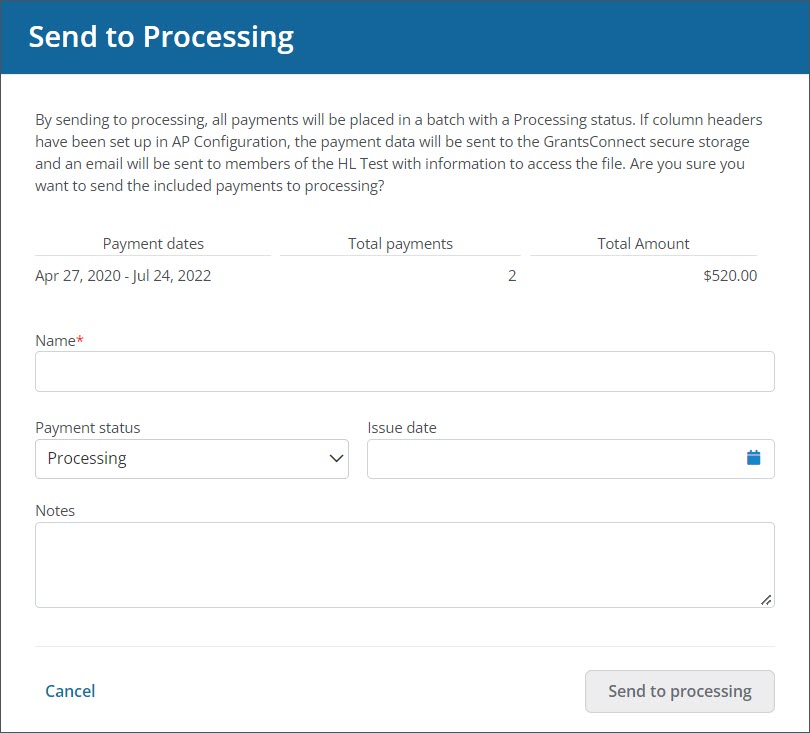
In the Send to Processing screen, provide information to create the new batch and update its status.
 Payment Processor: YourCause
A new batch will be created for all Included Payments and sent to processing. Their status will change from Pending to Processing.
Warning: You will not be able to add, edit, or remove payments from the batch after it is sent. If you need to modify payments before sending, it is recommended to create an open batch instead.

-
Enter a name for the batch that will be created.
-
Optional - Include a comment.
 Payment Processor: Client
A new batch will be created for all Included Payments. The status will change to what is chosen in the Payment status dropdown (e.g., Processing, Scheduled).
Note: If column headers have been set up for Account Payable (AP) integration, the payment data will be sent to the SFTP connection when a batch of payments is sent to processing. The audience designated in the AP configuration will be alerted via email when the file is available. This file can then be processed in the client's AP system.

-
Enter a name for the batch that will be created.
-
Select the appropriate status from the Payment status dropdown.
Note: By default, this field is set to Processing. This would allow the batch to be sent to processing upon confirmation. Alternatively, you can select Scheduled and provide an issue date so that payments will be sent to processing at a later date.
Tip: All other options in this field can be used to update the status of Available Payments (Included only) in bulk. For more information, see the Update Payment Statuses resource.
-
Optional - Provide an issue date.
-
Optional - Include a comment.
-
-
Click on the Send to processing button to finalize the process.