Create Volunteer Events
Volunteer Events can be created in NPOconnect to make available to volunteers in YourCause CSRconnect. Events are first created as a Draft. You can then update shifts, add contacts, and further customize the event before publishing and making it live in CSRconnect.
Note: You must be a Nonprofit Manager or Nonprofit Administrator to create events. For information on registering, see Become a Nonprofit Administrator.
-
Navigate to https://nonprofit.yourcause.com. Sign in to NPOconnect by entering your email and then log in with your Blackbaud ID (BBID) account.
-
After signing in, select Volunteering in the side navigation and then click on the Volunteer Events tile.
-
In the Volunteer Events area, click on Create event.
Tip: Alternatively, you can create a new event by copying an existing event. On the Volunteer Events page, select the ellipsis icon next to the event and then Copy event.
-
On the Create Event page, provide information about your event and its schedule.
-
Event Details
 Add event name, description, and image
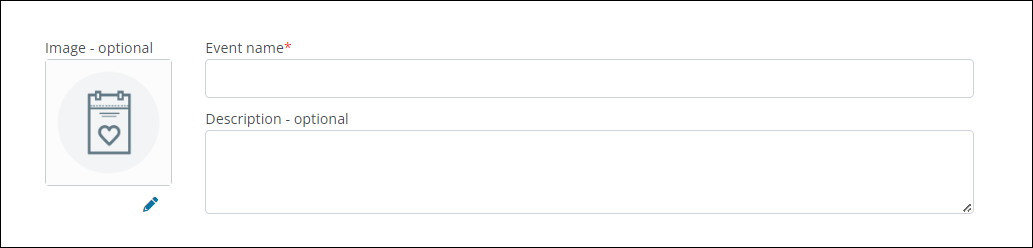
Note: The keywords included in the name and description will help volunteers find your event when searching in CSRconnect.
-
In the Event name field, enter a short and descriptive name for the event.
-
Optional - Add a description of the event.
Tip: You can use the description to tell volunteers about the work they'll do, provide important details like meetup instructions or age restrictions, and include additional steps they may need to complete before signing up.
-
Optional - Click on the pencil icon next to the Image field to upload an image to your event. You can adjust the thumbnail before saving it.
Select who to make the event available to (e.g., Corporate Partner)
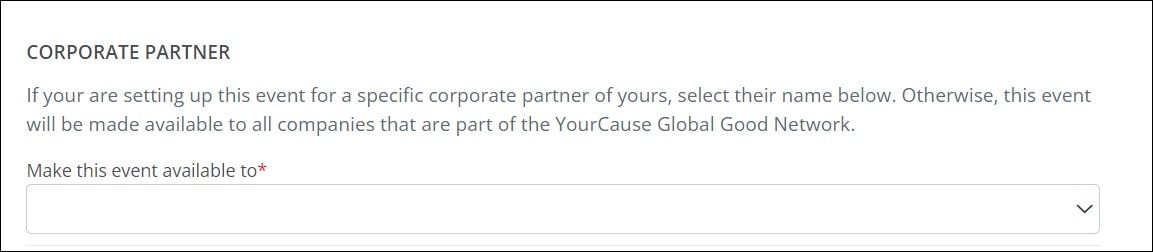
Warning: The partner cannot be changed once the event is saved.
-
In the Corporate Partner section, click on the dropdown and select a partner or community in the YourCause Global Good Network that your event will be available to.
-
Is this event for a specific partner? Select their name from the dropdown.
Tip: If you can't find the partner's name, check that the partnership has been created in CSRconnect using the Community Partner feature.
Note: Because a Corporate Partner is a partnership between a nonprofit and a YourCause client, YourCause and NPOconnect Support are not able to assist with questions on how to become a partner.
-
Is this event open to everyone? Select All communities from the dropdown.
-
Specify the location and meetup instructions

-
Depending on where your event is location, take the following action:
-
Is the event virtual or doesn't have a specific location? Enable the Virtual event (Online only) checkbox.
Tip: This option can be used events that are online or even in a volunteer's home or office. For example, an event where volunteers knit sweaters to donate to a shelter.
-
Is the event in person? Enter the address in the Location field.
-
-
Optional - Include instructions for your volunteers in the Meetup instructions field, such as parking details, dress code, policies, frequently asked questions, etc.
Note: Instructions are limited to 1,000 characters including spaces.
Enable a volunteer waitlist (Optional)

-
To allow participants to join a waitlist if no shifts are available at registration, enable the Allow participants to... checkbox in the Participation Waitlist section.
Note: Enabling the waitlist applies to all shifts that have a limited capacity. It cannot be enabled only for specific shifts. If spots become available, volunteers will automatically be moved to the event in the order they joined the waitlist for the given shift.
Select skills volunteers can search for to find your event (Optional)

-
In the Skills section, click on Select skills to choose the different skills that volunteers will need for the event or can be used as keywords for volunteers searching for events.

-
After choosing your skills, click Select to return to the Event Details tab.
-
-
Event Schedule
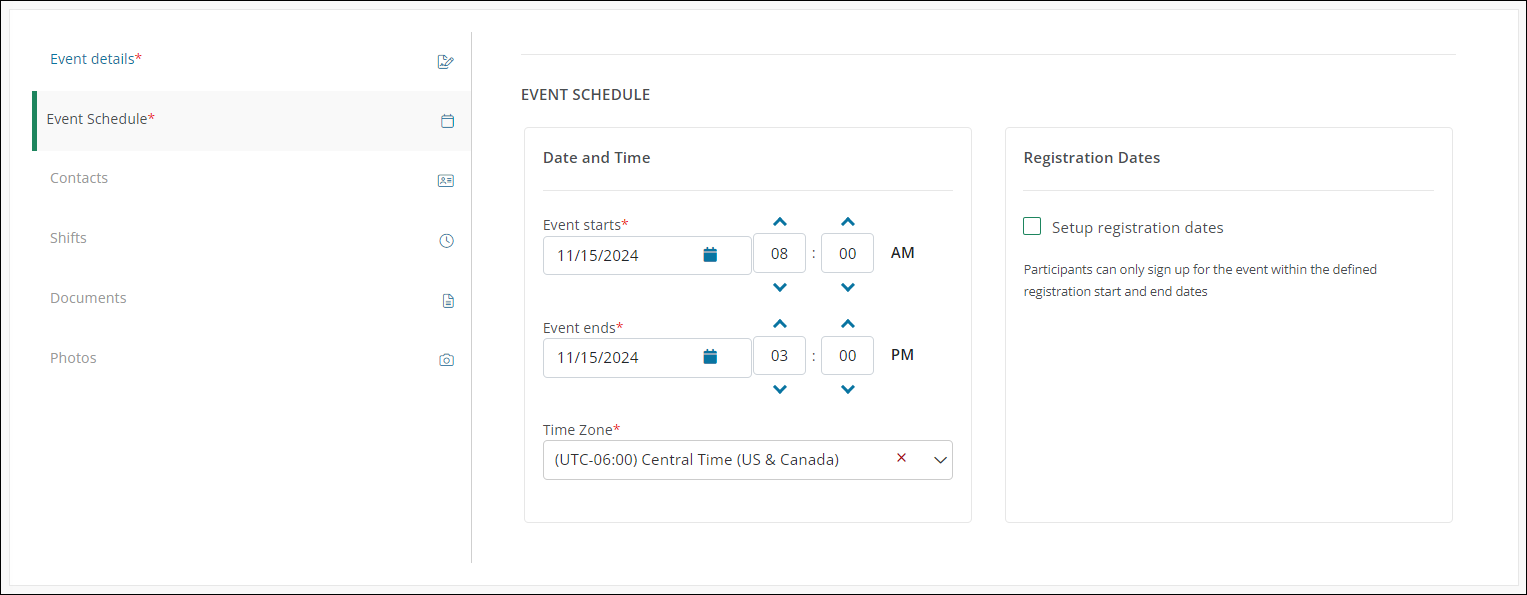
Specify the date and time of the event
-
In the Date and Time section, specify when your event will take place.
-
Select the Start Date and Time and End Date and Time for the event.
-
Select the timezone.
-
Set up registration dates (Optional)
-
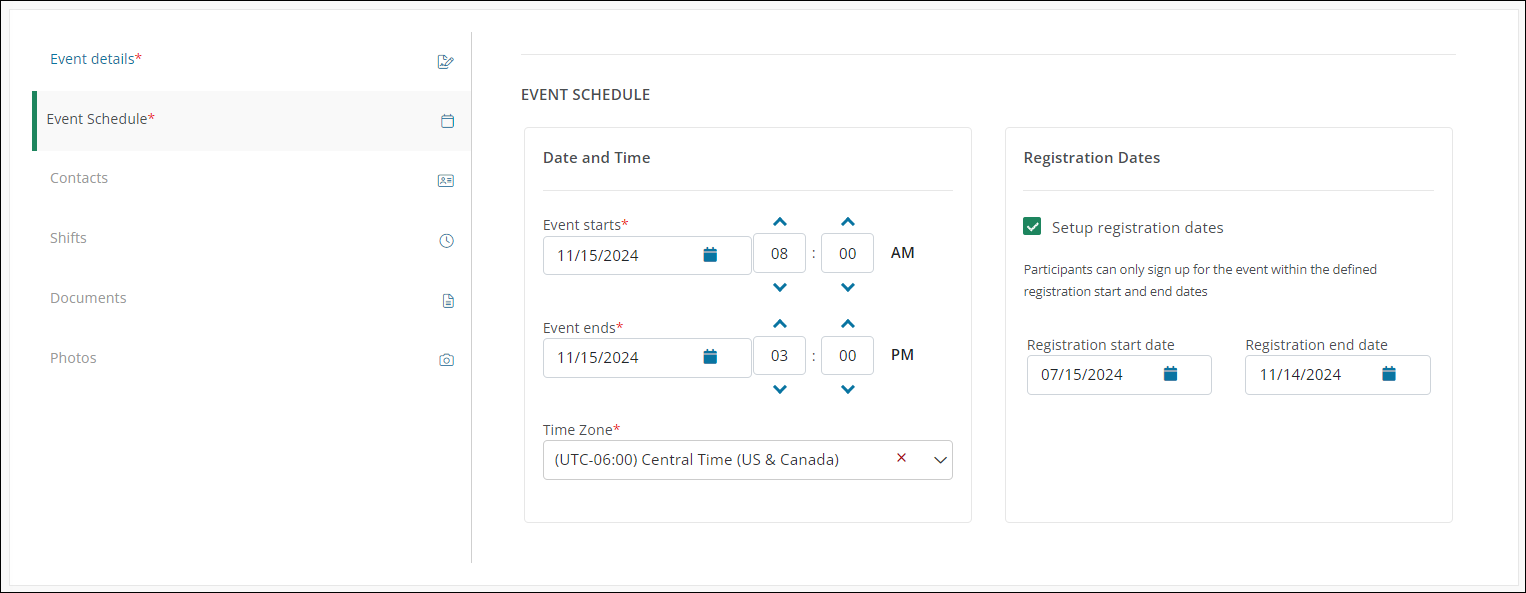
Optional - In the Registration Dates section, enable the Setup registration dates checkbox if there is a specific date range when volunteers can sign up.
Note: If this option is left unchecked, volunteers can sign up any time after the event is published.
-
Specify the Registration Start Date and Registration End Date.
Note: The Registration End Date must be before the Event End Date.
-
-
-
Click Save to create the event.
Note: Events are automatically created as a Draft. You must publish it before the event becomes visible to volunteers. Prior to publishing, it's recommended to finish setting up the event - including contacts and shifts - in Next steps.
Next steps - Finish event setup
After first creating your event, you can finish setting it by customizing the following:
-
Add shifts and manage capacity
Tip: When the event is created, a Default Shift that spans the entire event is automatically created. Participants will only be able to register for the Start Date and Time. If your event spans multiple days or requires alternate time slots, you can add shifts before publishing.
Warning: Contacts, shifts, documents, and photos must be updated while the event is in a Draft state. Changes cannot be made to events after publishing.