Deactivate Options
There are several ways to deactivate an option in a custom data table.
Note: Inactive options will not be available to select in new applications or when editing existing applications. Options will still appear in existing applications, conditional logic, Ad Hoc reports, and dashboards.
Note: Inactive options can be reactivated at any time. For more information, see Reactivate Options.
Mark as inactive from the Custom Data Table View
-
Navigate to the Program Setup > Custom Forms > Custom Data Tables tab.
-
Select the ellipsis icon next to the item and then Edit options.
-
From the Custom Data Table View page, select the ellipsis icon next to the item and then Mark inactive.
Mark as inactive in the Custom Data Import File
Options can be deactivated using the Custom Data Import File. This process is similar to how the file may be used for other option updates like changing the sort order, editing, or removal.
-
Navigate to the Program Setup > Custom Forms > Custom Data Tables tab.
-
Select the ellipsis icon next to the table and then Export data.
Note: A CSV file (i.e., Custom Data Import File) with columns for key, value, sortOrder, and inactive will be automatically downloaded. All options currently in the table will be included in the file.
-
In the Custom Data Import File, change the entry in the inactive column from FALSE to TRUE for any options that should be deactivated.
-
Return to the Program Setup > Custom Forms > Custom Data Tables tab.
-
Select the ellipsis icon next to the item and then Import data.
-
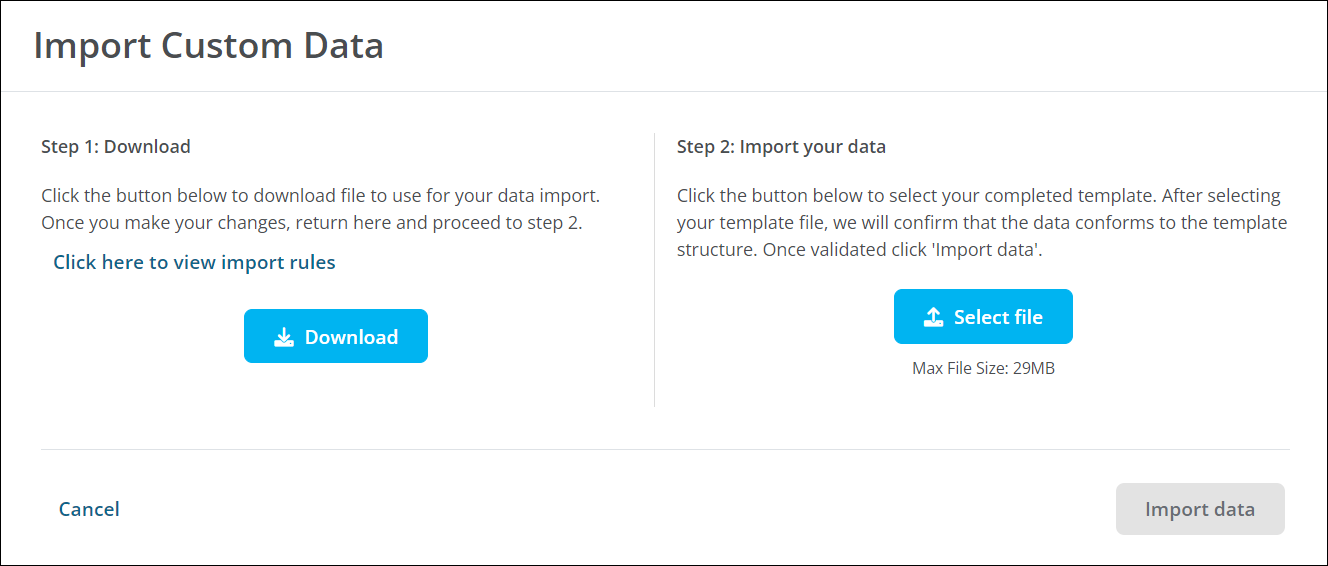
On the Import Custom Data screen, select the Select file button.

-
Find and select the completed Custom Data Import File to upload.
Tip: The Custom Data Import File will be automatically validated for proper formatting and required fields upon upload.
-
Correct any errors that appear. They can be downloaded by clicking on the Download errors button.
Note: If any changes were made, reupload the file and verify the information before importing.
-
Select the Import data button to finalize the import.
Note: The Export data and Import data tools can also be accessed from the Custom Data Table View.
Note: For more information about the Custom Data Import File and importing options into a custom data table, see the Import Options in Bulk resource.