Send Batches to Processing
-
Navigate to the Payment Processing area.
-
From the Batches tab, click on the Manage payments button next to the batch.
-
In the Available Payments summary, click on the Send to processing button.
Tip: If the batch needs to be reviewed by another individual in your organization before it is sent to processing, it is recommended to follow the steps in the Review Batches resource.
Note: Functionality and next steps may differ based on the processor.
 Payment Processor: YourCause
-
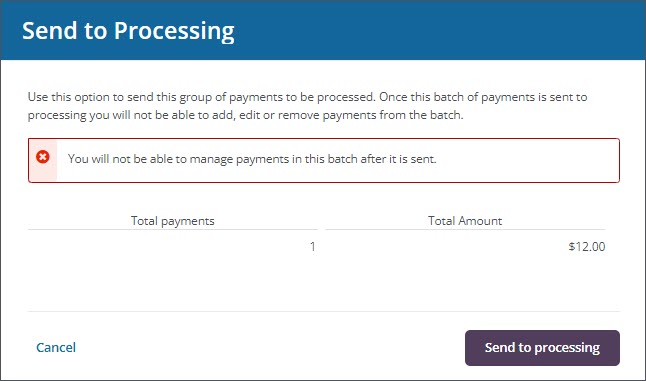
Click on the Send to processing button to finalize the process.

The status of all payments in the Included Payments tab of the batch will be updated to Processing. At this stage, payments are sent to the YourCause Processing Tool to be disbursed.

Note: Any excluded payments that were in the Available Payments tab of the batch will be moved back to the Excluded Payments batch in the Payment Processing > Available Payments area.
Warning: You will not be able to add, edit, or remove payments from the batch after it is sent.
 Payment Processor: Client
-
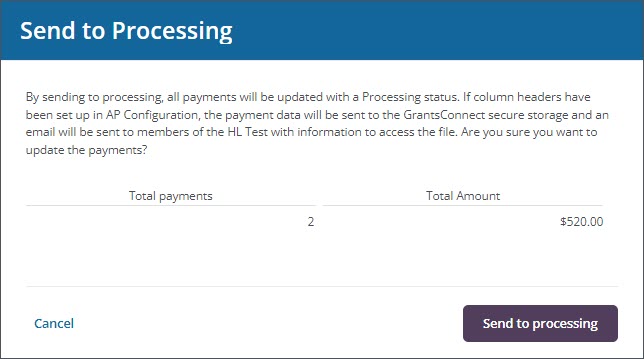
Click on the Send to processing button to finalize the process.

The status of all payments in the Included Payments tab of the batch will be updated to Processing. At this stage, the client is responsible for processing and disbursing payments.

Note: Any excluded payments that were in the Available Payments tab of the batch will be moved back to the Excluded Payments batch in the Payment Processing > Available Payments area.
Tip: If column headers have been set up for Account Payable (AP) integration, the payment data will automatically be sent to the SFTP connection when a batch of payments is sent to processing. The audience designated in the AP configuration will be alerted via email when the file is available. It can also be downloaded from the batch by clicking on the Download AP file button. This file can then be processed in the client's AP system. To help keep payment data in sync across GrantsConnect and your own external processing systems, it is recommended to use the Import payment data button to upload this data after completion. This is especially helping if using API integration. Learn more.
-