Grant Program Details
A program's name, description, and other high-level details are the first thing an applicant sees when applying. These help to communicate the mission and purpose of the program.
Note: All changes made to Program Details are saved automatically.
-
Navigate to the Grant Manager Portal by going to yourcausegrants.com or your client URL. Sign in with your Blackbaud ID (BBID) or Single Sign-On (SSO) credentials.
-
After signing in, select Program Setup in the side navigation and then Grant Programs.
-
In Grant Programs, select the ellipsis icon next to the program and then Edit program.
-
In Program Detail, select Details.
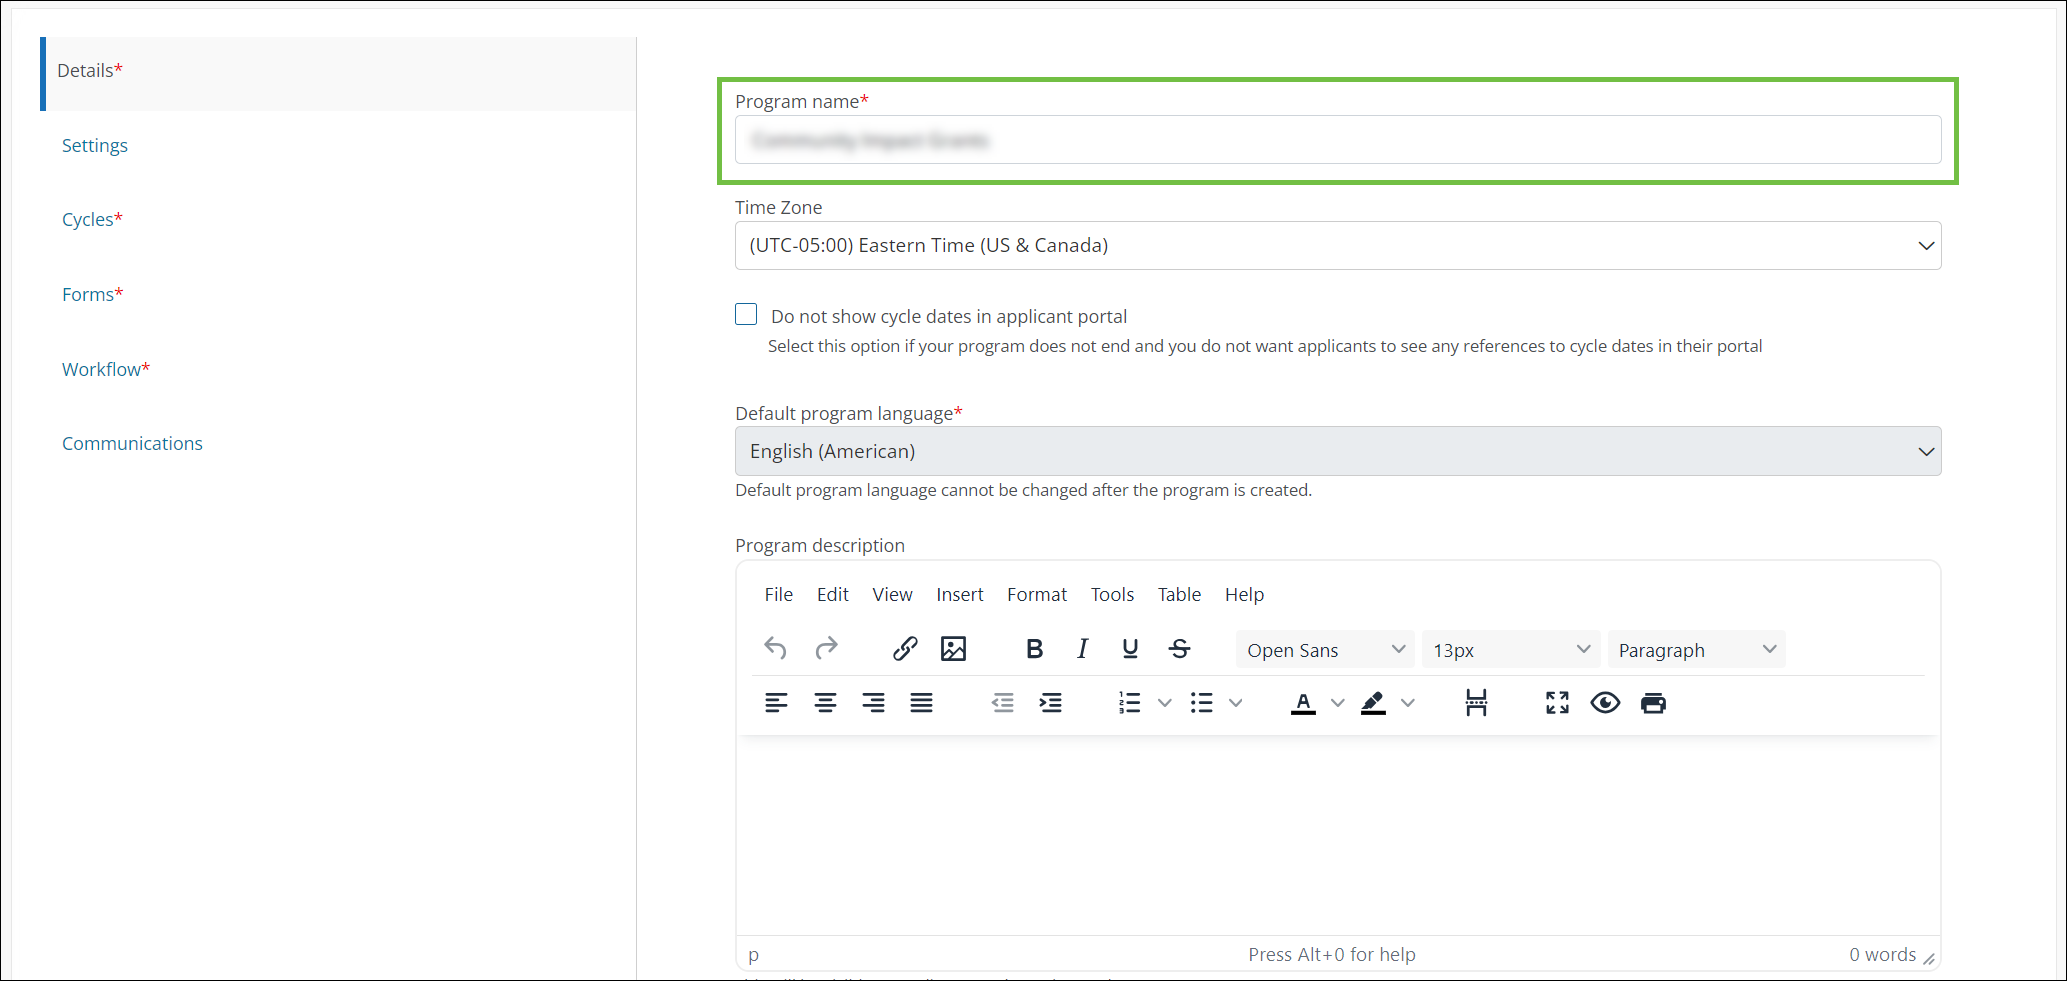
 Update program name
-
Update the name of the program, if needed.
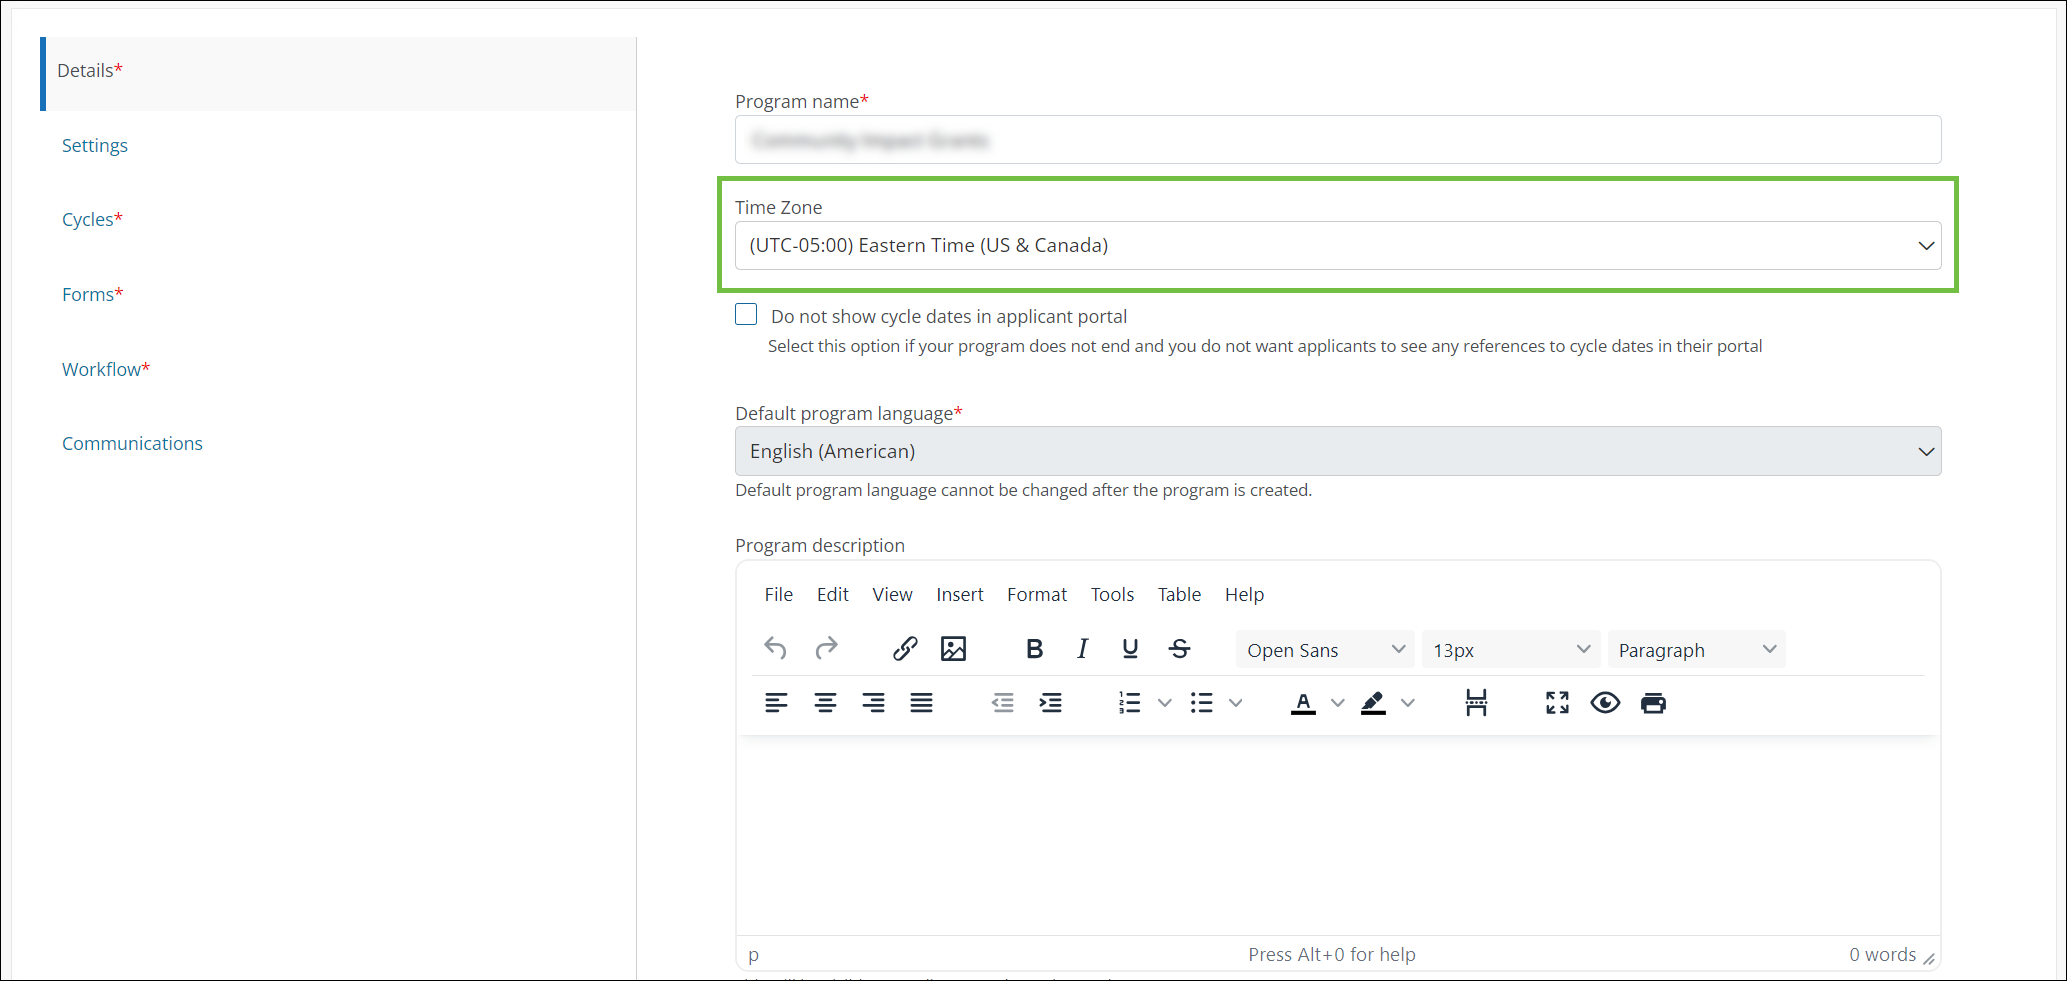
 Choose time zone
-
Select the time zone. This is automatically set to the time zone for your client account.
 Show or hide cycle dates in the Applicant Portal
-
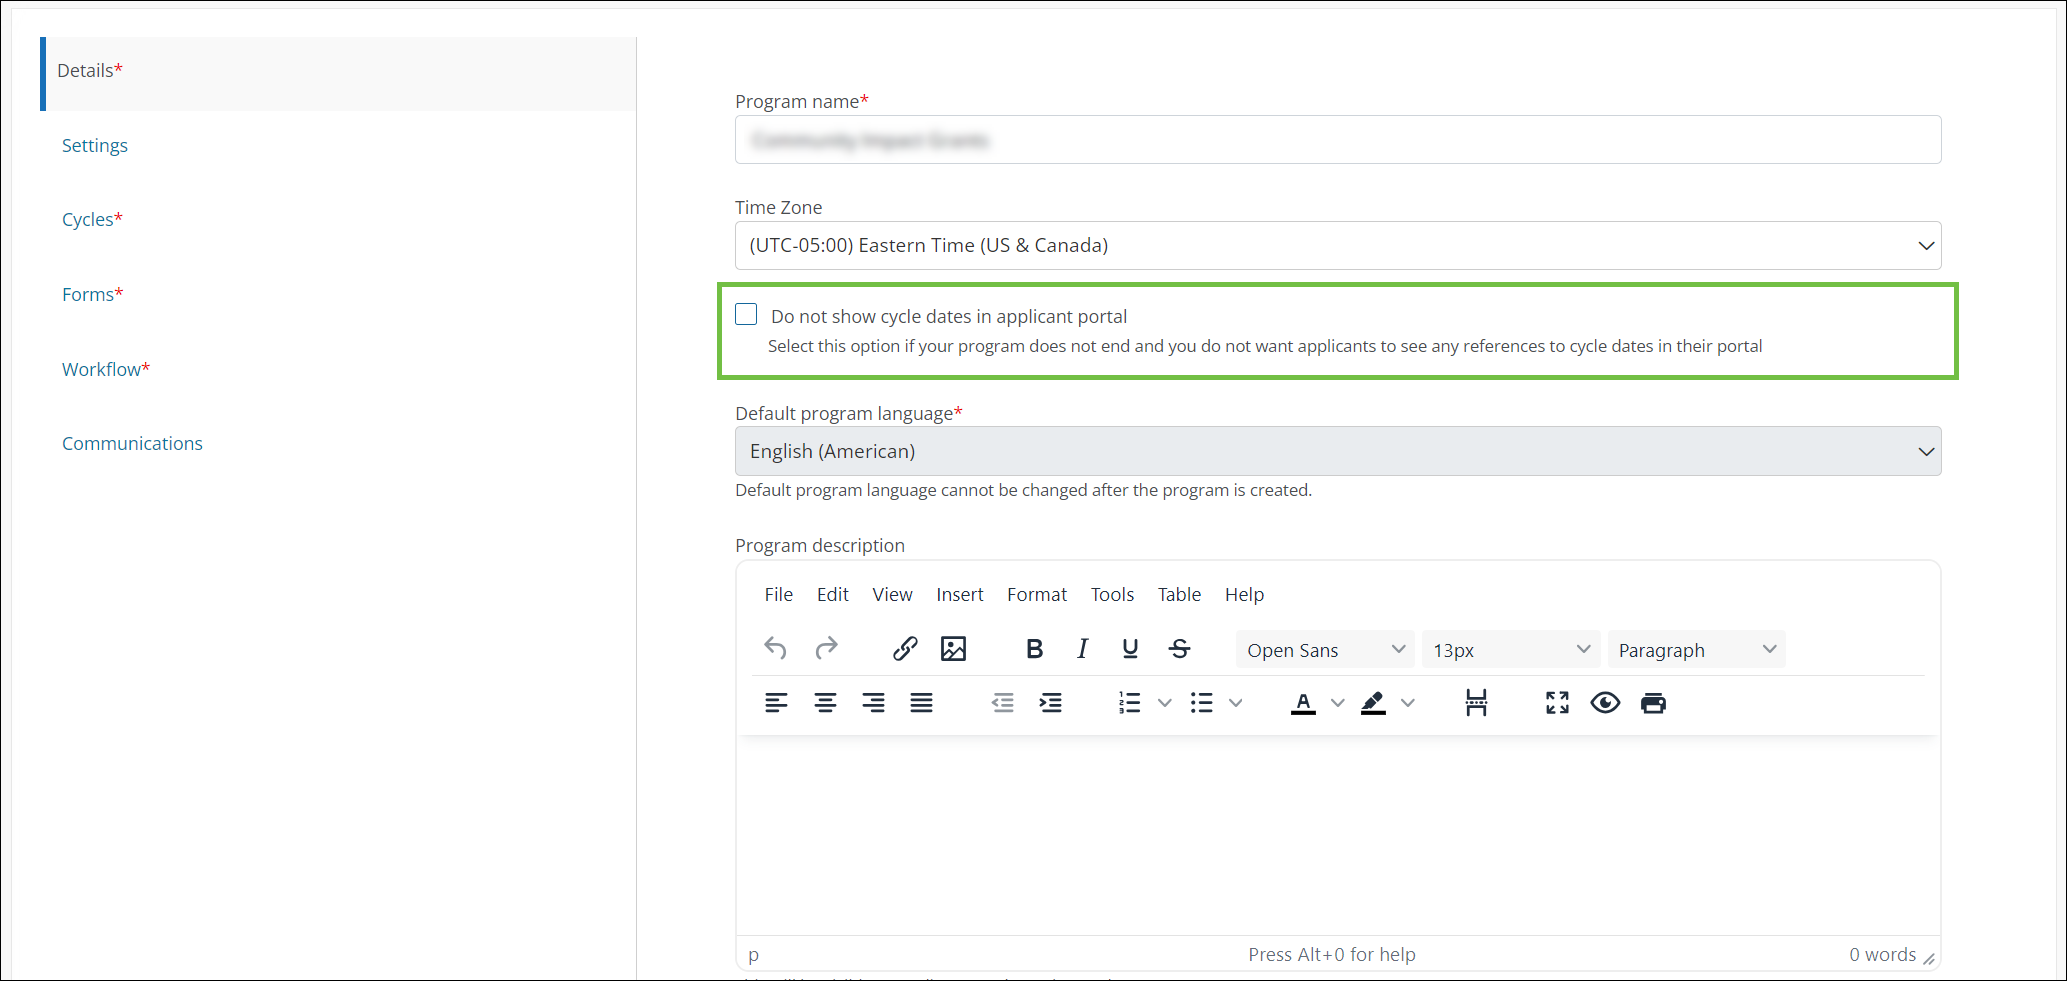
Specify if the dates the program cycle opens and closes should be shown to applicants with the Do not show cycle dates in the Applicant Portal checkbox.
-
If turned off (default), applicants can view the cycle dates in the program details.
-
If selected, these dates are hidden. Applicants cannot see when the cycle opens and closes.
Note: When this option is selected, Draft application reminders cannot be sent.
Tip: For programs configured to stay open, it's recommended to select this option so applicants do not see references to cycle dates.
-
 View default language
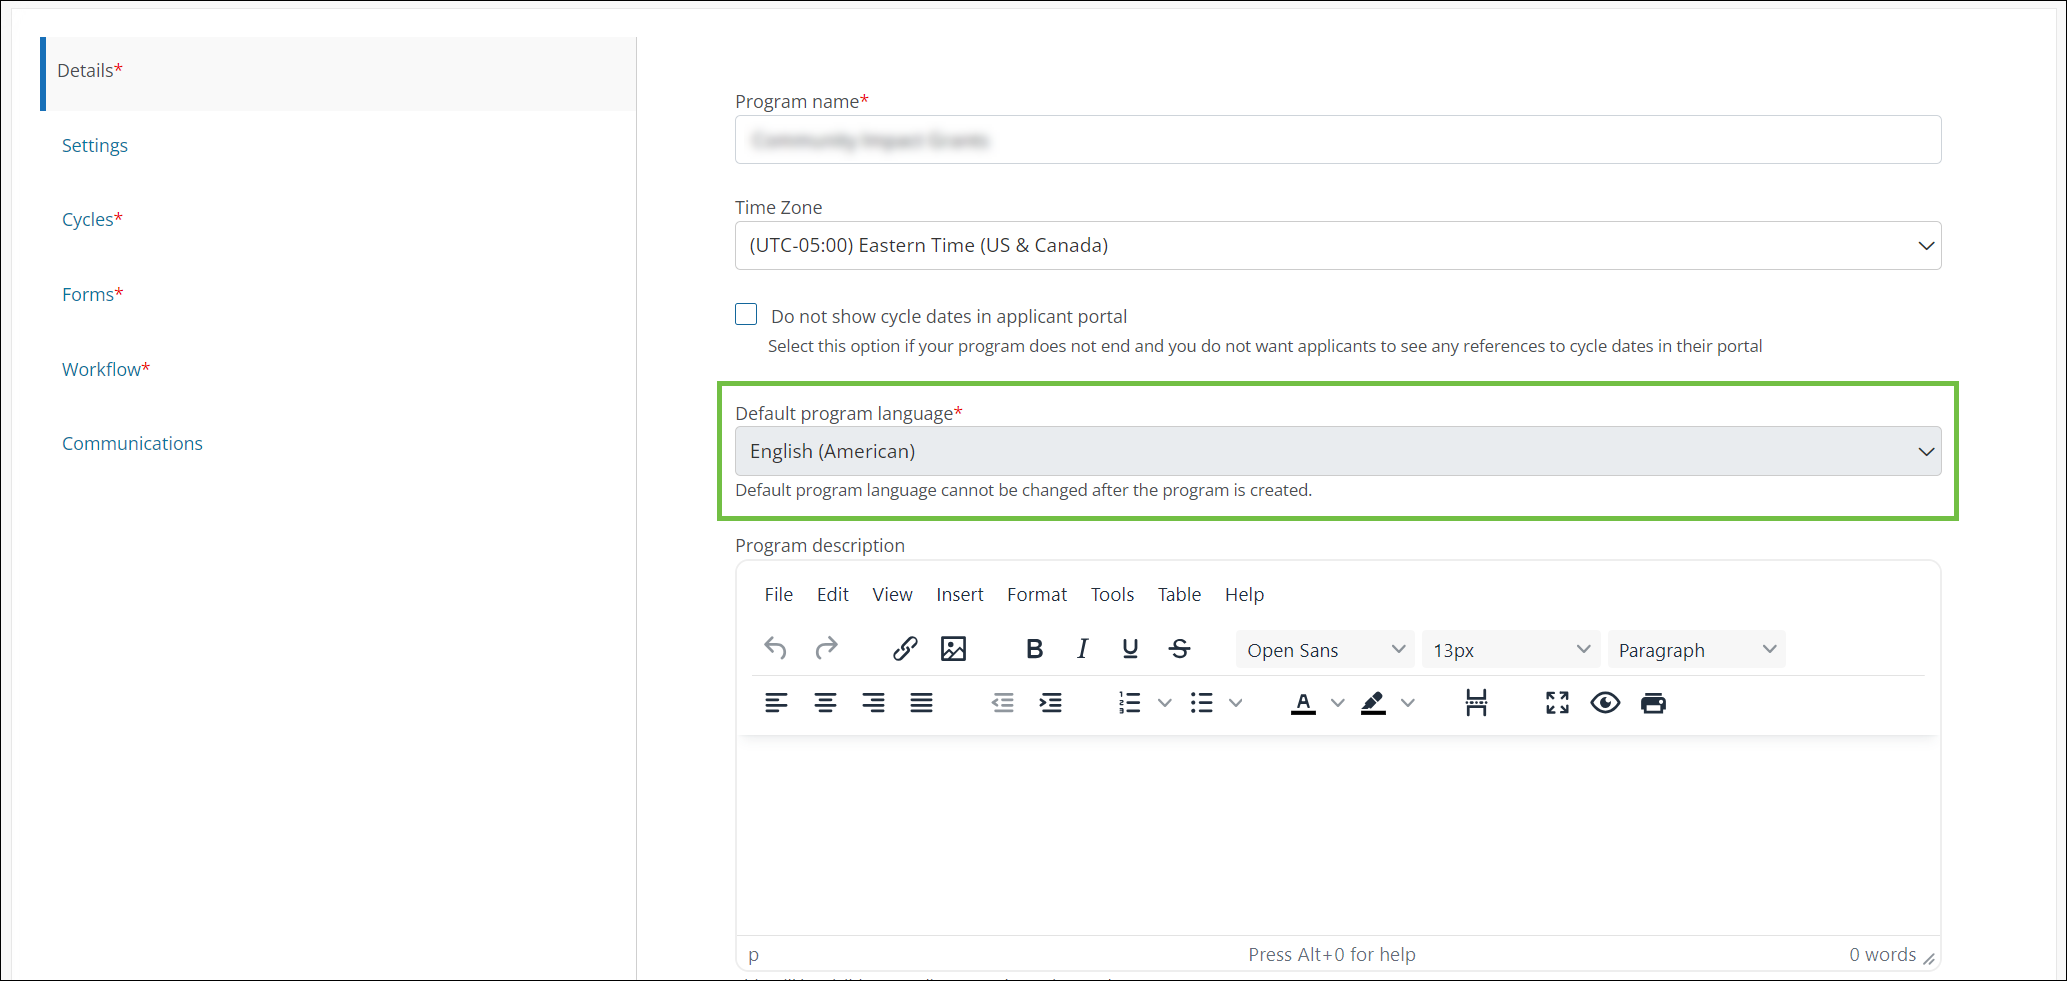
The default program language selected when creating the program is shown in the Details tab. This cannot be changed after the program is created.
Note: For clients that support multiple languages, program details and other features (e.g., custom forms, emails, etc.) can be translated. For more information, see Guidelines for Translations.
 Add a program description
-
Optional - Provide a description of your program. This is shown to applicants when they start an application from the program landing page. It's also visible to Grant Managers.
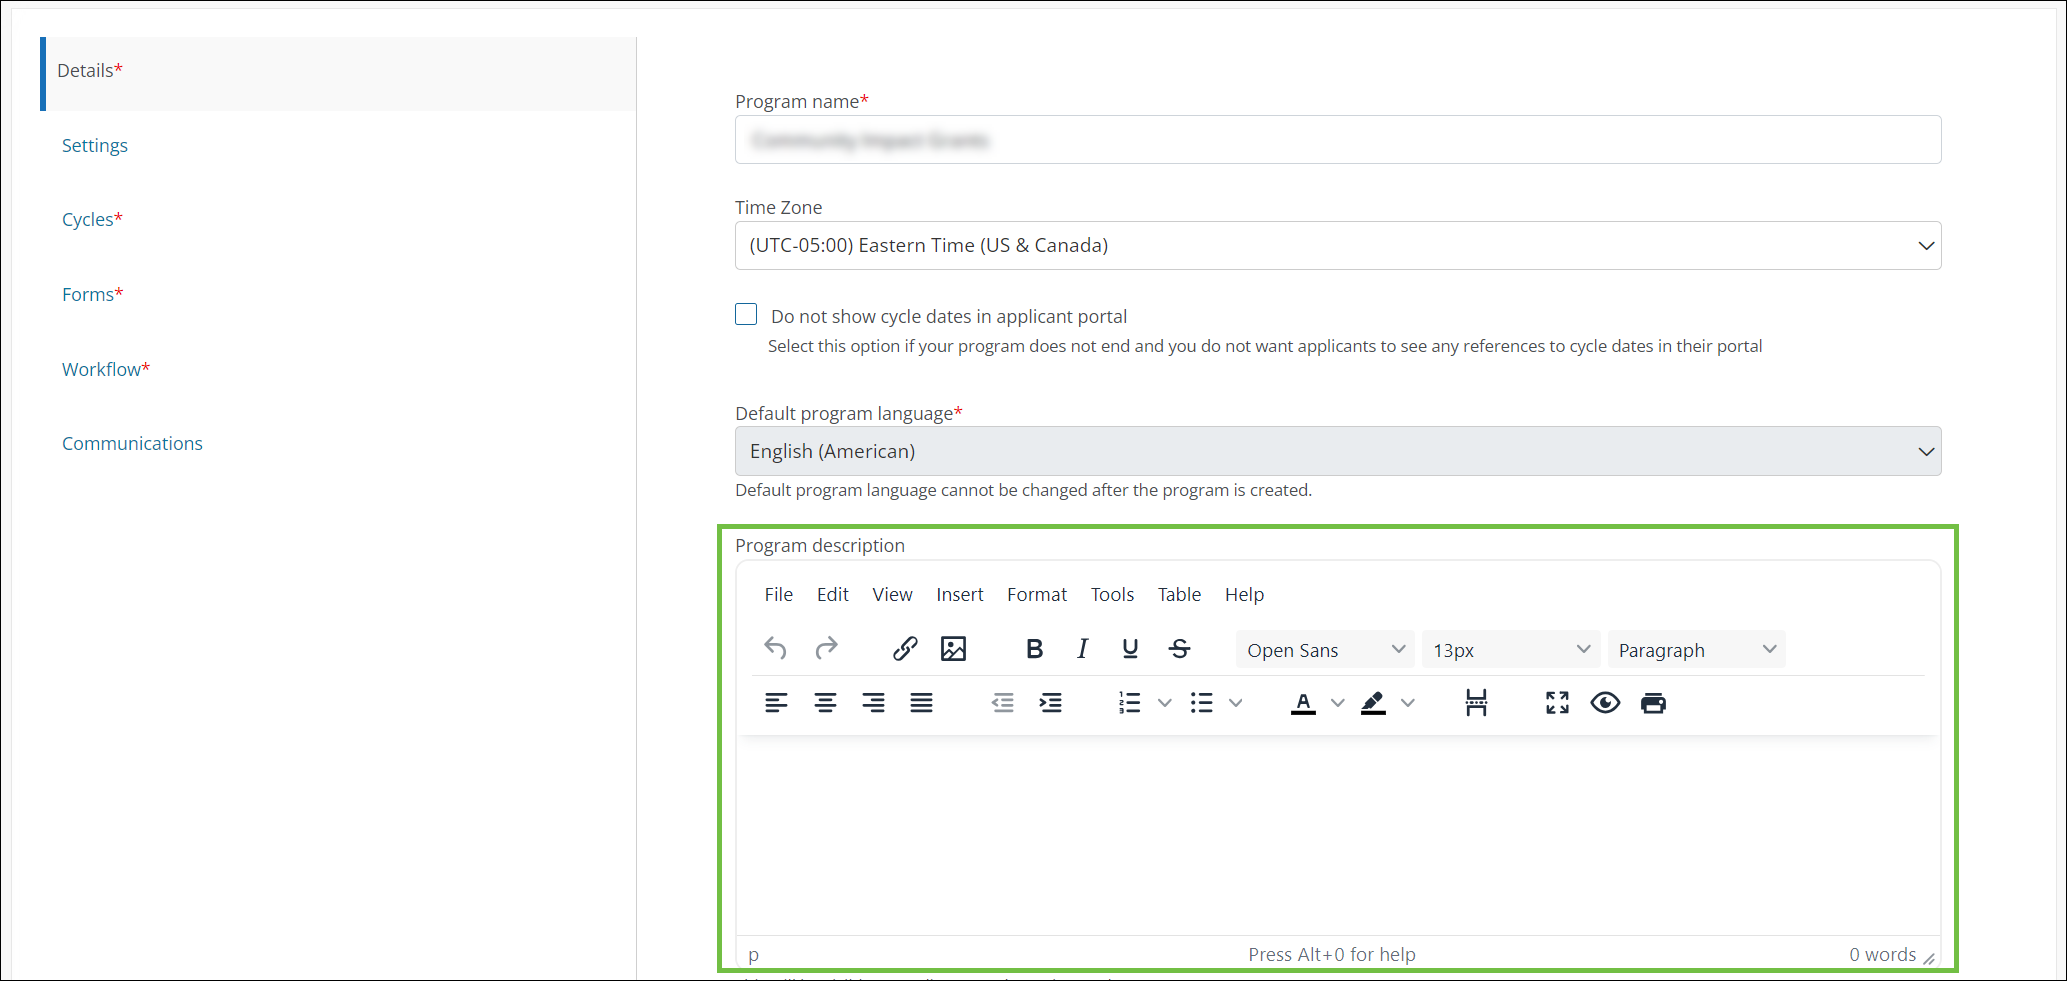
Note: The description is only visible to applicants when they first access the program landing page, before they select Start new application. For more information, see the FAQs.
Tip: You can include details about the nature of the program, what applicants can expect during the application process, and even links to your organization's resources such as privacy policies.
 Add program guidelines
-
Optional - In the Program guidelines field, enter any information about your program you want to share with applicants. This can include deadlines, eligibility requirements, and other details about the application process.
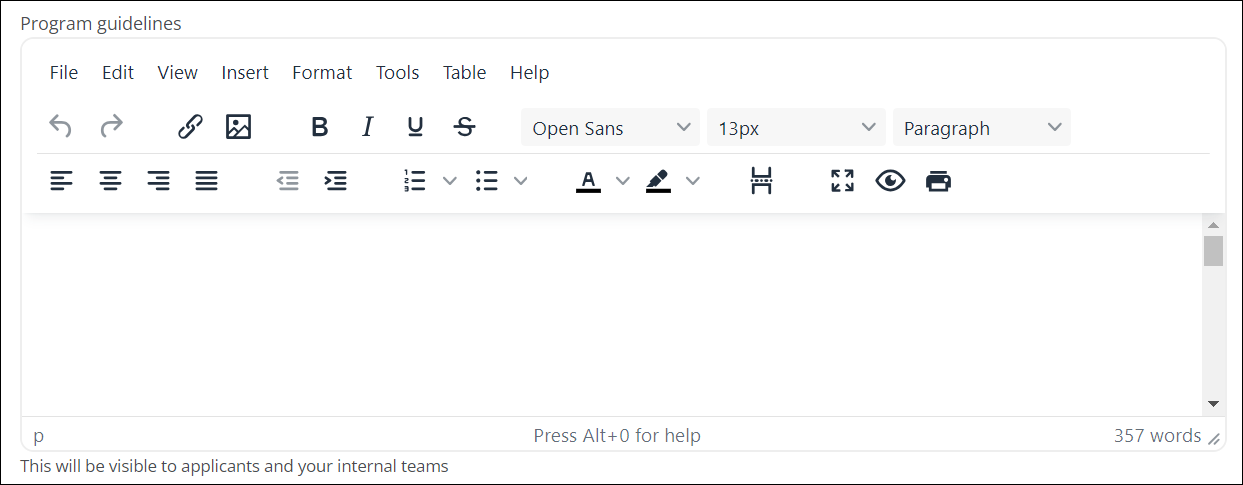
Note: Guidelines are shown to applicants when they first start an application and can also be accessed from existing applications. For more information, see View Program Guidelines in the Applicant Portal resources.
Tip: If your guidelines are hosted on an external webpage or online document, it’s recommended to use this feature to add a link back to this resource.
 Update program logo
-
Optional - Update the logo to use for the program. By default, this is set to the client logo.
Note: It's not required to use a separate logo for programs. If doing so, you can select the Use program logo for all emails related to this program checkbox in the Settings tab to use it in program emails instead of the client logo.
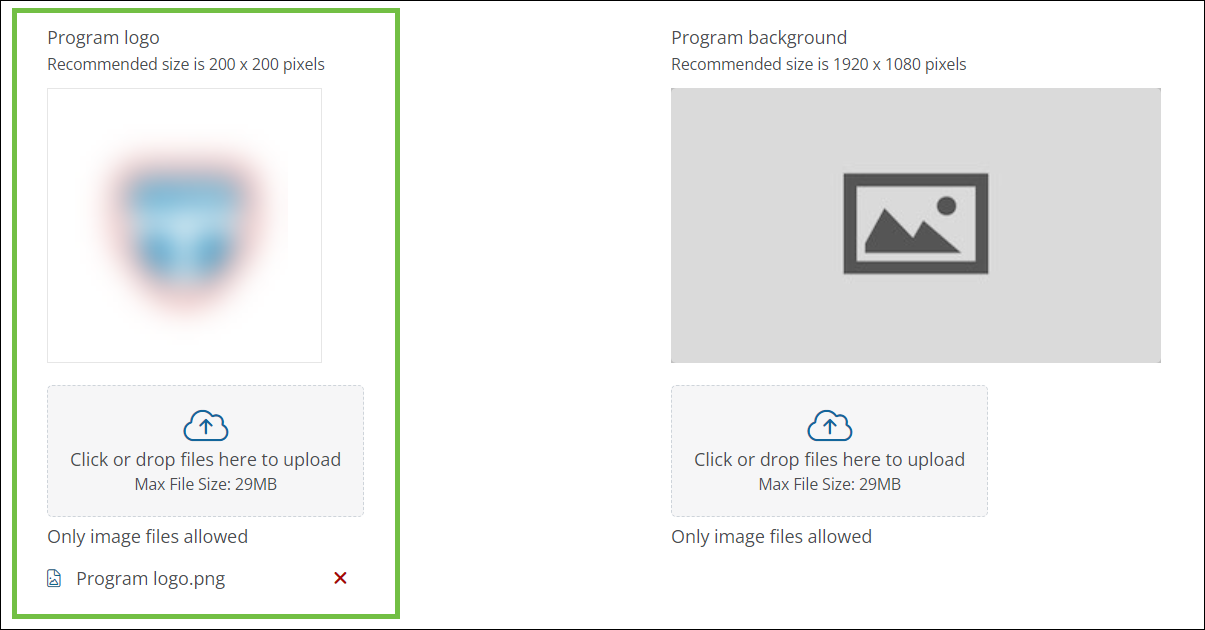
Note: Recommended image size is 200 x 200 pixels. For more information, see Guidelines for File Uploads and Attachments.
 Upload background image
-
Optional - Upload an image to use as the page background when applicants start an application.
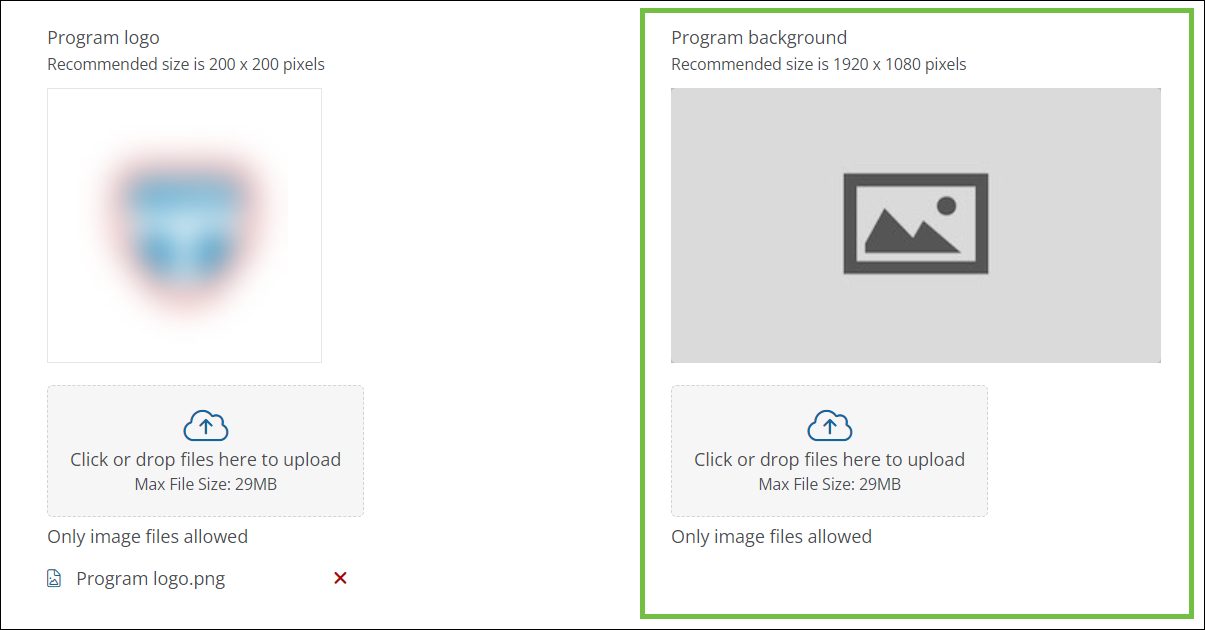
Note: Recommended image size is 1920 x 1080 pixels. For more information, see Guidelines for File Uploads and Attachments.
-
-
Click Next to continue to Settings or click on another tab to finish setup.
Note: To exit Program Detail, select Save as draft. If you've configured all required components and are ready to take the program live, click on Save and publish.
Frequently asked questions (FAQs)
 Where can applicants view the program description?
The program description is shown to applicants on the program landing page. The landing page is only shown when applicants access it from the original program link, copy an existing application, or apply from the Invitations area (or related email) in the Applicant Portal.
Note: Applicants will not see the program description if the way they access their application bypasses the program landing page. This includes applications created from nominations as well as applications started by Grant Managers in the Grant Manager Portal.
 Where can applicants view program guidelines?
Guidelines are shown to applicants when they first start an application and can also be accessed from existing applications. For more information, see View Program Guidelines in the Applicant Portal resources.