What's New
Blackbaud Financial Edge NXT releases new features on a regular basis, so keep an eye on this space for details about these additions. Features that release in waves are noted below. You may receive these updates immediately or in a future release.
From Payables, you can now add and generate recurring invoices. Recurring invoices are templates from which you create regular invoices quickly and easily according to a schedule. They're helpful for tracking recurring revenues such as monthly rental income, planned giving donations, and grant reimbursement requests.
For more information, see Recurring Invoices.
To combine records from two queries into a third static query, you can now merge queries in web view.
Note: Queries must have the same query type to merge them.
From Query, select New merge query. Select a primary and secondary query to merge and choose merge operators to determine how to combine them. For more information, see Merge Operators.
You can now edit payment records in web view. This enhancement helps ensure data accuracy and efficiency. Previously, you could not make updates to the payment record in web view without voiding. Now, you can edit payments from the Register tab of the Bank account.
For more information, see Bank Account Adjustments.
The ability to import records is now available in web view!
Depending on user permissions, you can access Import under General ledger, Receivables, Payables, Treasury, or Fixed Assets. From the new Import list pages, you can access and run existing imports, and create new imports.
For more information, see Import.
Note: If you were previously importing AP invoices from the Invoices list page under Payables, you will now go to Payables, Import.
Total Web Solution
As Blackbaud Financial Edge NXT shifts to a total web solution, we're moving features from database view exclusively to web view. As this shift progresses, we'll remove access to these features in database view.
To reduce the risk of service interruptions, gather feedback, and scale as needed, we're releasing these updates in waves instead of deploying everything at once.
For each feature area, we've listed "wave" dates to indicate when a feature area will begin to turn off in database view. If your organization is included in a wave, you will no longer have access to that specific feature beginning on the date listed. It's important to know that you may receive the updates immediately or in a future release.
To review feature areas and dates, see Total Web Solution.
Receivables
We're releasing Receivables features in small, usable increments. Many of these features are releasing in waves to our United States customers first. As we progress with development and testing, we will fully support additional locales in a future release.
Note: Don't see this yet? Applications is in Limited Availability (LA) for some of our customers. Look for full support and general availability in a future release.
You can now apply payments and credits to charges and line items for invoices in web view. To begin, you must first save the record, such as a payment or credit, before you can apply it.
Note: In a future release, you'll be able to add applications for third-party billing and apply payments and credits to posted line items.
To apply the payment or credit, open the record and select Apply payment (or Apply credit).
Tip: From a charge or line item record, you have the option to Apply payments and credits.
To apply the payment, select the checkbox in the row you're applying and enter the amount under Applied amount. Save your changes.
To automatically apply the payment to the charge or line item in the first row, select Apply automatically. If the payment amount exceeds the charge or line item amount, the payment is deducted from subsequent rows until the balance is $0.
To unapply all applications in the list, select Unapply all.
For more details, see the following:
From Receivables, Invoices, you can now add, edit, and delete invoices for receivables and view their record pages in web view. You can also now edit and delete invoices with line items.
To view an invoice, select it in the ID column.
The page opens for you to view important data such as the summary, line items for the invoice, and the history.
Tip: In database view, invoices display associated payments and credits (applications). In web view, open the line item records for the invoice and review Applications.
For more details, see Invoices.
To open a line item record, select the one you need under Line items on an invoice record.
The page opens for you to view important data such as the balance, billing item, distributions, and applications for the line item.
Tip: In database view, invoices display associated payments and credits (applications). In web view, open the line item records for the invoice and review Applications.
Reverse line items
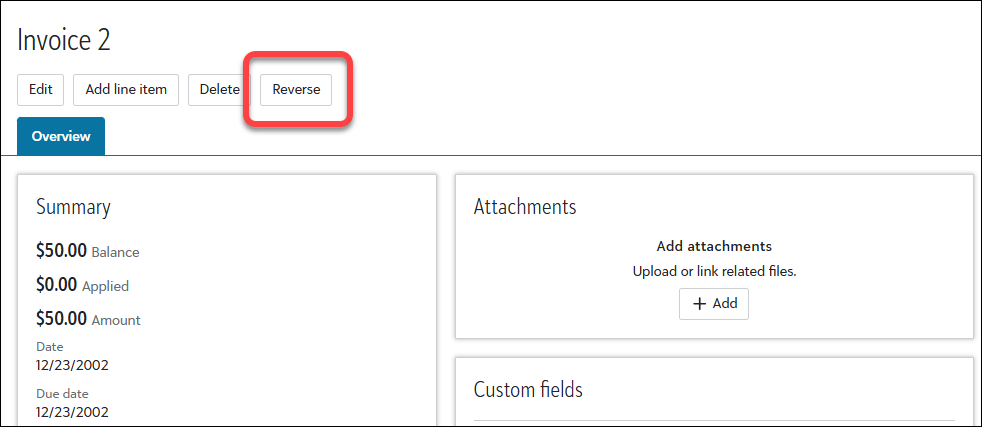
To reverse a line item, open one with a Posted status and select Delete.
Tip: You can't delete a line item with unposted adjustments.
After you confirm to delete the line item, enter a reversal date for the journal entry that automatically generates the next time you post.
Adjust line items
To adjust a line item, open one with a Posted status and select Adjust.
Enter adjustment details, such as the new date and reason, then save.
For more details, see Invoice Line Items in Receivables.
You can now add, edit, void, and delete deposits from Receivables, Deposits in web view. When you add a new deposit, under the new Deposit type section, select Receivables.
The remaining steps to add and manage a deposit for receivables is the same as a deposit in Treasury. For more details, see Deposits.
Note: The receivable payments associated with these deposits are in database view. In a future release, we'll offer full support for adding payments in web view.
You can now add, edit, void, and delete payments from a deposit in Receivables and view their record pages in web view.
Note: In a future release, we'll offer support for third-party billing and applying payments to outstanding invoices.
To view a payment from Receivables, Payments, select it under Payment ID.
The page opens for you to include important data such as status, payment method, and details for the associated deposit. You can also split a receivable and misc payment.
To void a payment, open one with a Posted status and select Void.
After you confirm to void the payment, determine if you want to add a bank adjustment to decrease the balance or reduce the deposit amount. Enter the void and post dates, then select Void again to complete the changes.
For more details, see Payments.
You can now add, edit, reverse, and delete credits from Receivables, Credits and view their record pages in web view. To view a credit, select it under Credit ID.
Note: You can now manage credits with Product billing items.
Note: In a future release, we'll offer support for third-party billing and applying payments to outstanding invoices.
The page opens for you to view important data such as status, description, and post info.
You can also view distributions and applications for the credit.
Reverse credits
To reverse a credit, open one with a Posted status and select Delete.
Tip: You can't delete a credit with unposted adjustments.
After you confirm to delete the credit, enter a reversal date for the journal entry that automatically generates the next time you post.
Adjust credits
To adjust a credit, open one with a Posted status and select Adjust.
Enter adjustment details, such as the new date and reason, then save.
For more details, see Credits.
You can now add, edit, and delete billing items from Receivables, Billing items and view record pages for these flat rate, variable rate or quantity, and product billing items in web view.
You can also manage and filter finance charge, refund, and sales tax billing item types. For details, see Billing Item Types
Note: Variable rate billing items were previously called per usage in the database view.
To view a billing item record, select it in the Name column.
The page opens for you to view important data such as the description, status, comments, and history.
For more details, see Billing Items.
From Receivables, Clients, you can now view, add, edit, and delete client records in web view.
To add a new client, select Add, Individual client or Organization client. Enter client details such as status, address and contact info, as well as data entry and billing item defaults.
To view a client record, select it under Client. From the client record, you can review transaction activity and manage details related to the client including notes, relationships, and payer info. You can also view and add new charge, credit, invoice, return, and refund records from the Activity tab.
Tip: From a client record, you can also determine who receives statements (or copies) and add automatic payments for clients. For details, see Statements and Automatic payments.
For more information, see Clients.
From Receivables, Clients, you can now add and edit refund records in web view. To add a refund, open the client's record and select Add, Refund under Activity.
Note: Don't see this yet? The ability to add and edit refunds is in Limited Availability (LA) for some of our customers. Look for full support and general availability in a future release.
To view a refund record, select it under Transaction ID.
The Overview, Distributions, and Applications tabs display for you to add and edit additional info.
Tip: You can also now view a refund from a bank's Register tab. To locate the refund, search by One-time check for Transaction type and select View from the row's menu.
For more details, see Refunds.
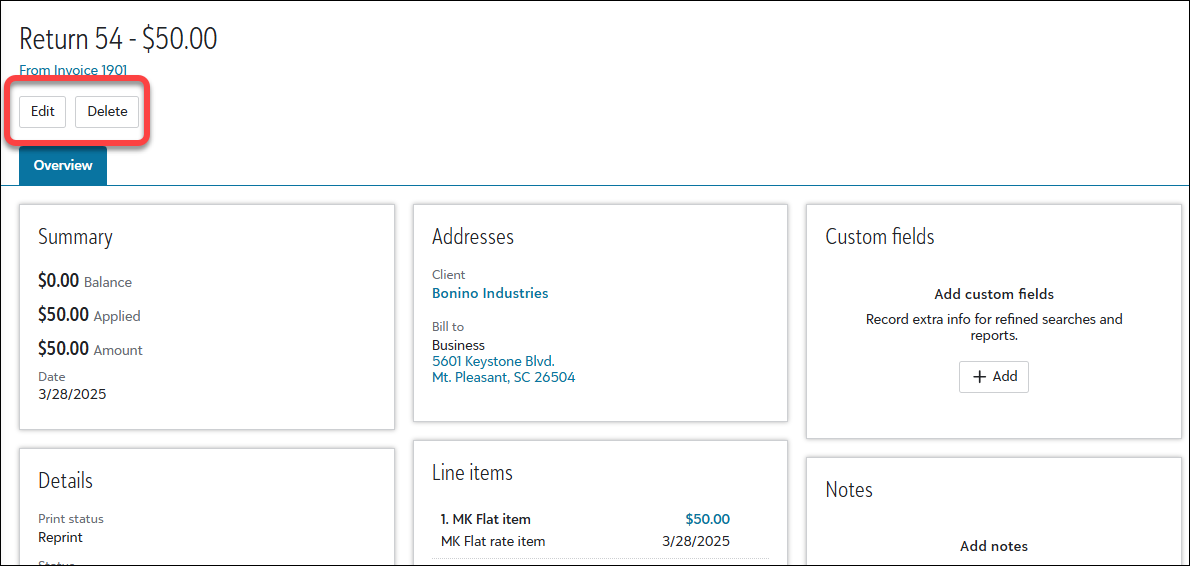
From Receivables, Clients, you can now view return records in web view. To view a return for an invoice or a line item, open the client's record and select Activity.
Note: In a future release, you'll be able to add and edit returns.
To view the return record, select View from a row's menu. The Overview, Distributions, and Applications tabs display for you to view and edit additional info.
For more details, see Returns.
You can now add, edit, reverse, and delete charges from Receivables, Charges and view their record pages in web view. To view a charge, select it in the Charge ID column.
Note: You can now manage charges with Product billing items.
The page opens for you to view important data such as charge details and billing info, payments and credits, and distributions.
Reverse charges
To reverse a charge, open one with a Posted status and select Delete.
Tip: You can't delete a charge with unposted adjustments.
After you confirm to delete the credit, enter a reversal date for the journal entry that automatically generates the next time you post.
Adjust charges
To adjust a charge, open one with a Posted status and select Adjust.
Enter adjustment details, such as the new date and reason, then save.
For more information, see Charges.
From Receivables, Communications, you can view, add, edit, rename, and generate statements, as well as invoice and receipt forms. Under Statements, Invoices, or Receipts, search and sort the list to quickly locate the form you want. To edit, select the form name, or choose Edit from the form's menu.
After you add and generate, view the form to ensure your parameters are accurate (if not, simply edit and generate again). From the form, you can choose to export to a PDF, then print.
For more information, see Receivables Communications.
From Receivables, Settings, you can now select Configuration, General to add contact info such as address and phone.
From Receivables, Settings, you can now select Configuration, Aging info to track receivables invoices and determine if they are current or overdue (and by how many days).
For more information, see Aging Info.
From Receivables, Settings, you can now select Configuration, Statement info to view and edit custom transaction references to use on statements. Here, you define reference info for all receivables transaction types, such as payments and credits.
For more information, see Statement Info.
From Receivables, Settings, you can now select Configuration, Payment terms to define terms for invoices so you can offer your clients discounts if they make early payments. For example, if you offer a 3/5 net 30 discount, clients receive a 3% discount if they pay within 5 days.
For more information, see Receivables Settings.
From Receivables, Settings, you can now select Configuration, Addressee and salutations to define the way client addressee info and salutations display on statements, invoices, and other correspondence.
For more information, see Receivables Settings.
From Receivables, Settings, you can now select Configuration, Default accounts to designate specific accounts to use in distributions. Since the accounts you select impact your records and distributions, evaluate each setting closely.
For more information, see Receivables Default Accounts.
You can now access all business rules for Receivables in web view!
Receivables business rules help you customize standard procedures and requirements to suit your organization. To define receivables business rules, navigate to Receivables, Settings.
For more information, see Receivables Settings.
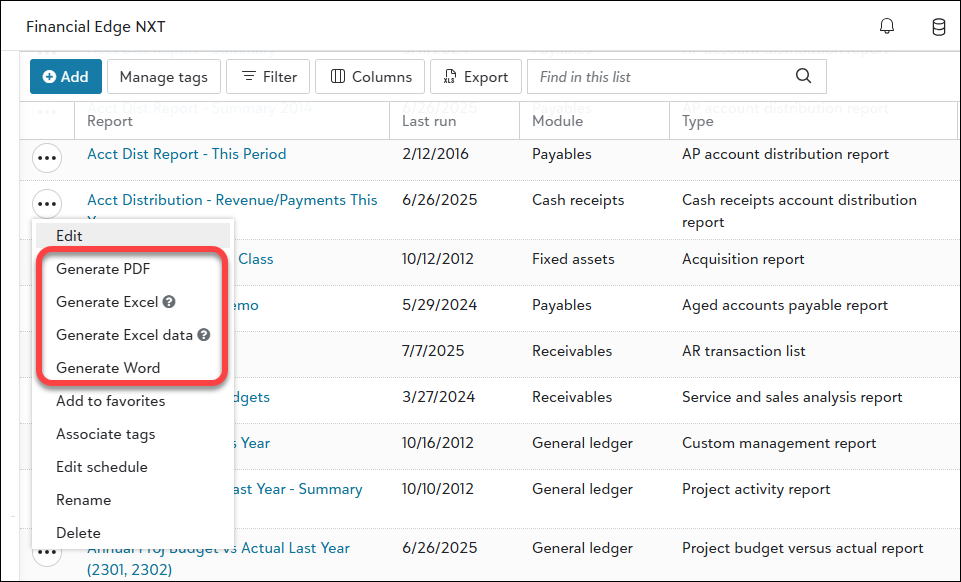
Under Reporting in web view, you can now add and run the Account distribution report. Use this report to view debit and credit amounts created by receivables transactions and adjustments.
For more information, see Account Distribution Report for Receivables.
From Reporting in web view, you can now add and run the Aged accounts receivable report. Use this report to view balances distributed in aging periods which will help determine past due and current balances for clients.
For more information, see Aged Accounts Receivable Report.
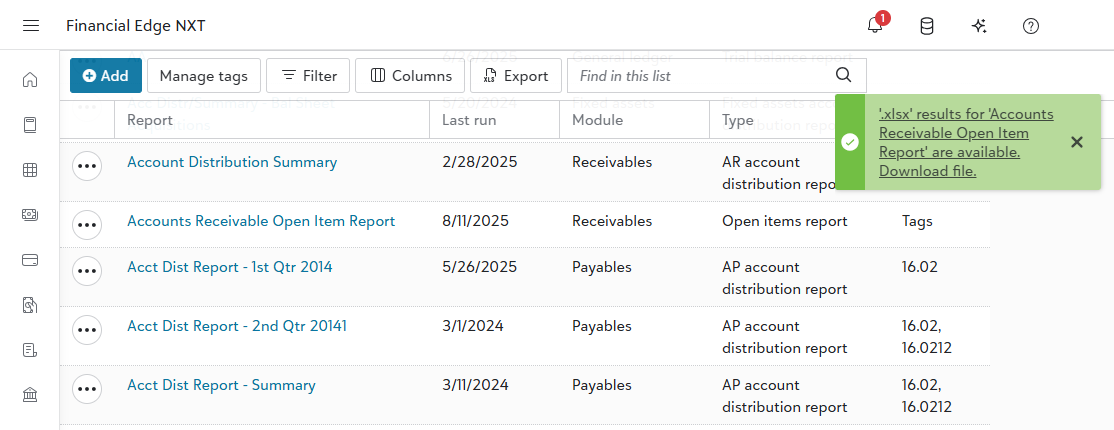
From Reporting in web view, you can now add and run the Open items report. Use this report to view open transactions (including charges) based on a selected date. Determine if transactions posted properly and which subsidiary ledger transactions are causing a difference in your general ledger balance.
For more information, see Open Items Report.
You can now customize journal references in web view. A journal reference is a user-defined, alphanumeric code added to each journal entry transaction during batch creation. Use journal references to track details and compare transactions with source documents.
From General ledger, Settings, Posting info, customize these journal references using prefixes for adjustments and reversals, journal values for transactions, as well as field and length details.
For more information, see Posting Info.
From General ledger, Post subledgers, you can now add post parameters and post transactions for receivables in web view.
When you add a post parameter, under Subledger, select "Receivables". You can then specify a journal code to assign to transactions.
To post receivables transactions, select Receivables.
Note: Receivables transactions will post from database view. In a future release, we'll offer full support for adding and managing receivables in web view.
The remaining steps for adding parameters and posting transactions remains the same as it is for other subledgers. For more details, see Post Subledgers.
From Receivables, Query, you can now view queries from the database view. For more details, see Query.
Note: While most of your queries are visible in web view, you may not be able to view or run a query if you don’t have permission to view them or support for the query is coming in a future release.
You can now add custom fields for receivables from Control panel, Fields and tables in web view. When you add a custom field, under Subledger, select "Receivables" to make the field available for use in all relevant areas.
Note: In database view, custom fields are called attributes.
For more details about custom fields, see Custom Fields.
Tip: To receive this information as an email, subscribe to the Community blog.